

2.11 Math Objects
In this QCAD tutorial, we learn how to work with math objects.
Math objects let us add formulas and equations to a drawing.
Example drawing:Plate.dxf
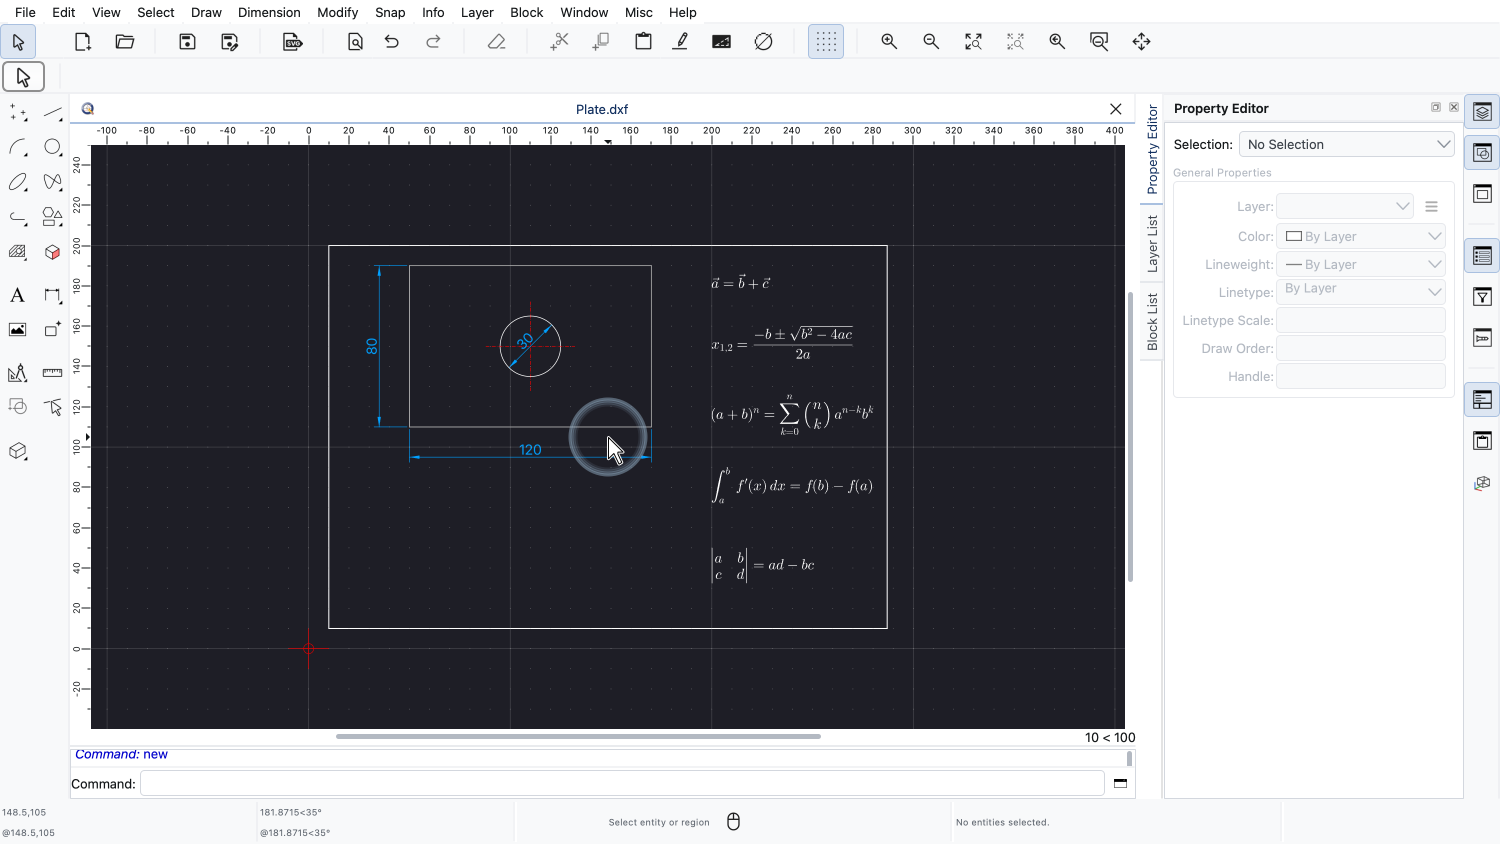
A math object is a formula, an equation or any other mathematical expression that is part of our drawing.
On the right side of this example drawing, we can see a few examples of typical math objects we can create in QCAD.
Math objects are written in the markup language LaTeX, a typesetting system that is widely used in science and academia.
QCAD renders the LaTeX code into geometry, so the formula becomes a part of the drawing like any other entity.
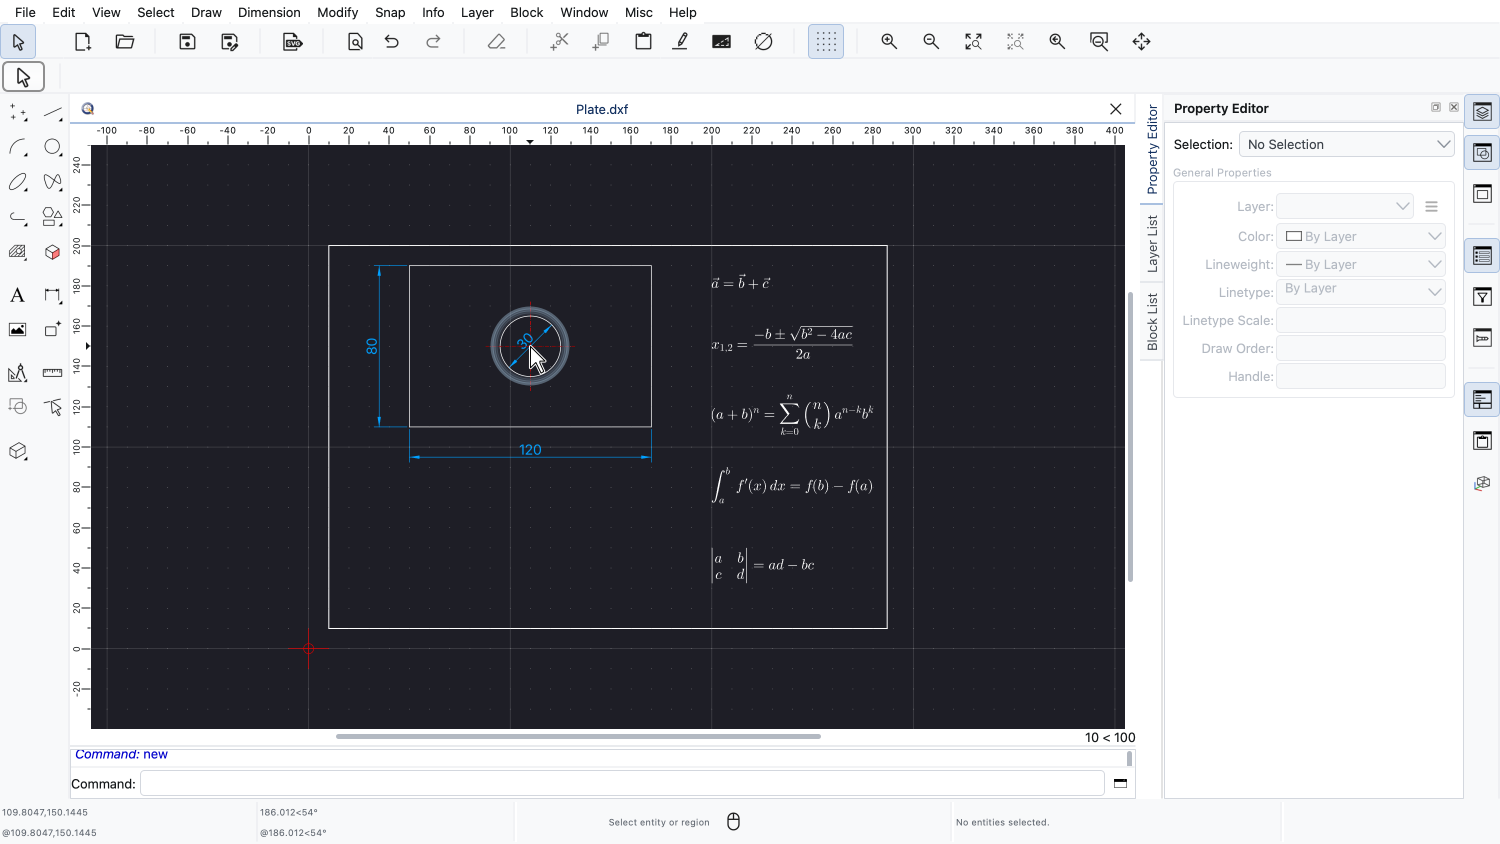
The left side of this example drawing shows a simple plate with a hole.
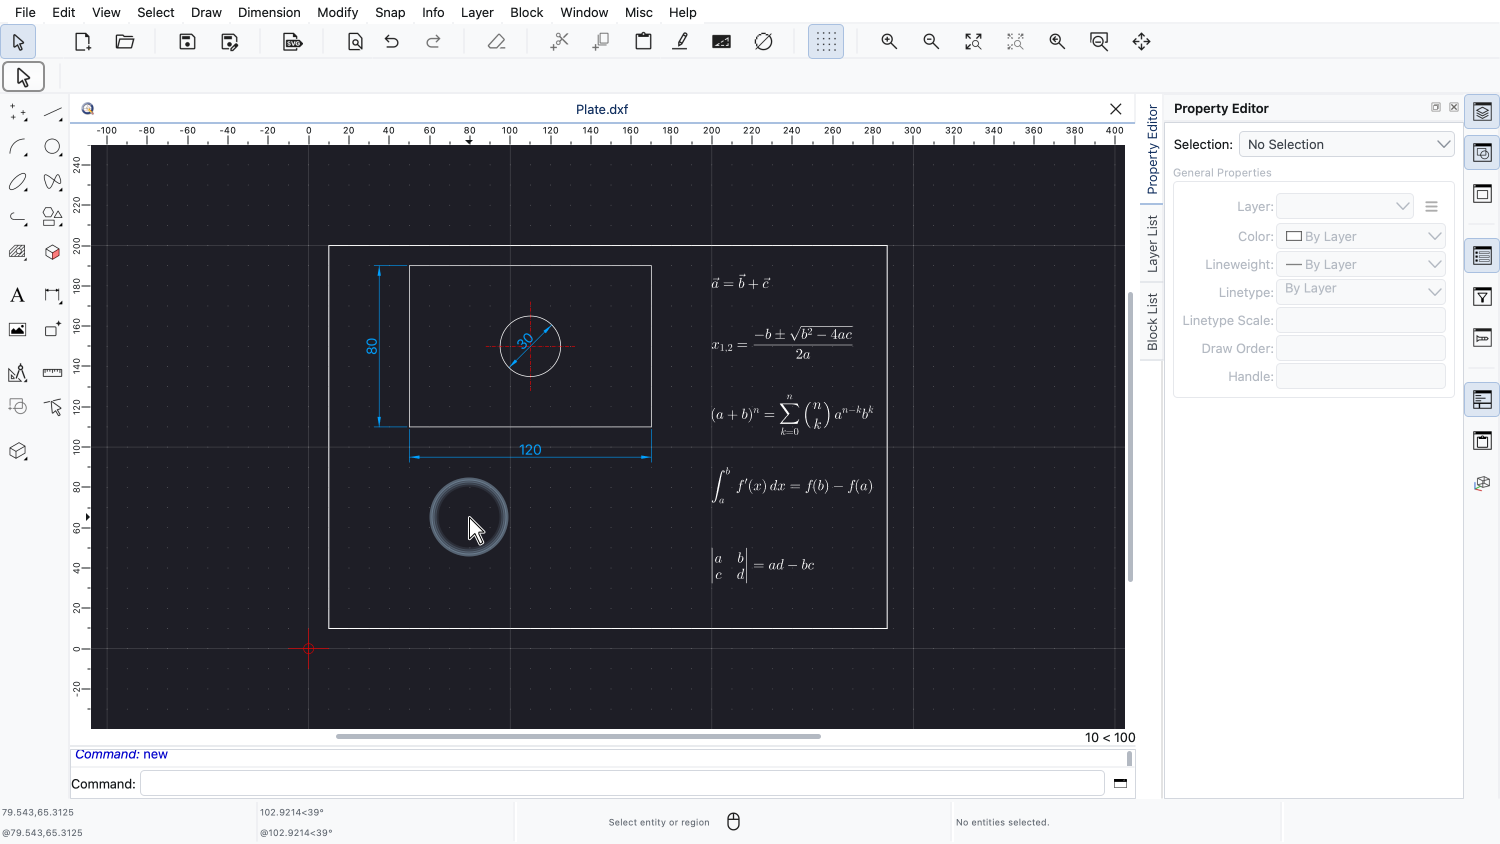
We want to document how the surface area of this plate is calculated, using a math object.
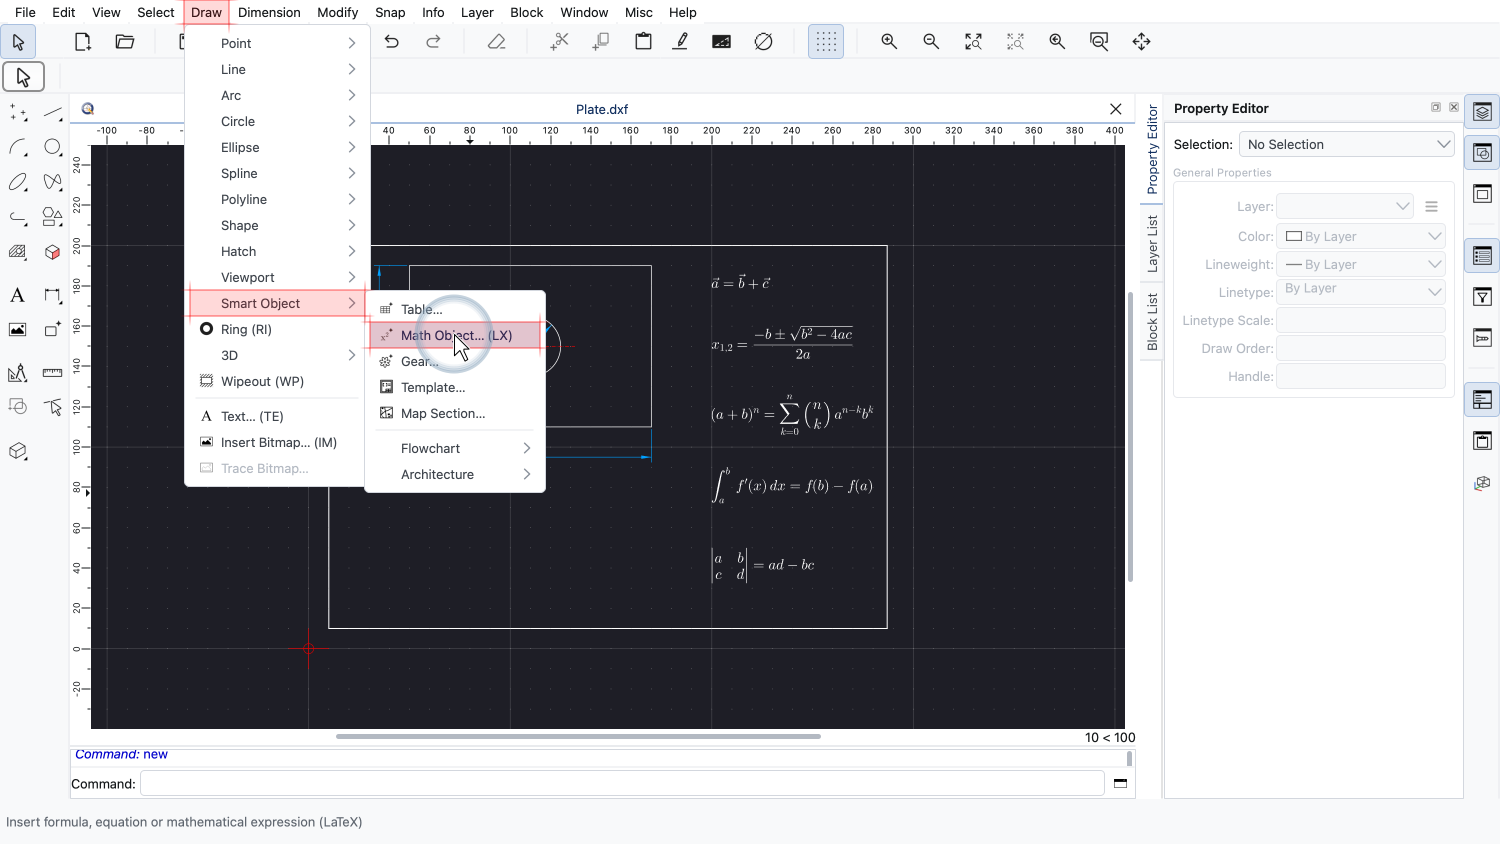
The tool to add a math object can be found in the Draw menu, in the submenu Smart Object.
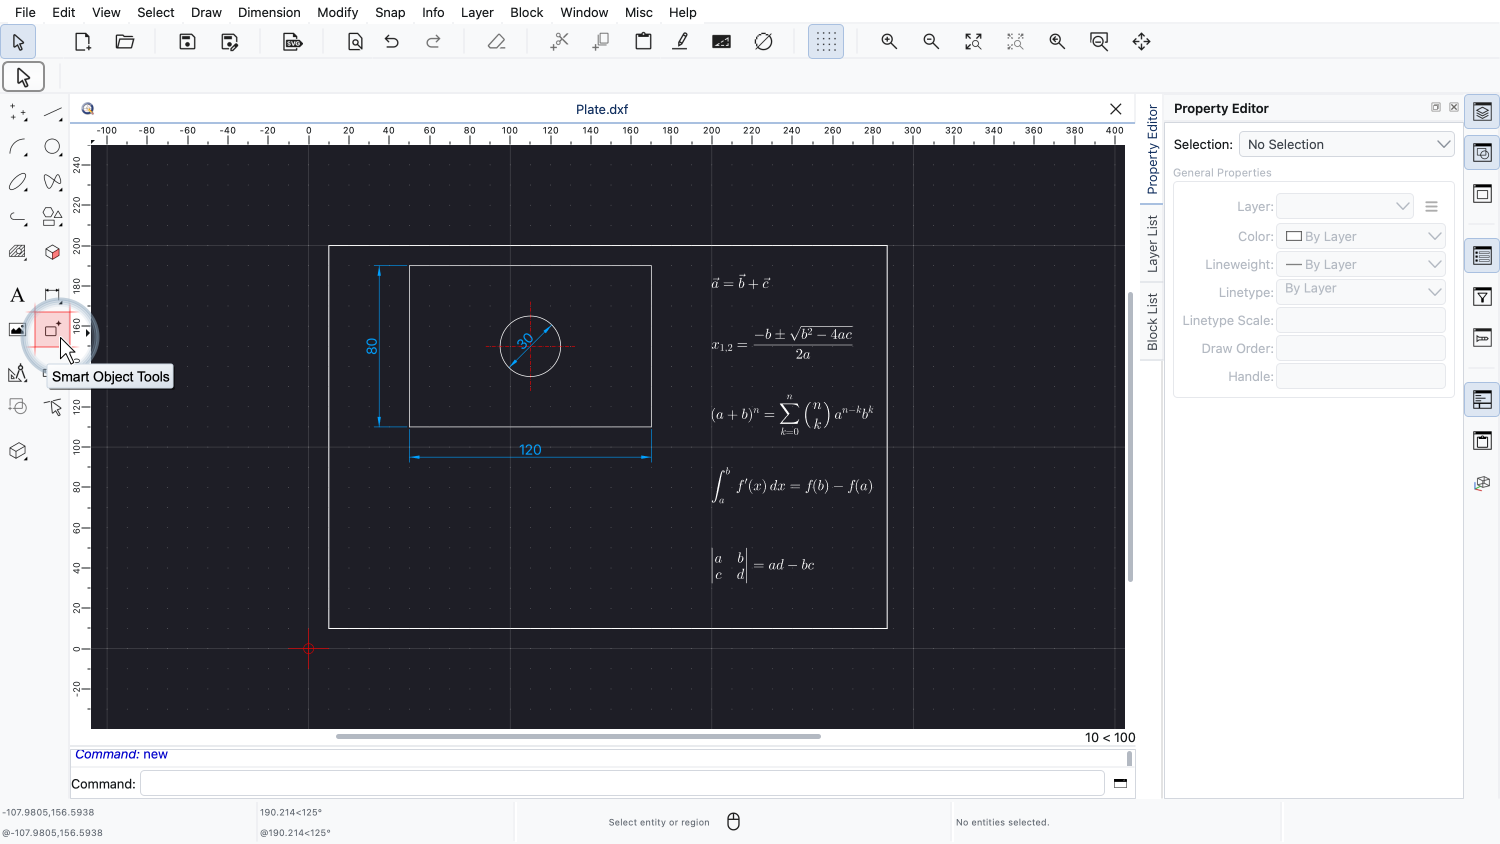
The same tool is also available in the CAD toolbar.
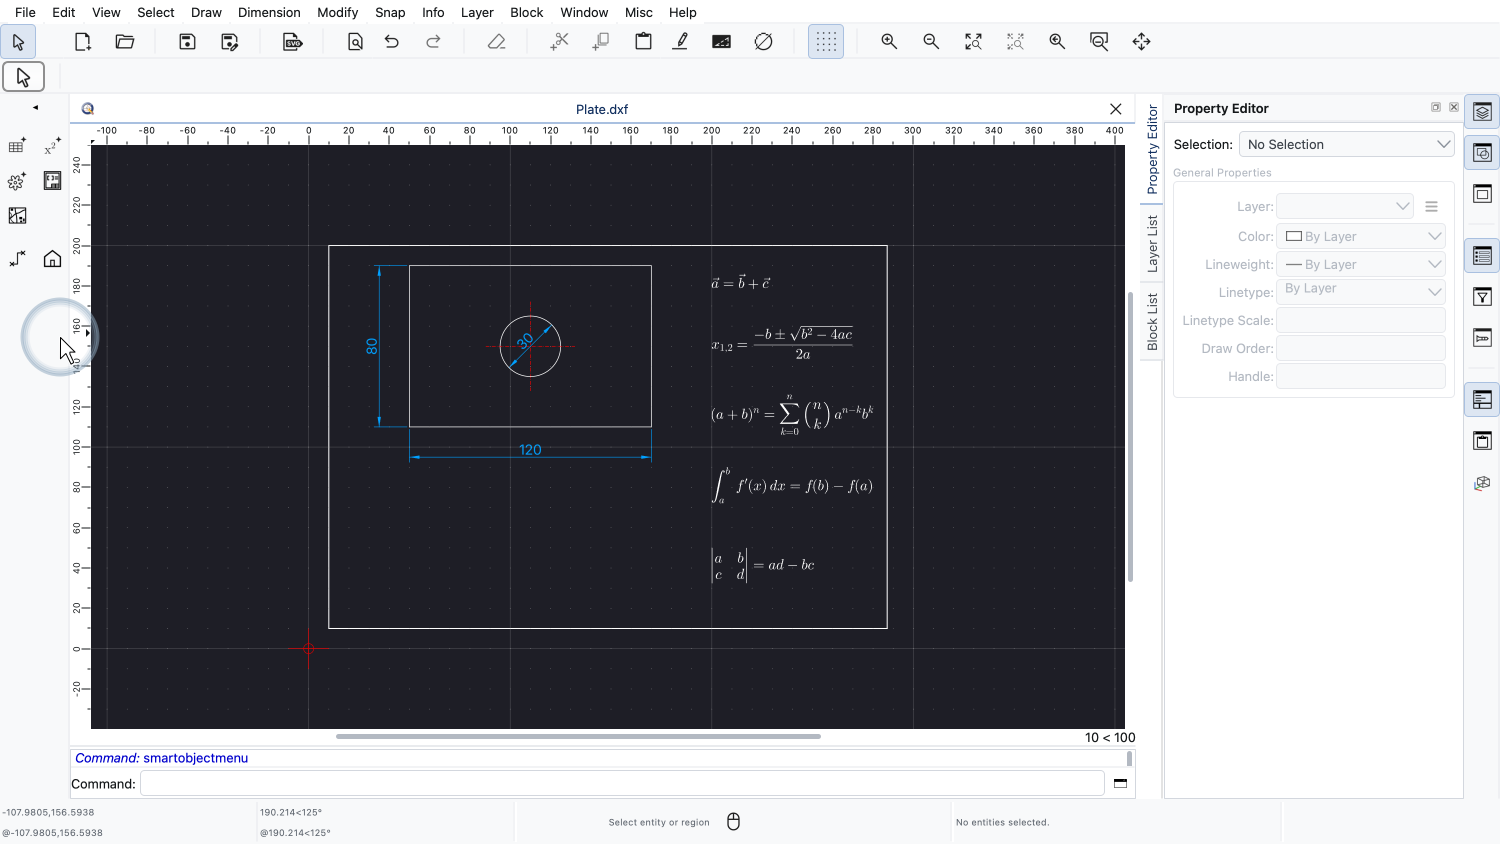
We click the button for the smart object tools.
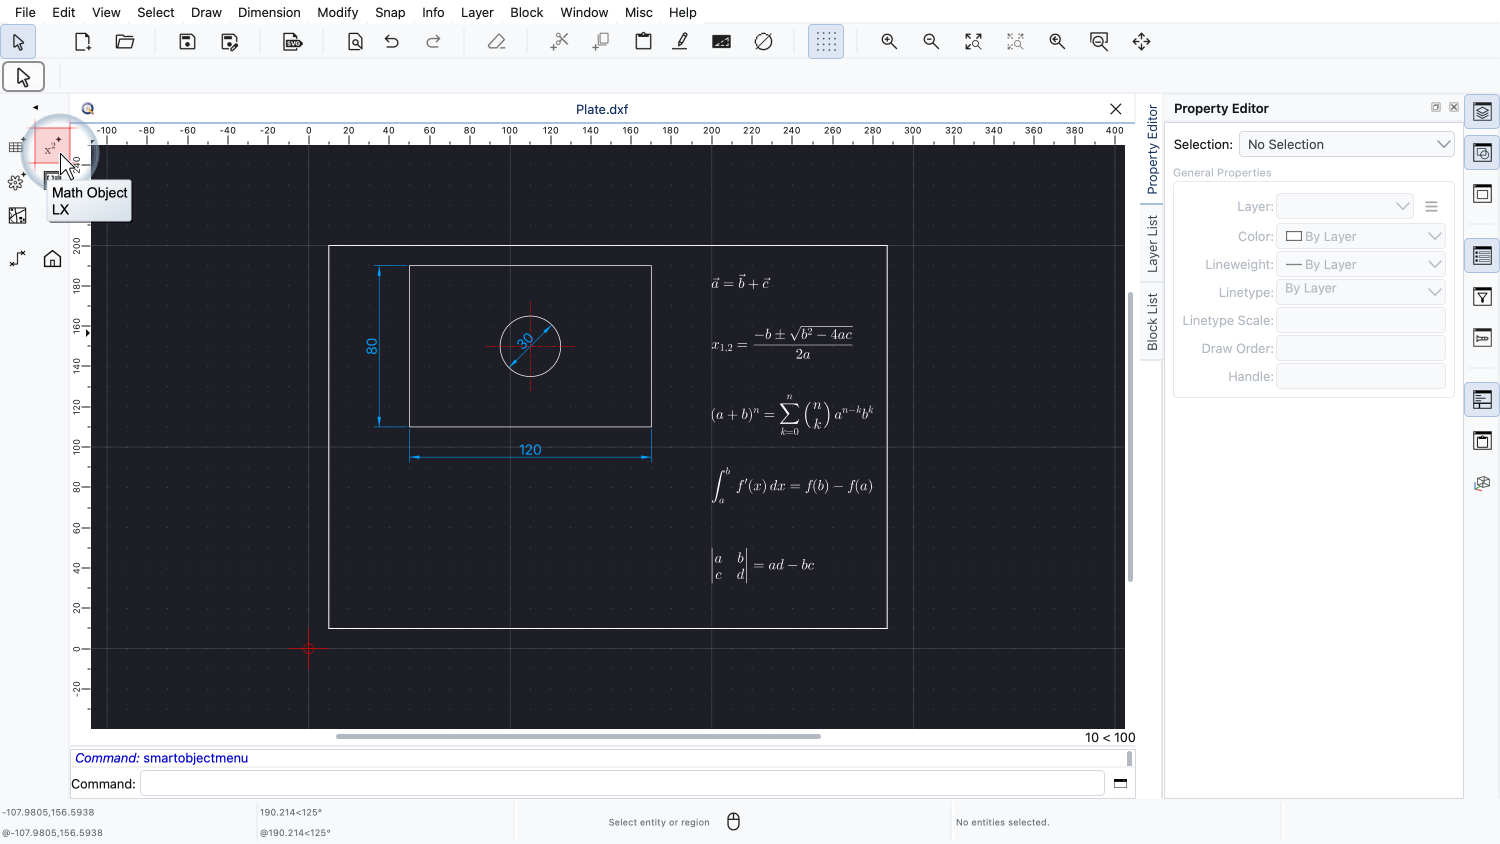
Here, we can find the tool for creating math objects again.
Smart objects are special blocks in QCAD that are rendered automatically, based on user input and math objects fall into this category of objects.
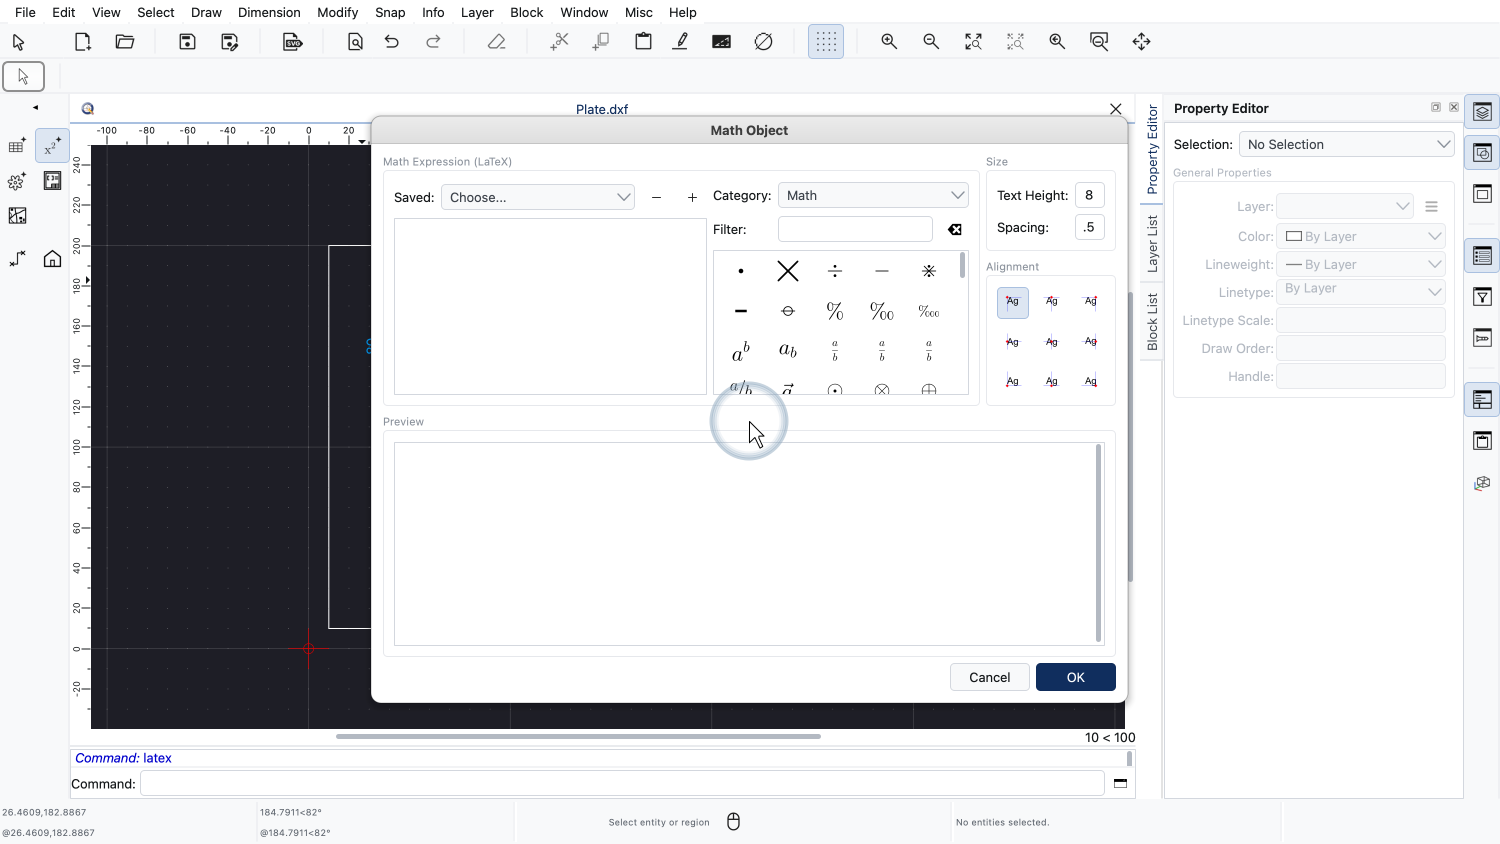
The math object dialog opens.
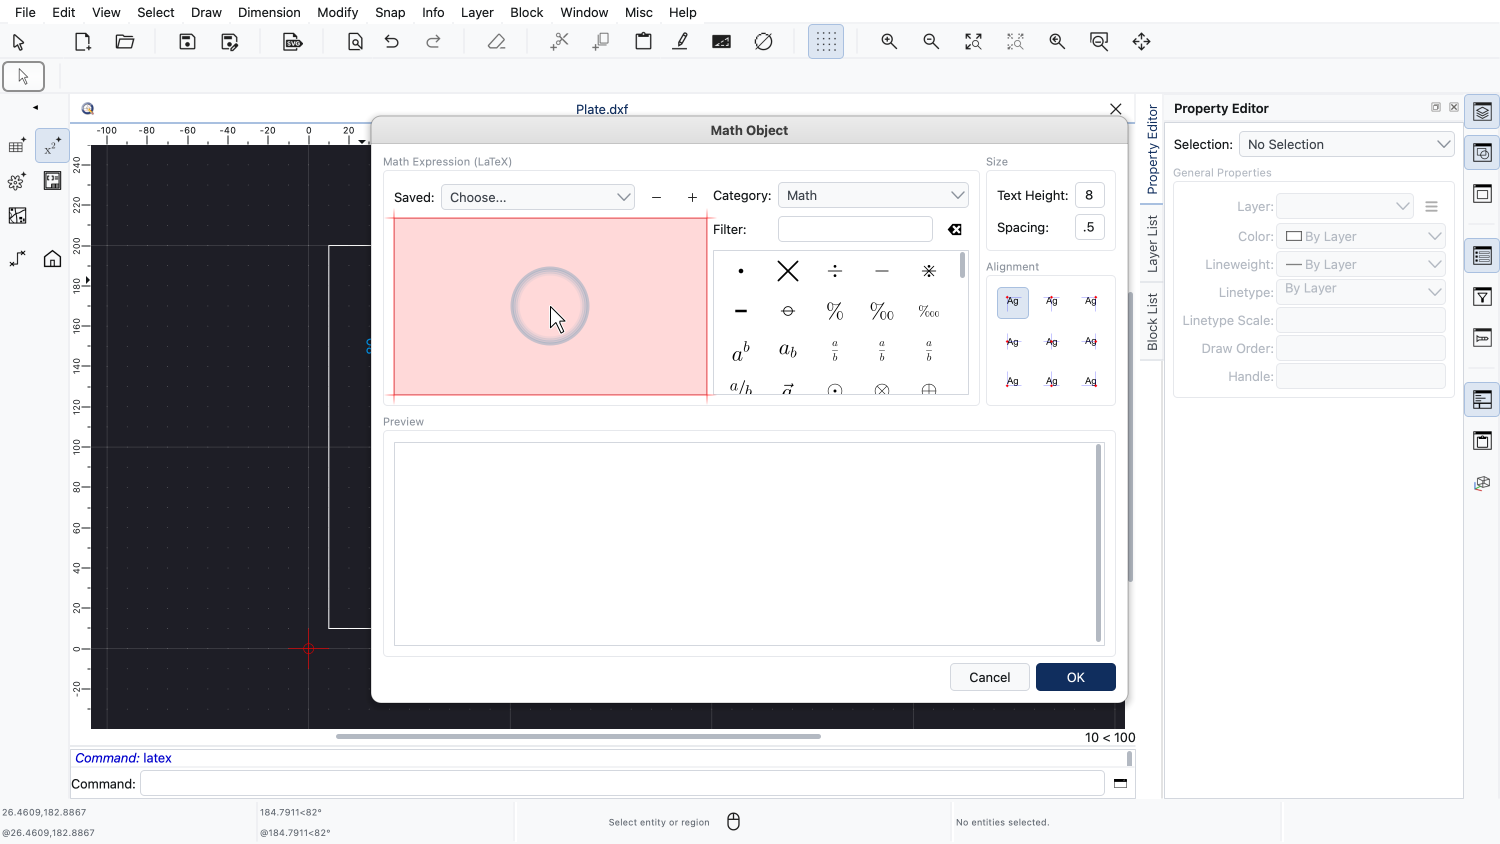
At the top left, we enter the LaTeX code of our expression.

Next to the code editor, QCAD offers a browser with the most common mathematical symbols and commands.
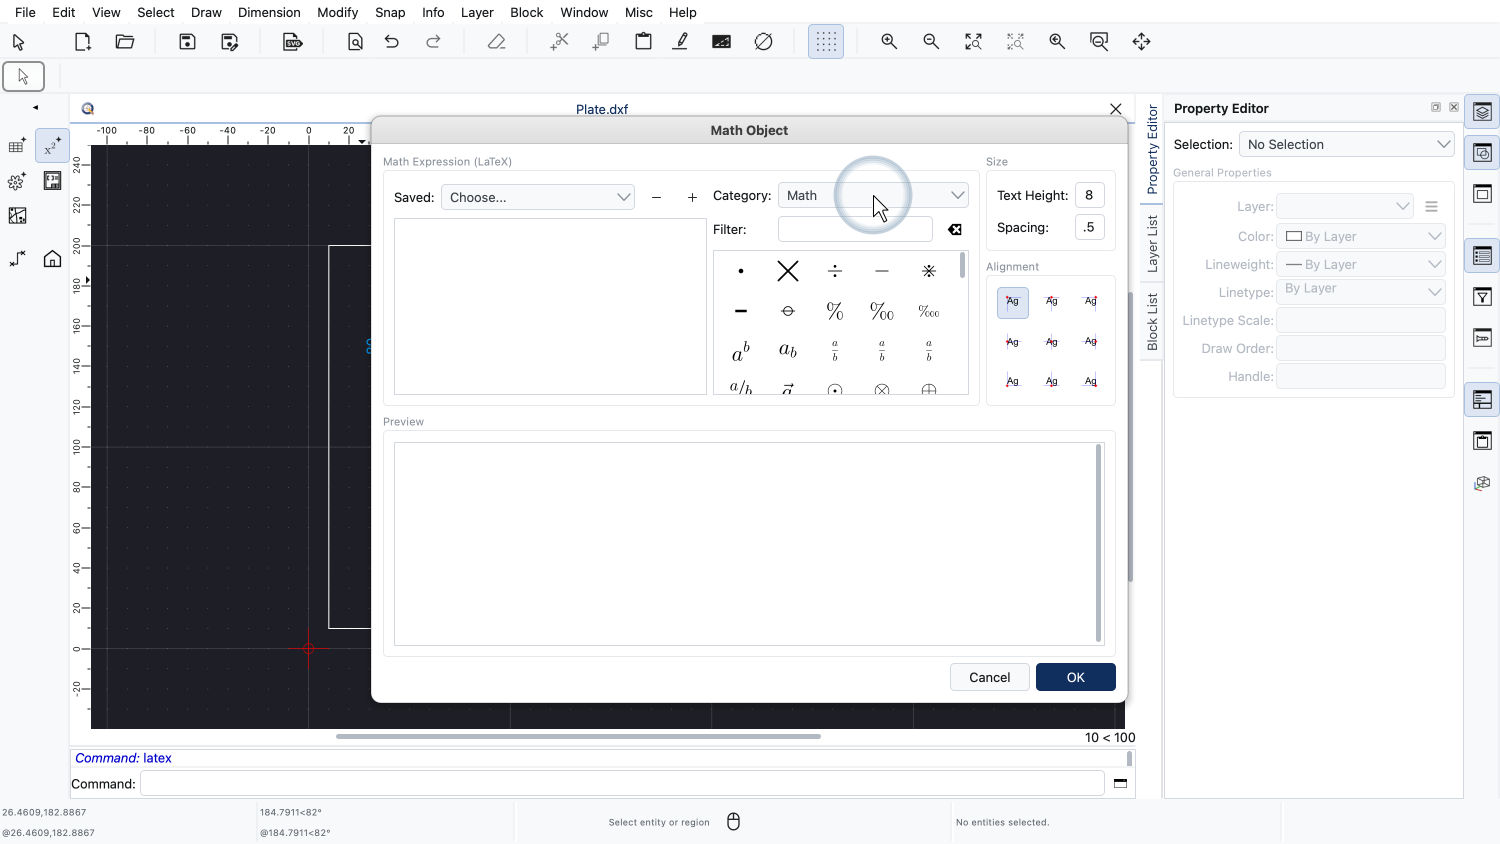
We can choose a category of symbols here.
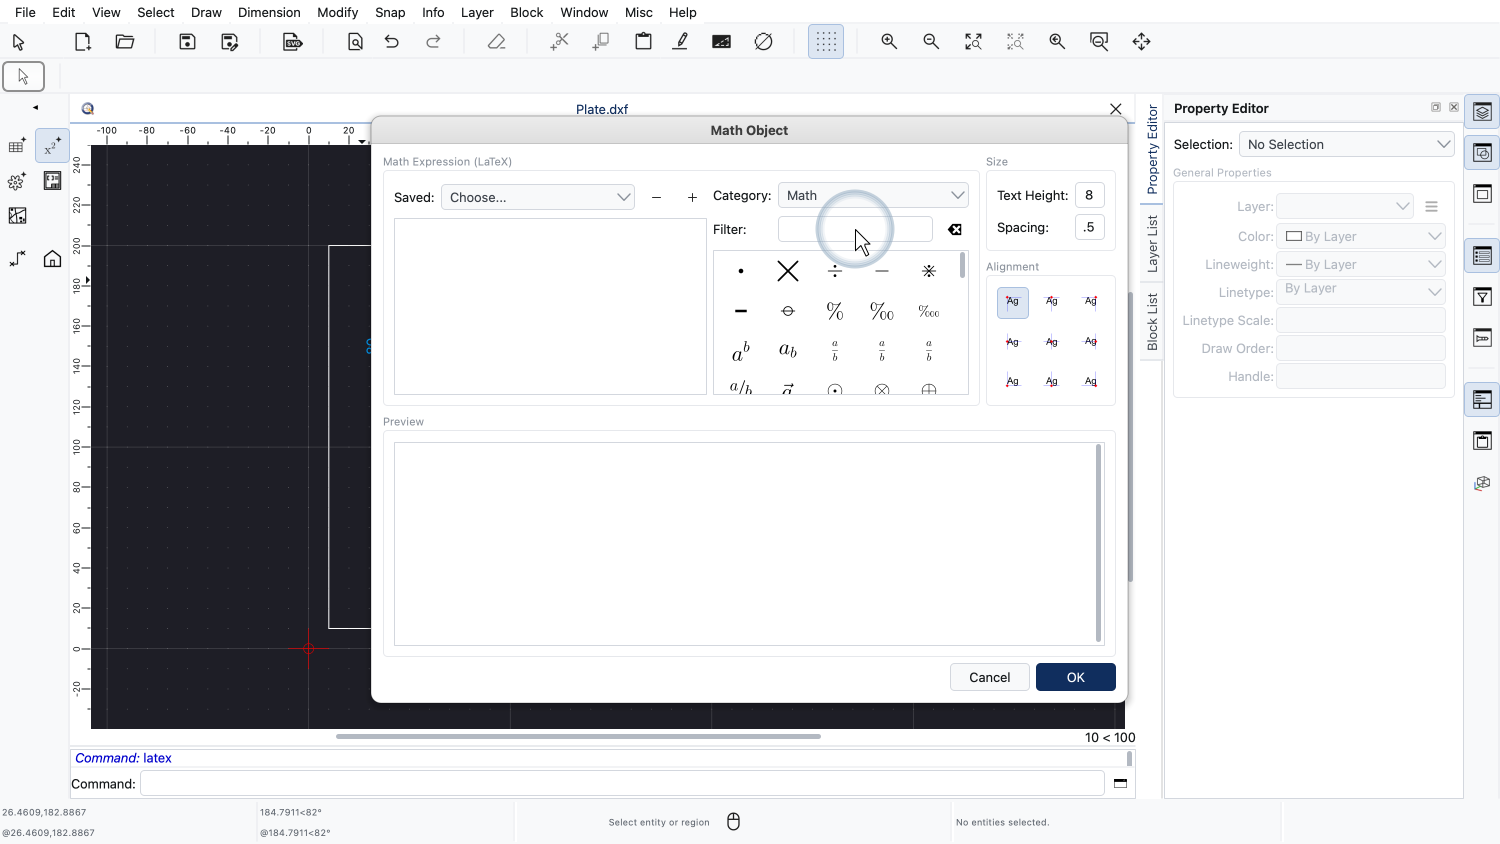
Or we can search for a symbol by name.
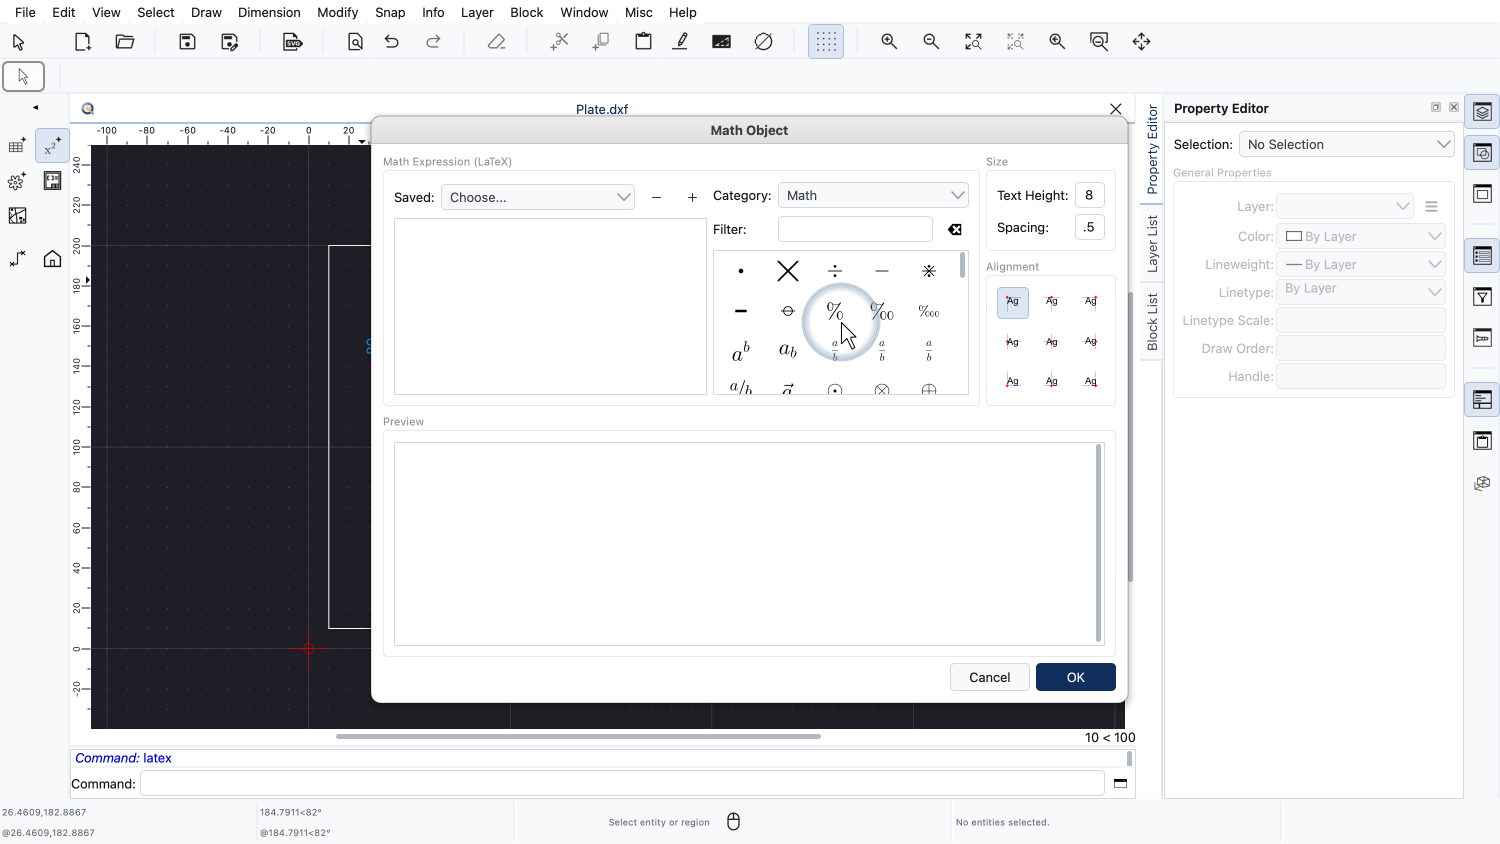
Clicking a symbol inserts its LaTeX code into the code editor at the cursor position.

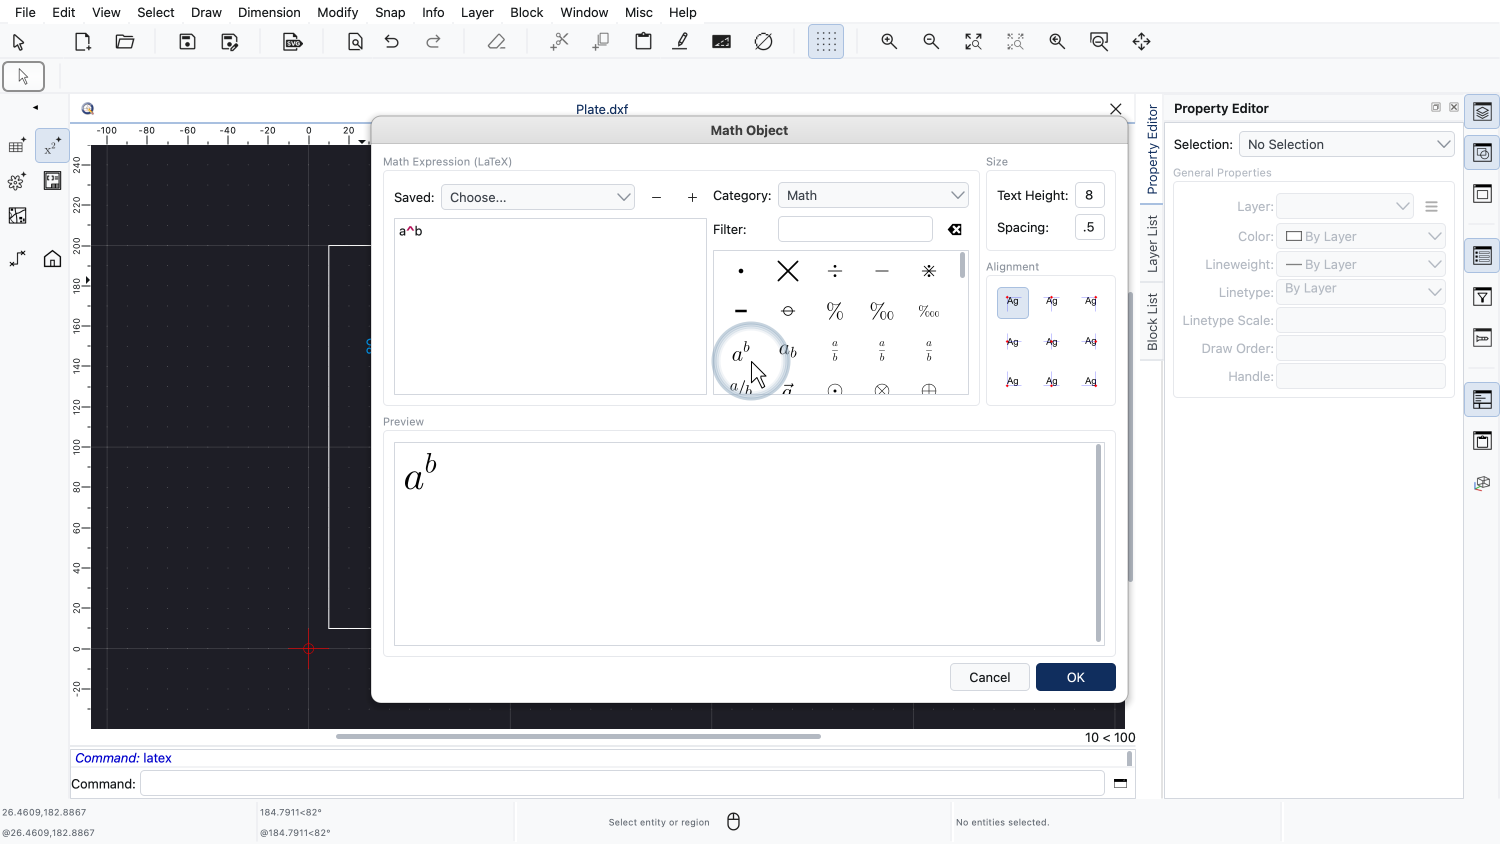
As an example, we click the symbol for a power.
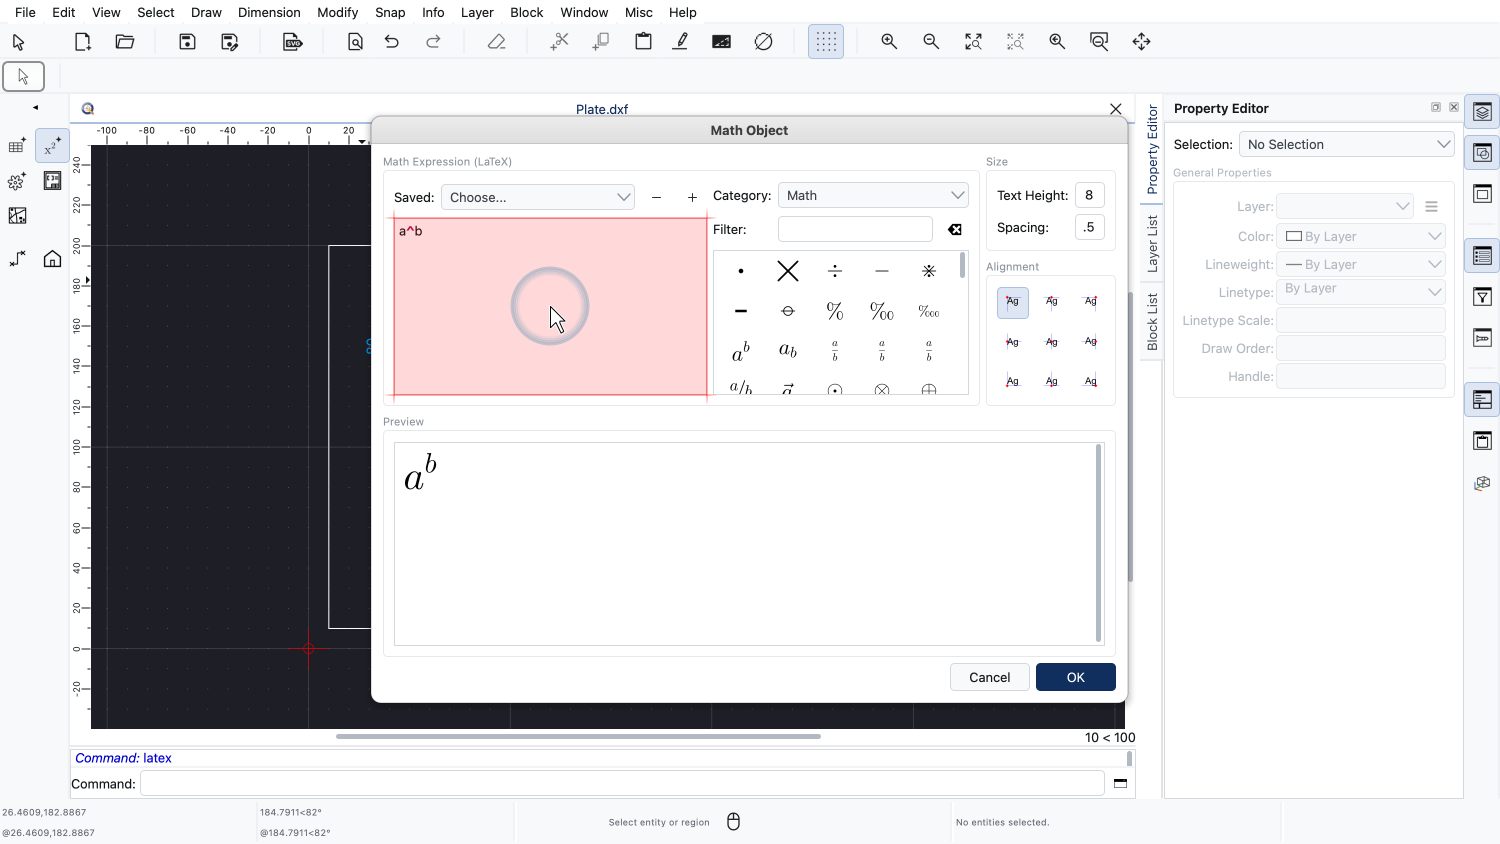
The LaTeX code of the symbol is inserted into the code editor and the preview shows the result.

We delete the code of the symbol again.
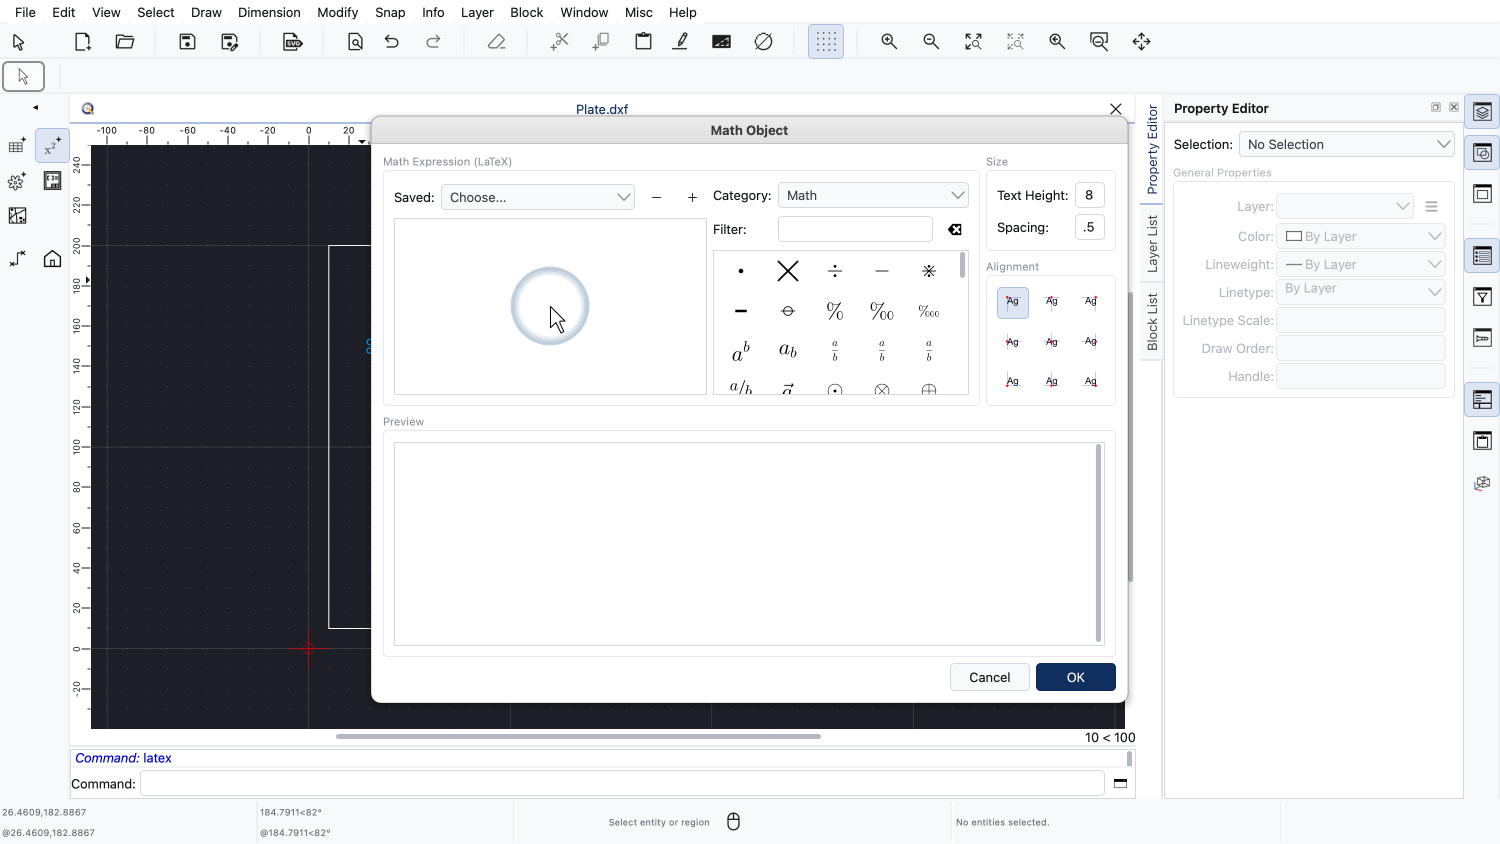
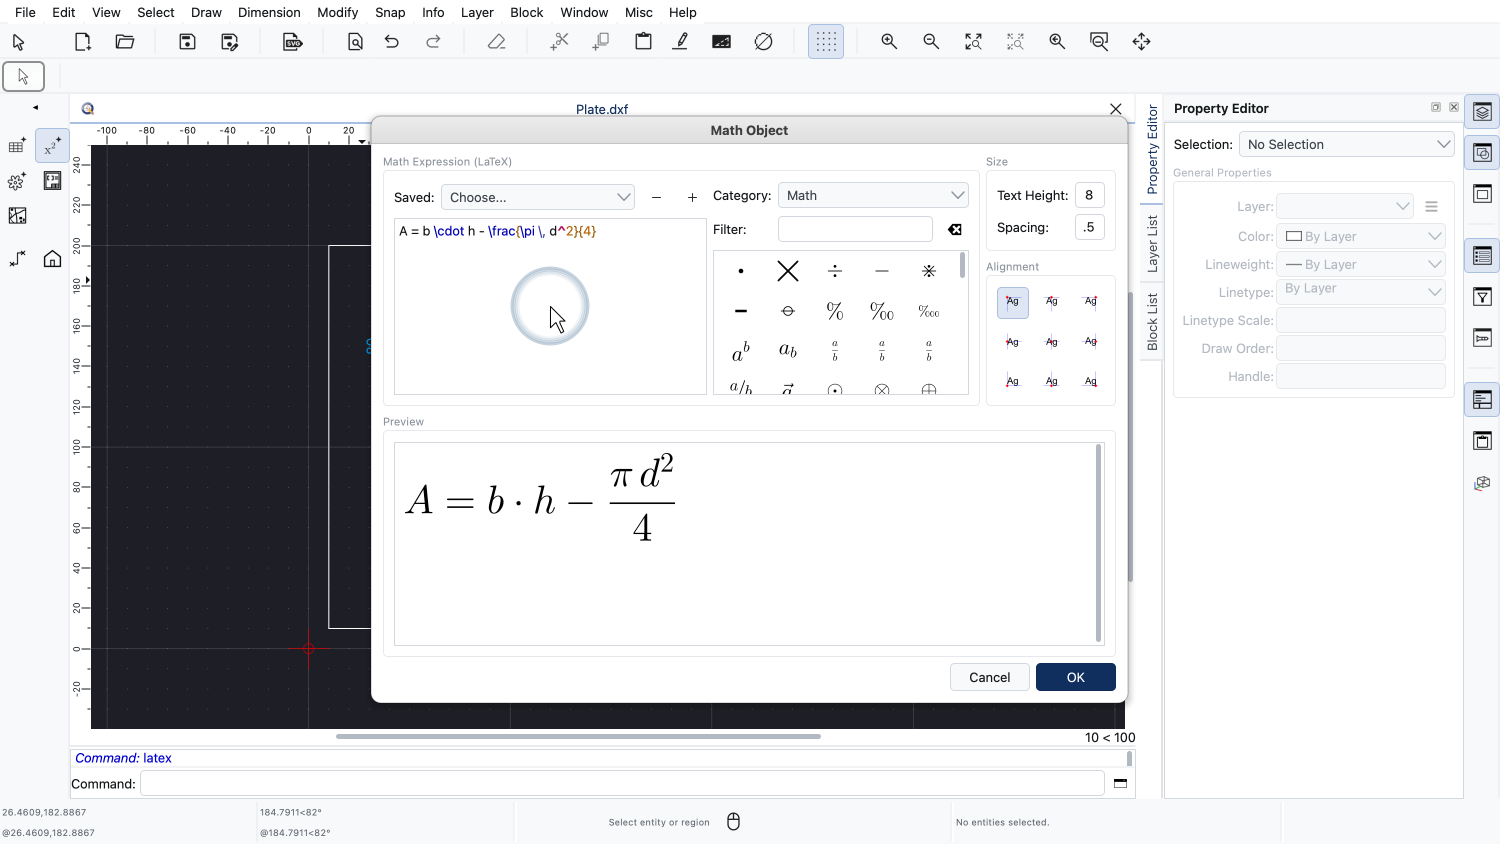
For our example, we type the formula for the area of the plate directly into the code editor.

The preview at the bottom shows how the expression will look in the drawing.
If the code contains an error, the preview shows a warning instead of the rendered expression.
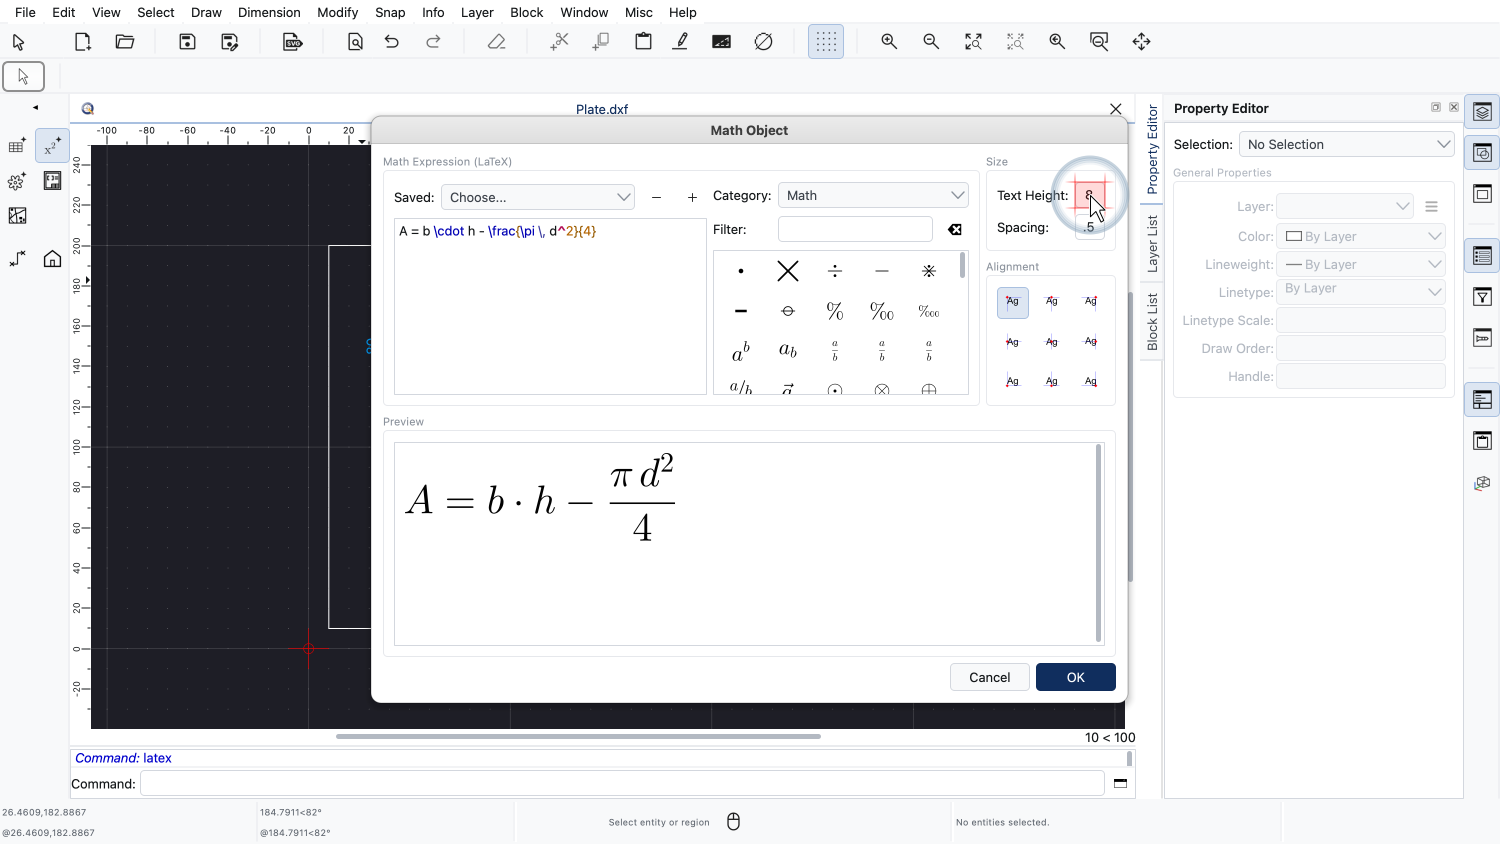
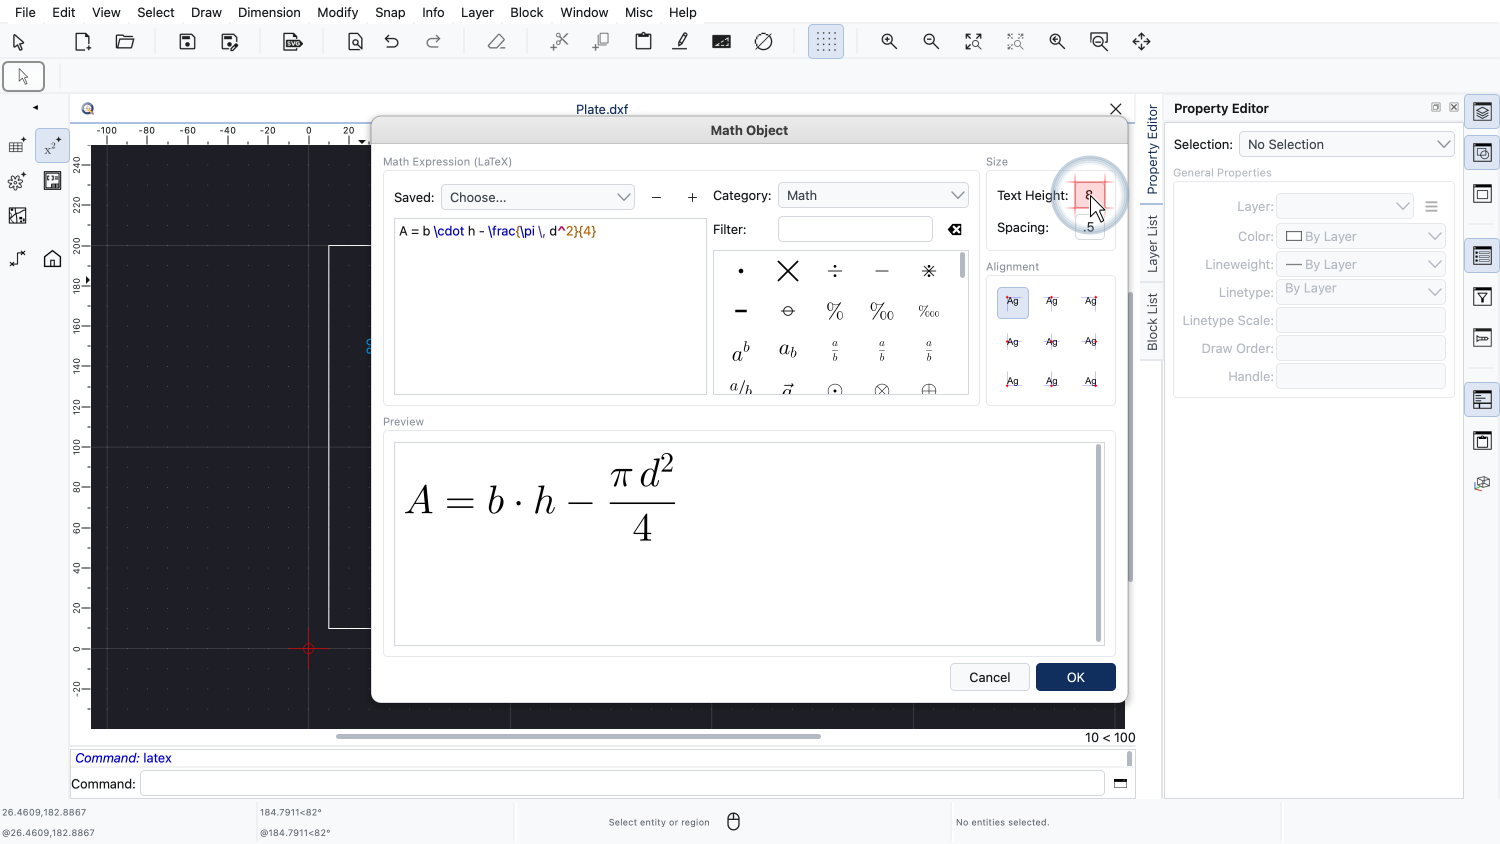
At the top right, we define the text height of the math object in drawing units.
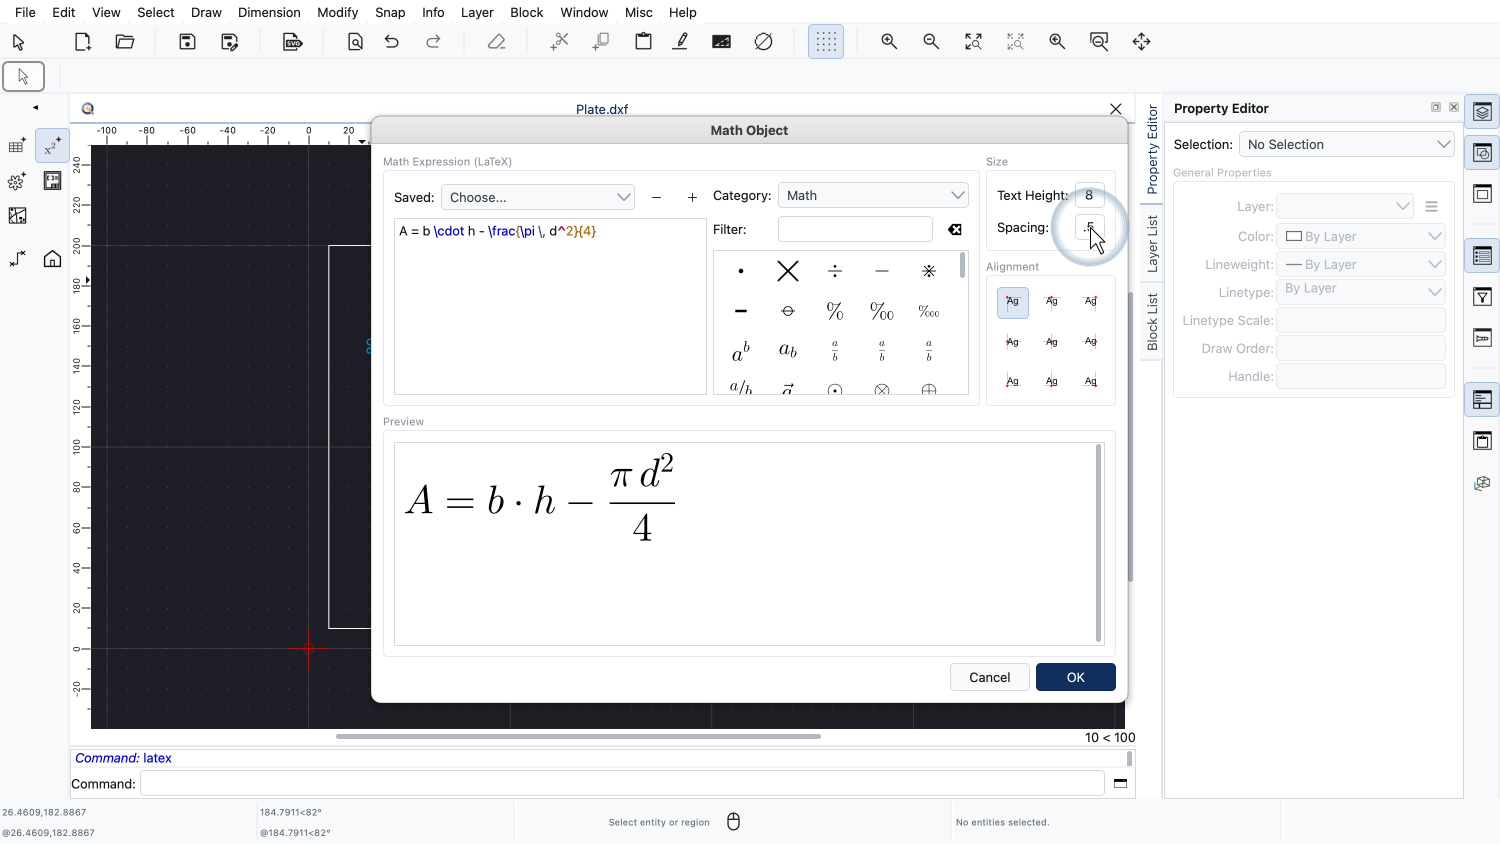
The spacing defines the distance between the lines of an expression with multiple lines.
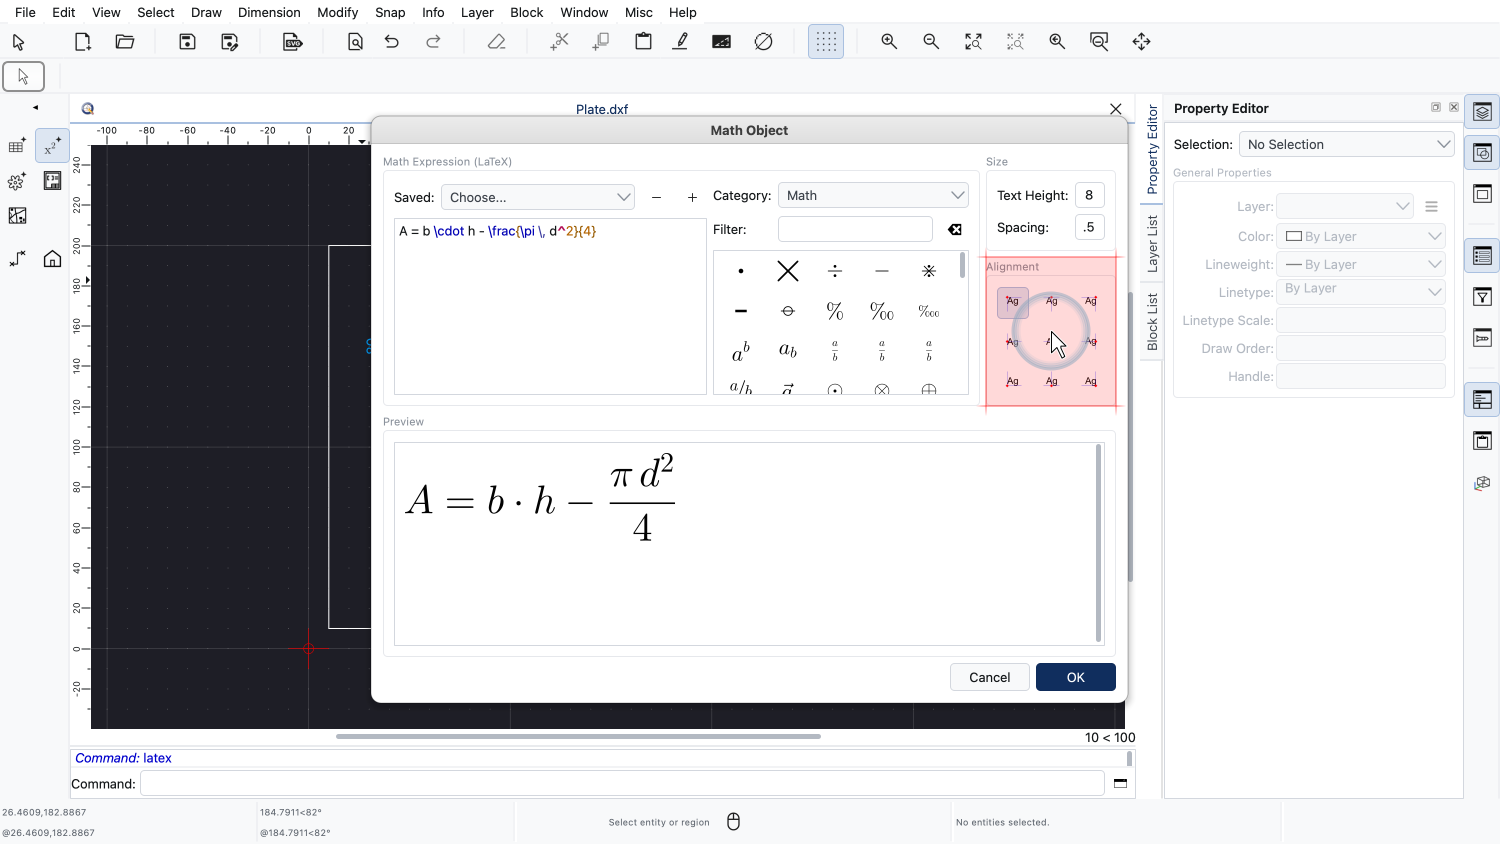
The alignment buttons define which point of the math object is used as its insertion point.
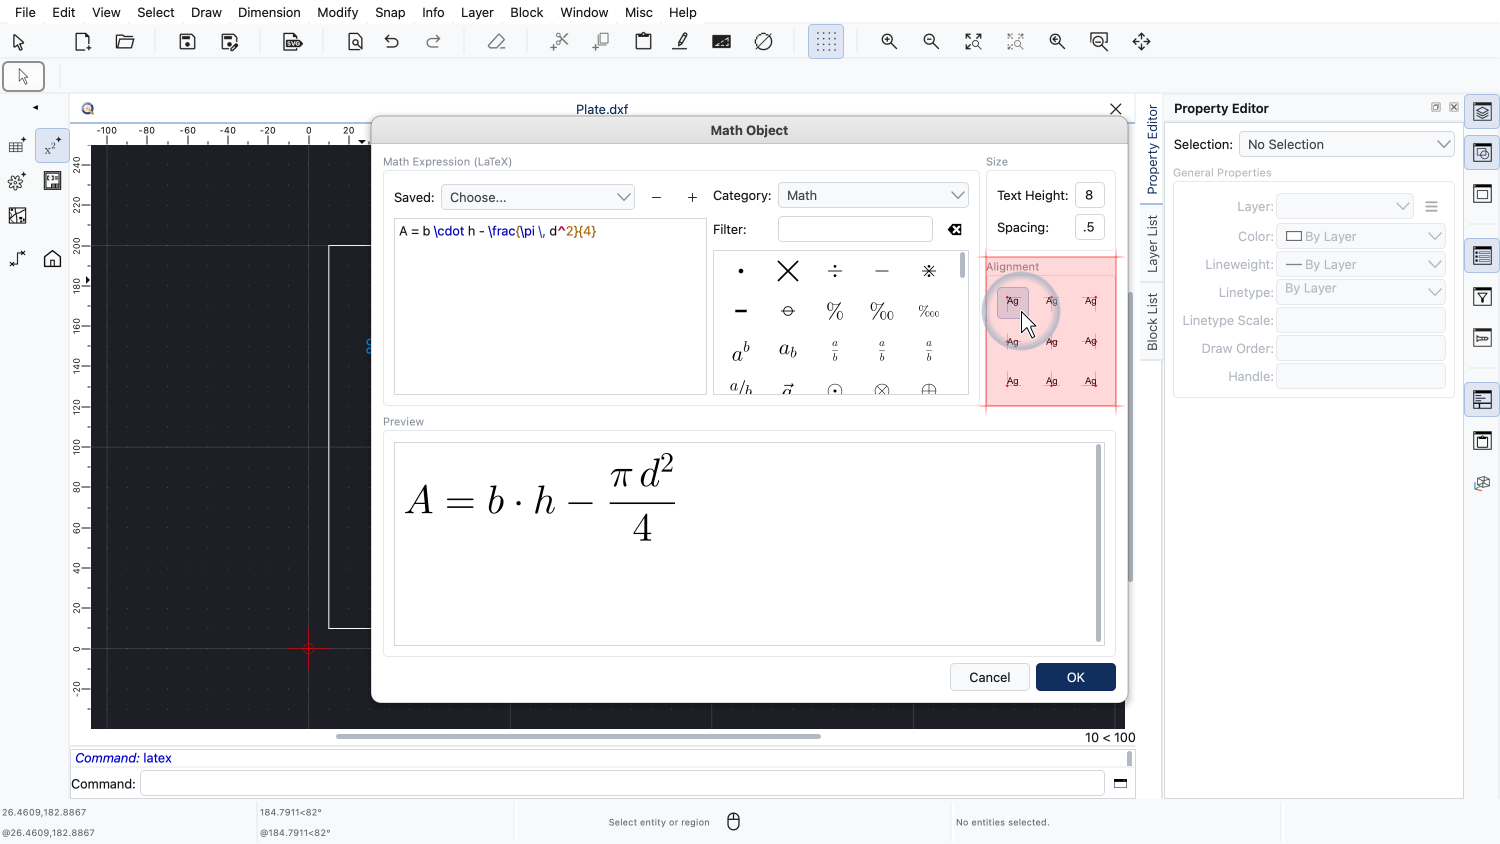
We keep the default alignment at the top left corner of the expression.
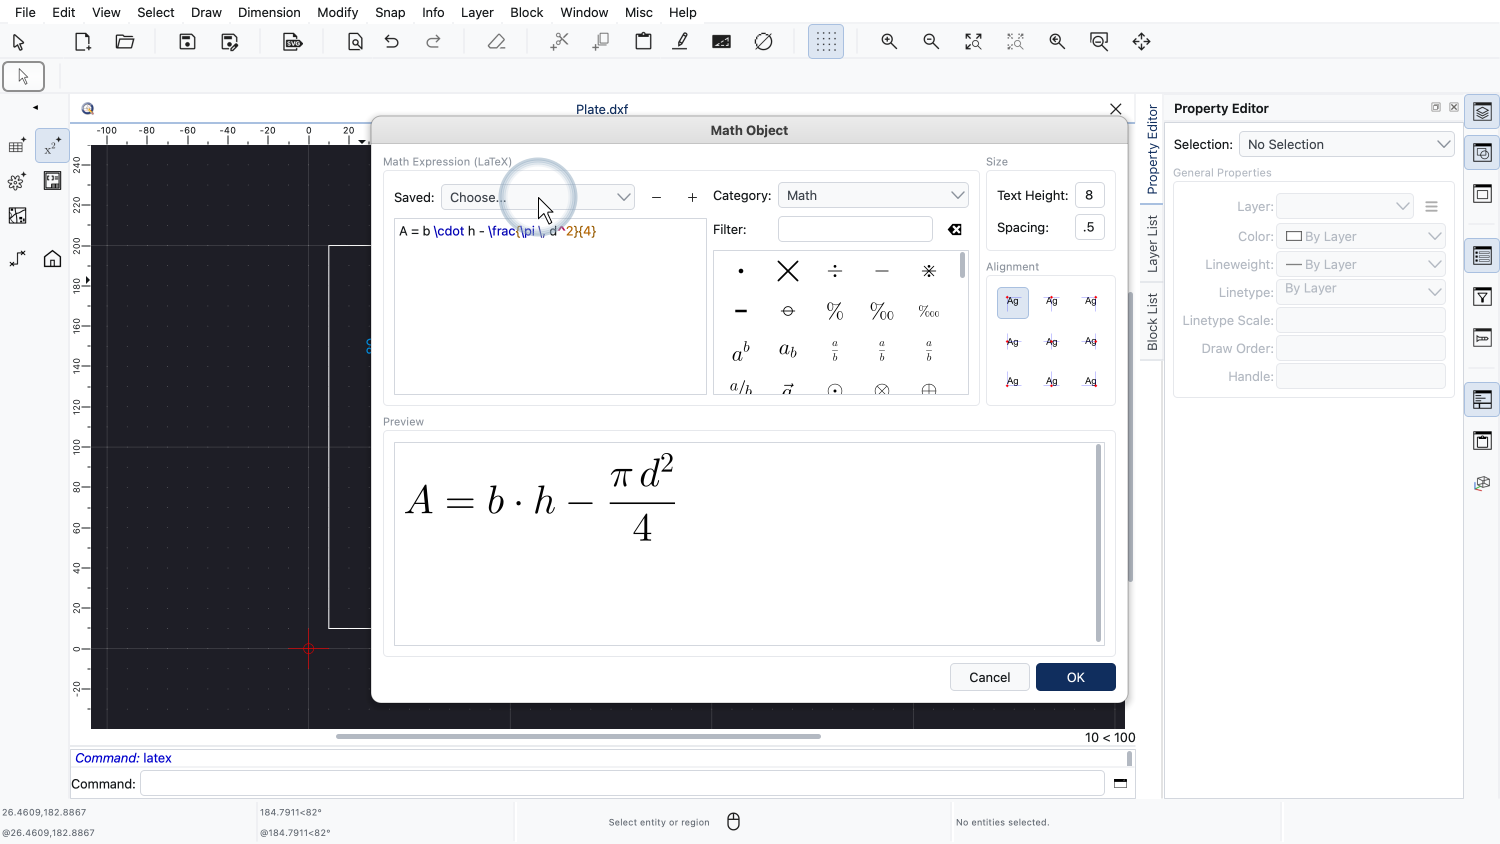
Expressions we need over and over again can be stored as presets and reused later.
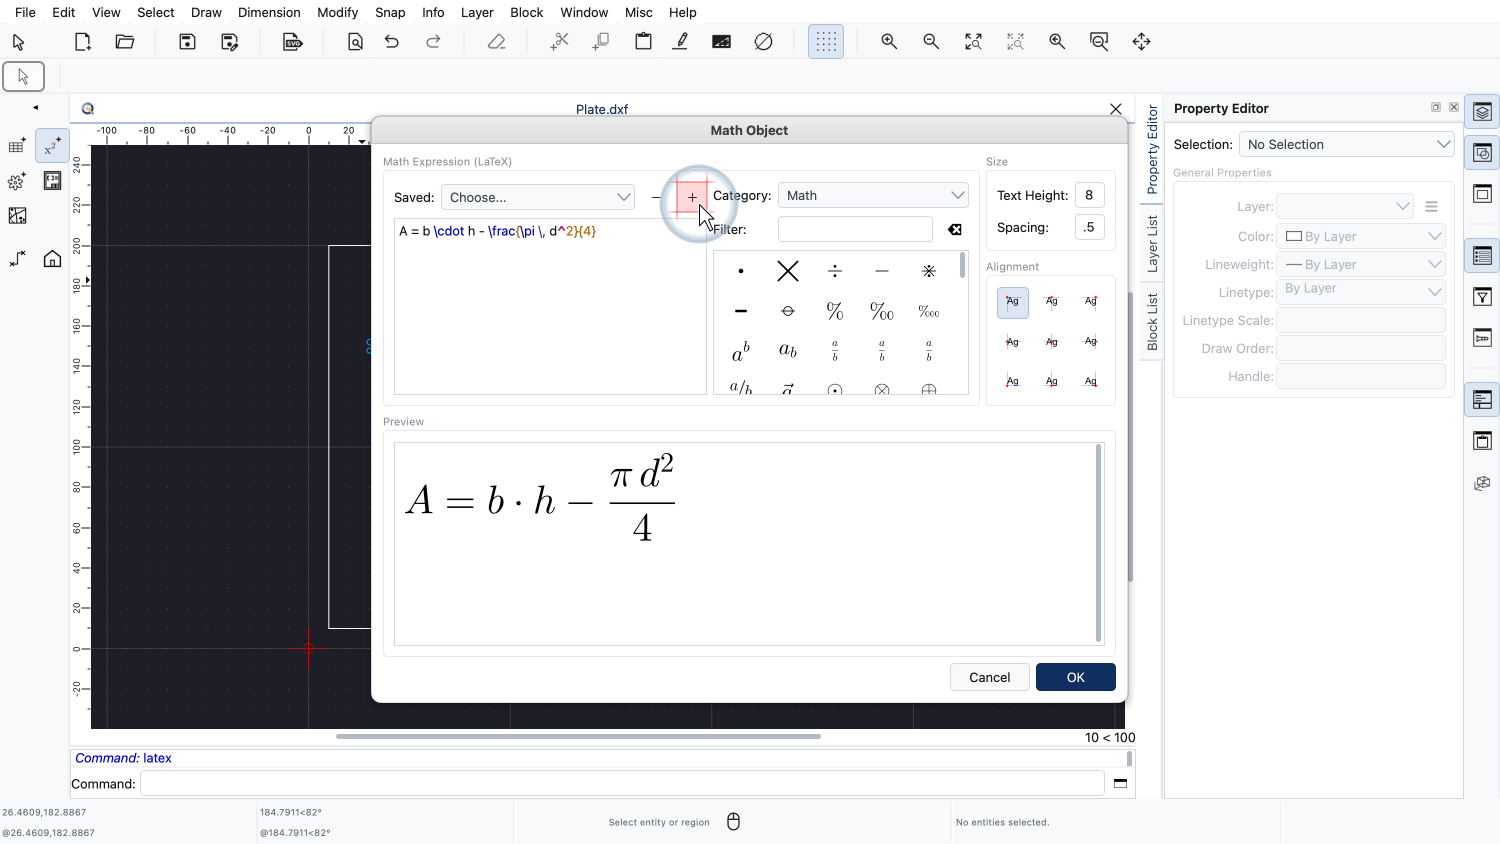
The button next to the preset list adds the current code to the list of presets.
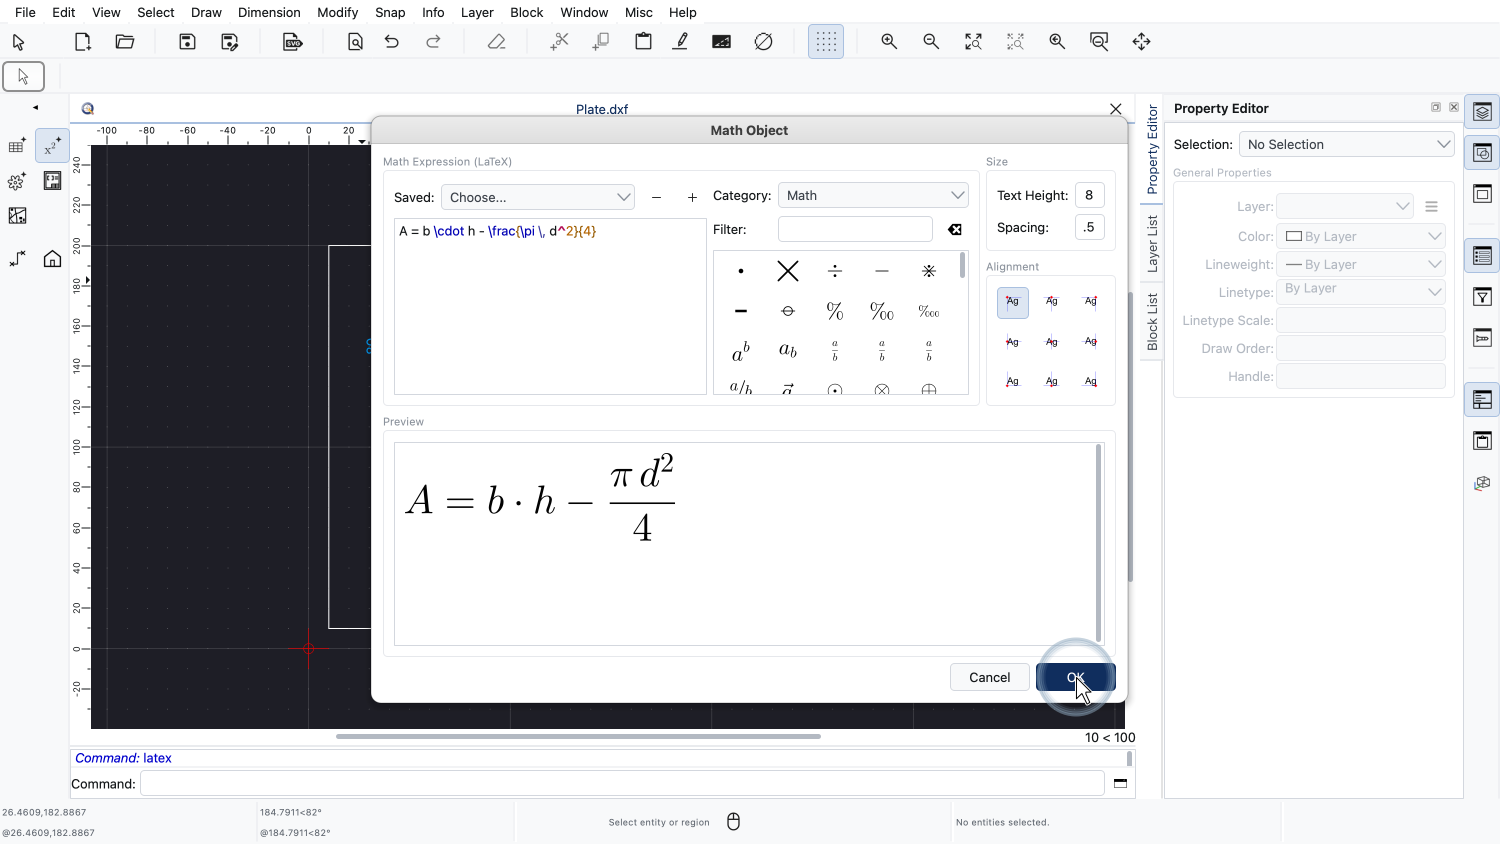
Our expression is now ready and we close the dialog.
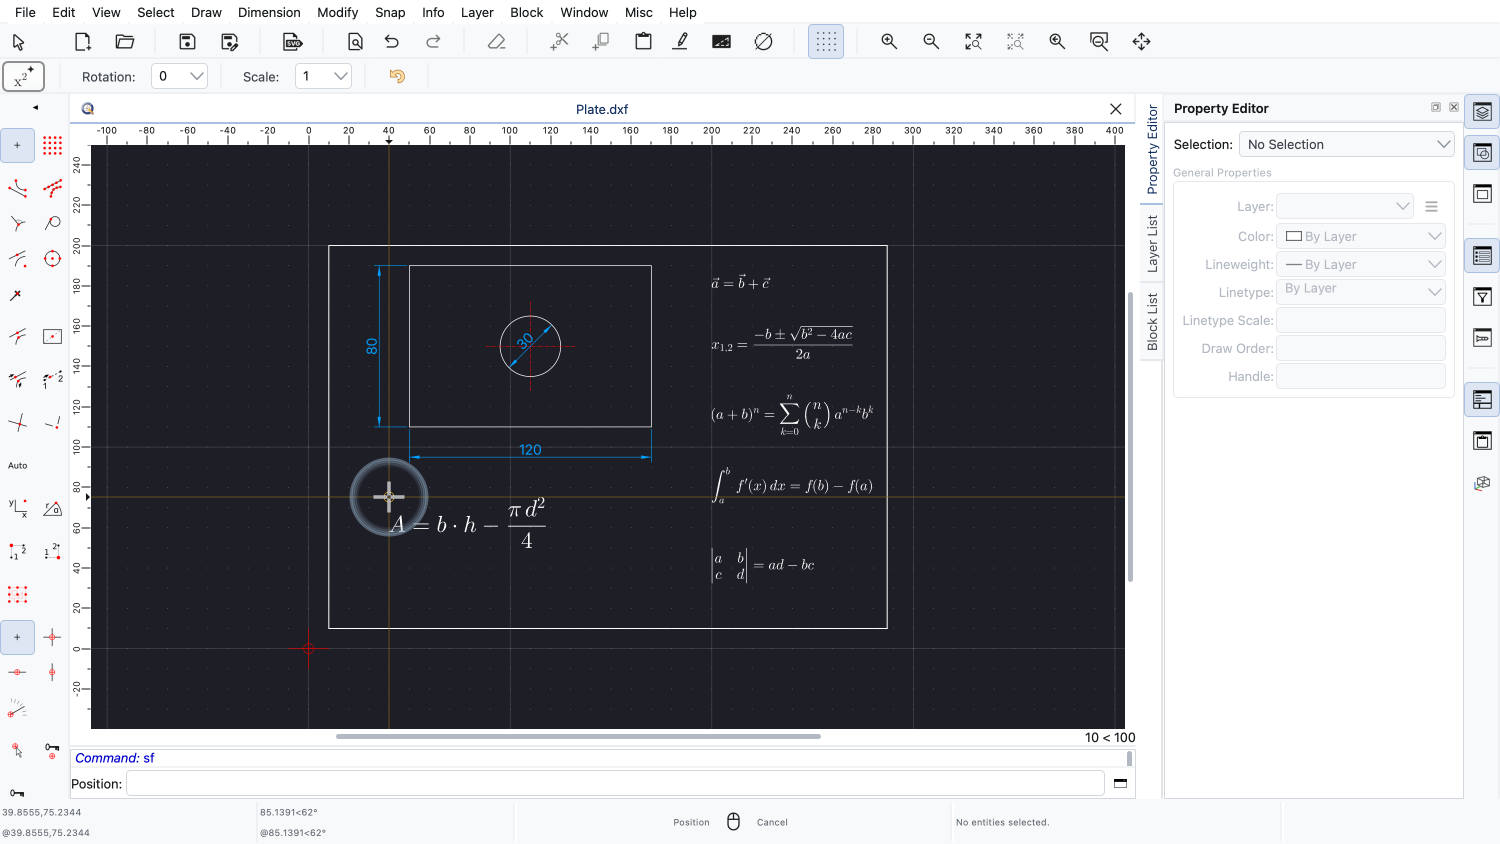
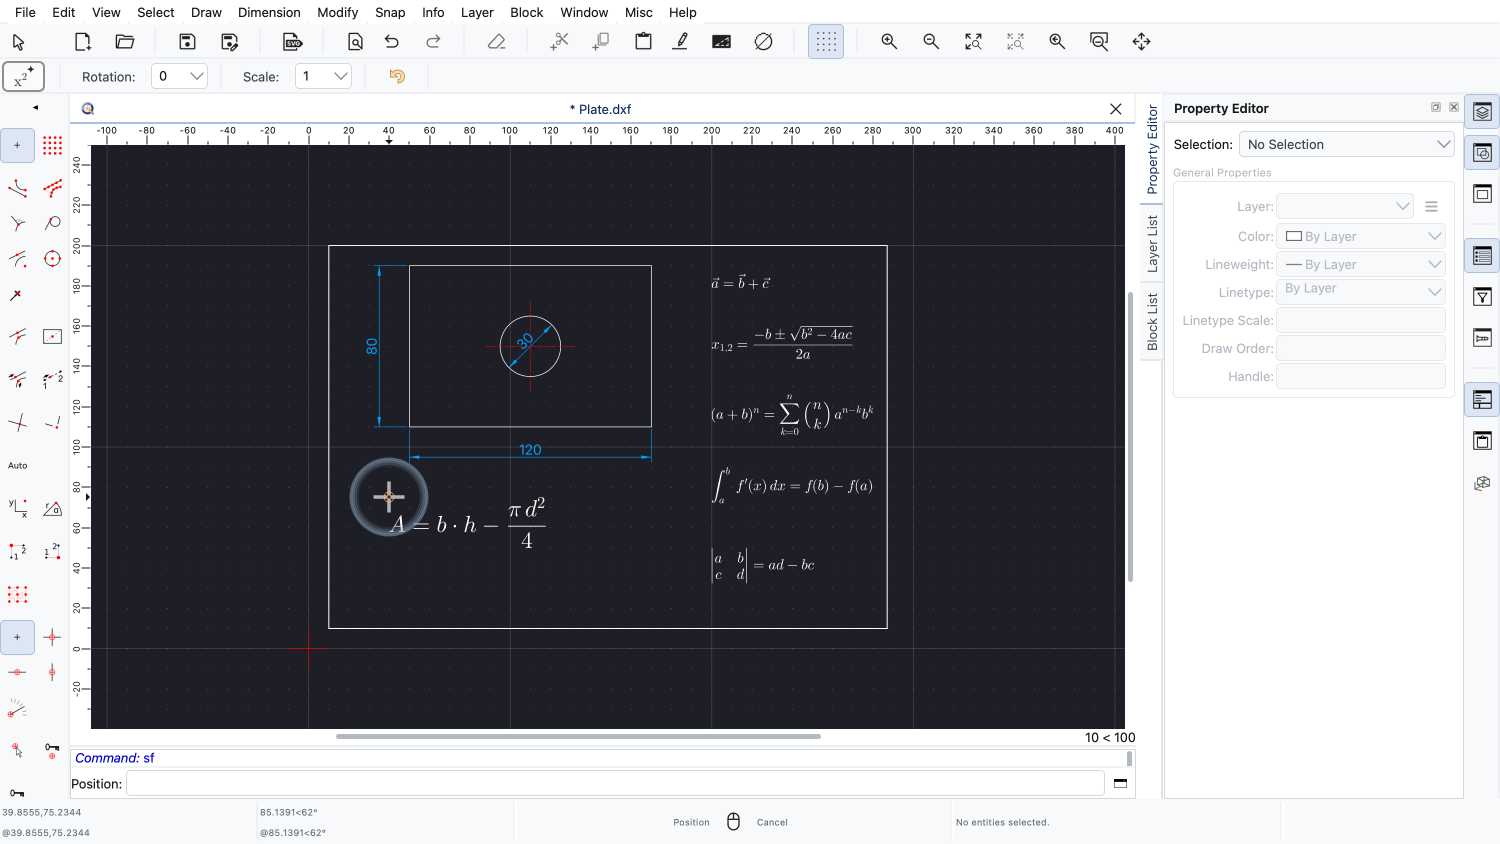
We can now click into the drawing to define the position of the math object.

The tool stays active, so we could add more copies of the same expression.
We finish the tool with a right click.
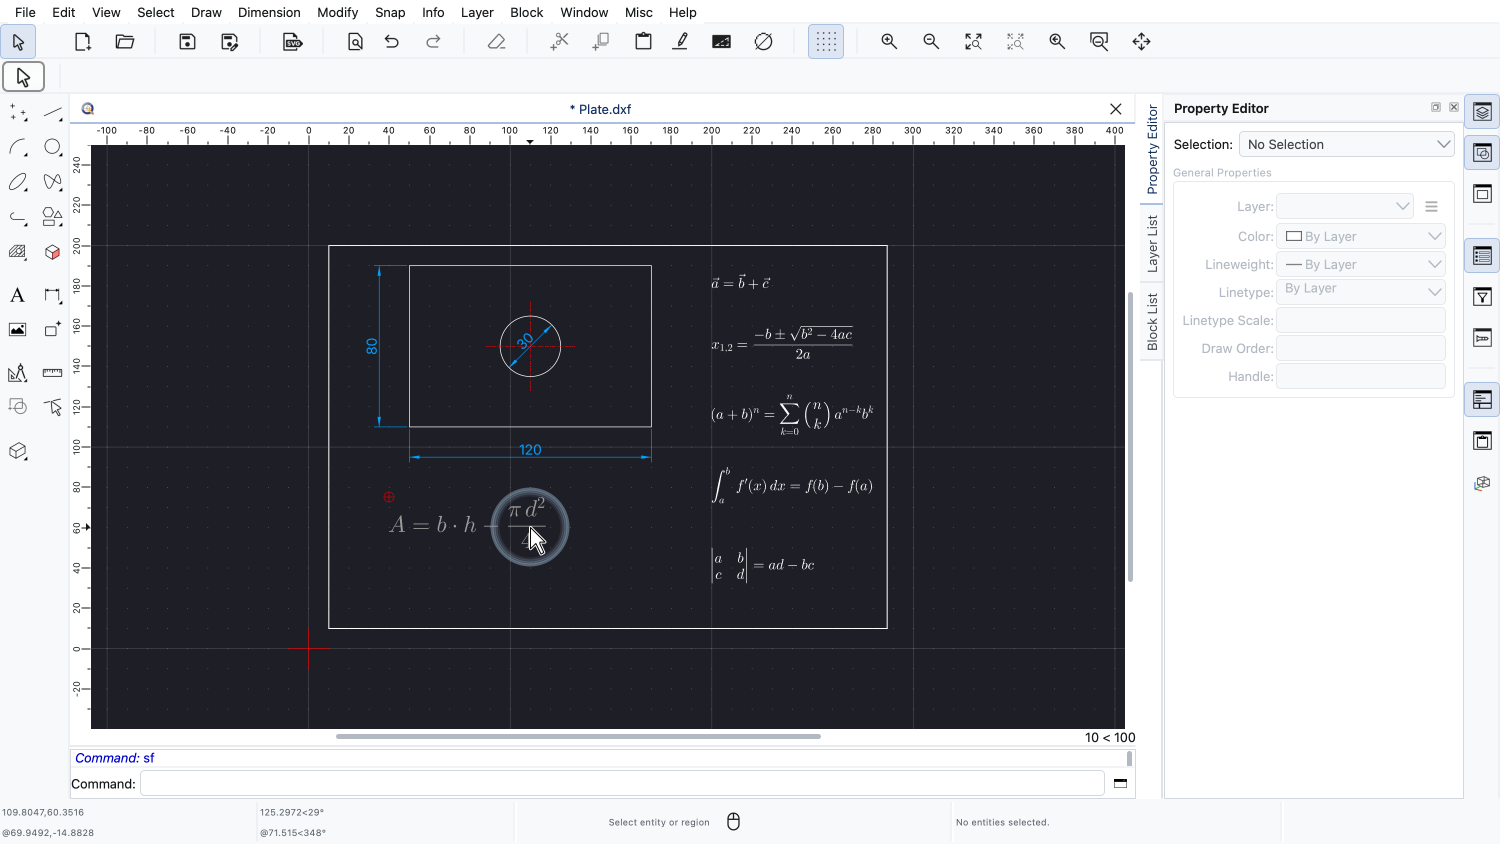
The formula is now a part of our drawing.
Let's have a closer look at what QCAD has added to our drawing.
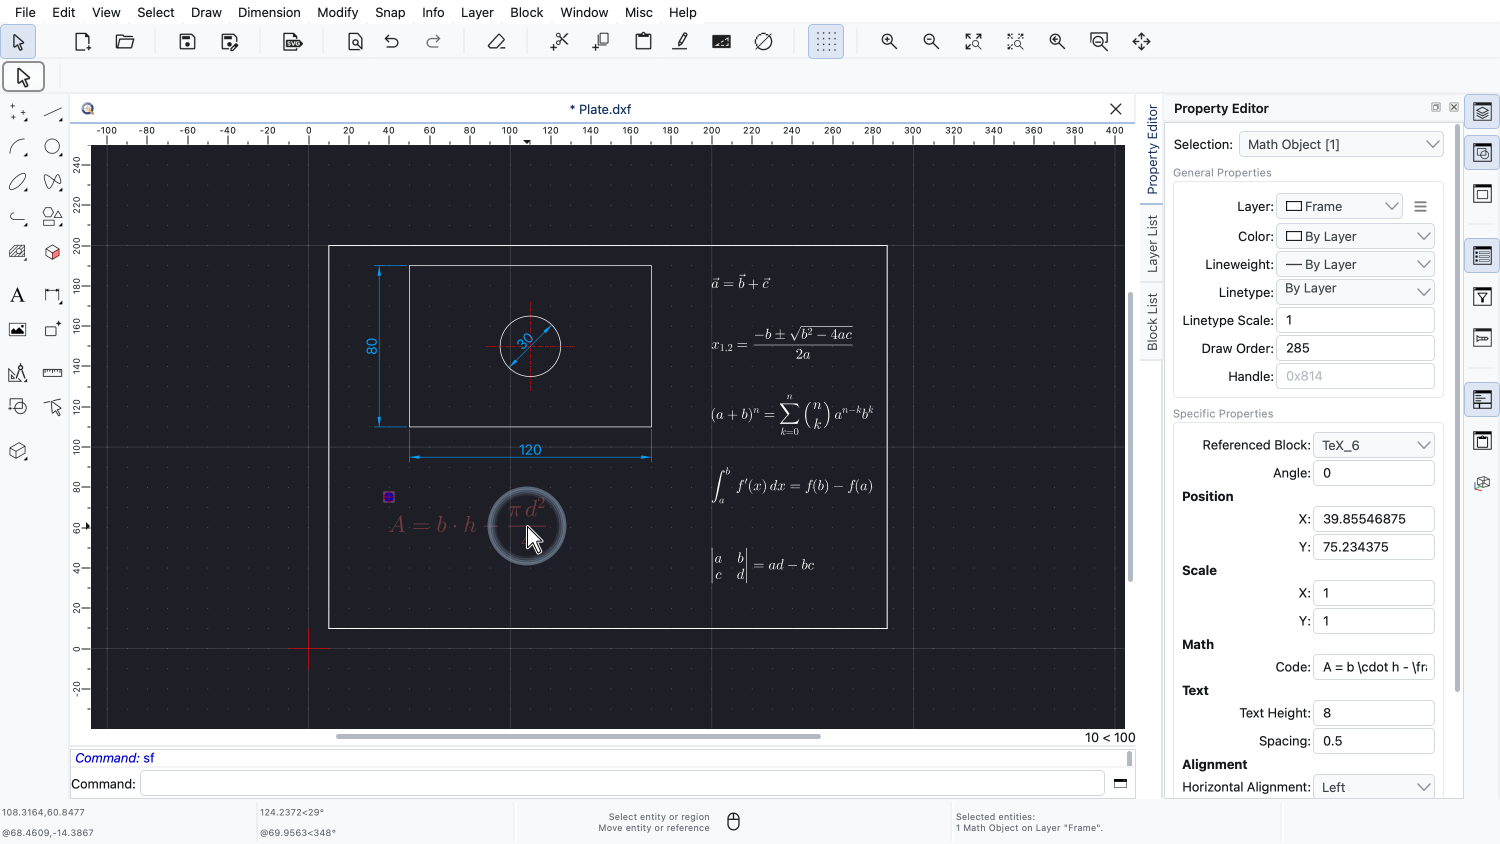
We click the formula to select it.

The property editor shows that the selected entity is a math object.
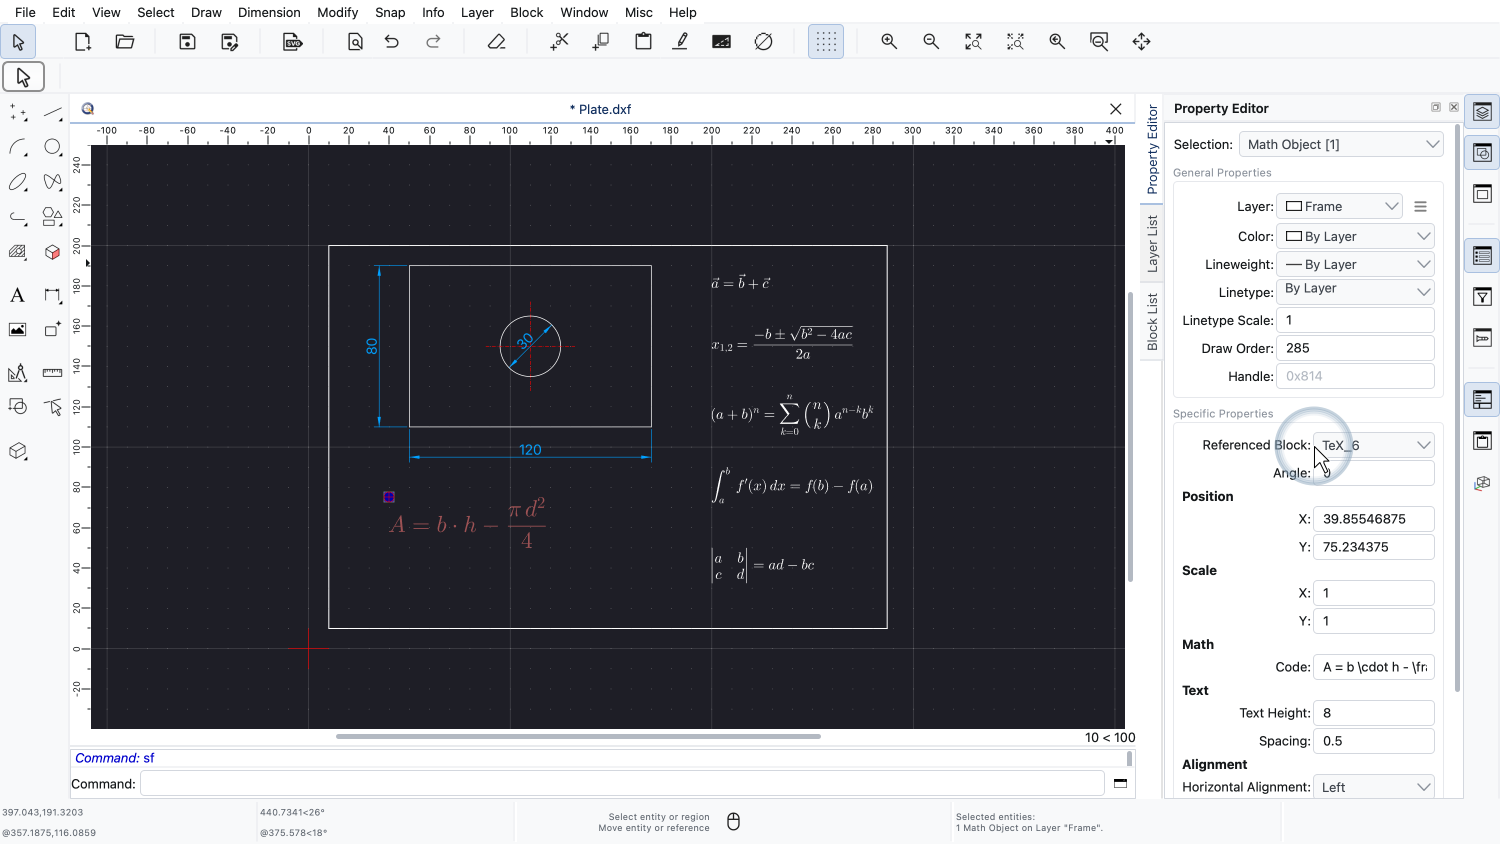
Besides the usual attributes such as layer, color and position, the property editor also lists the LaTeX code, the text height, the spacing and the alignment of the math object.
All these properties can be changed here directly, just like the properties of any other entity.
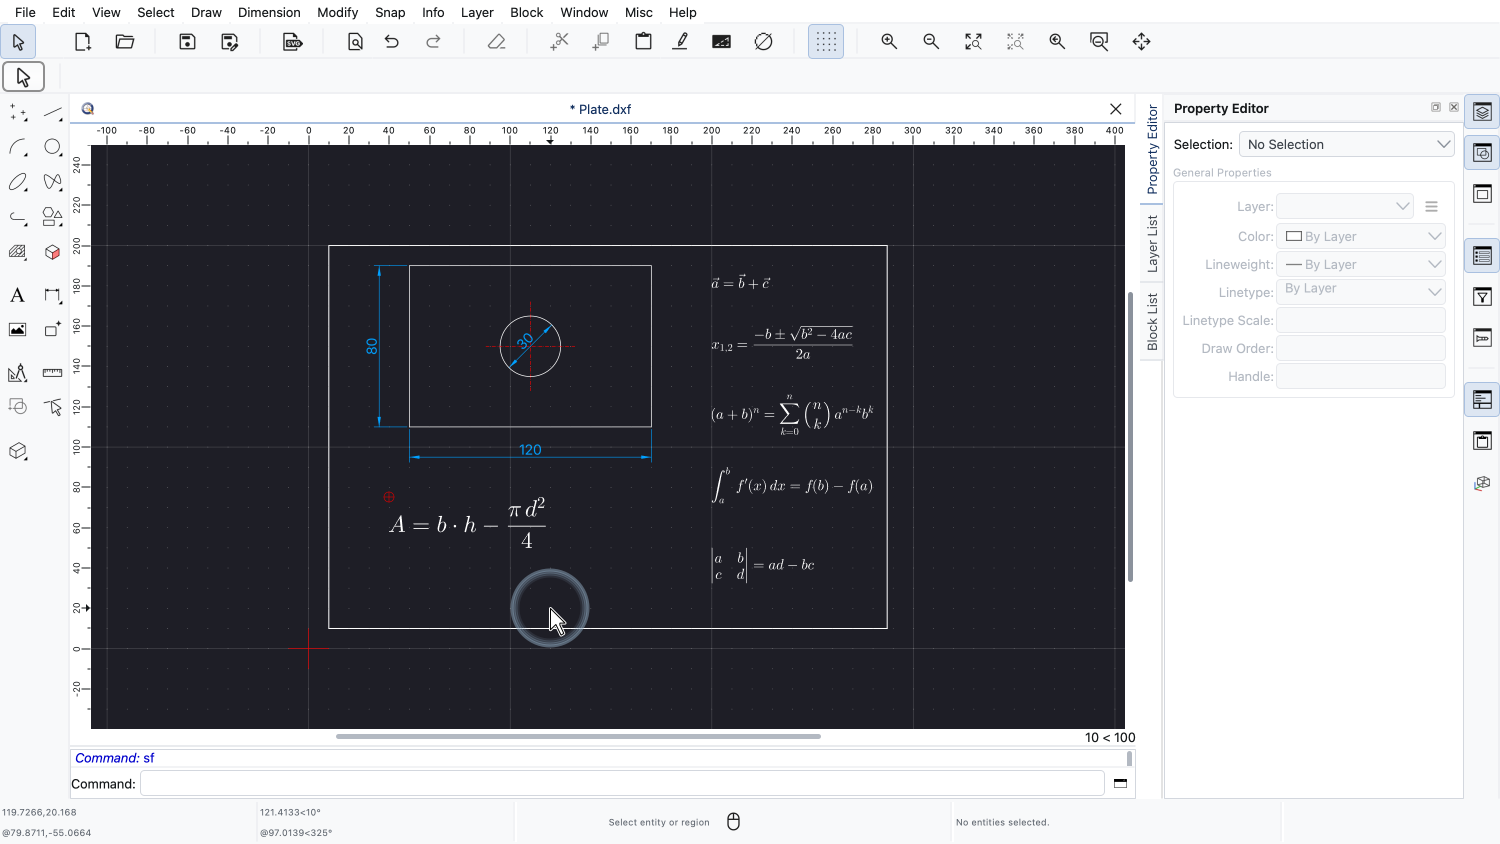
We deselect the math object again.
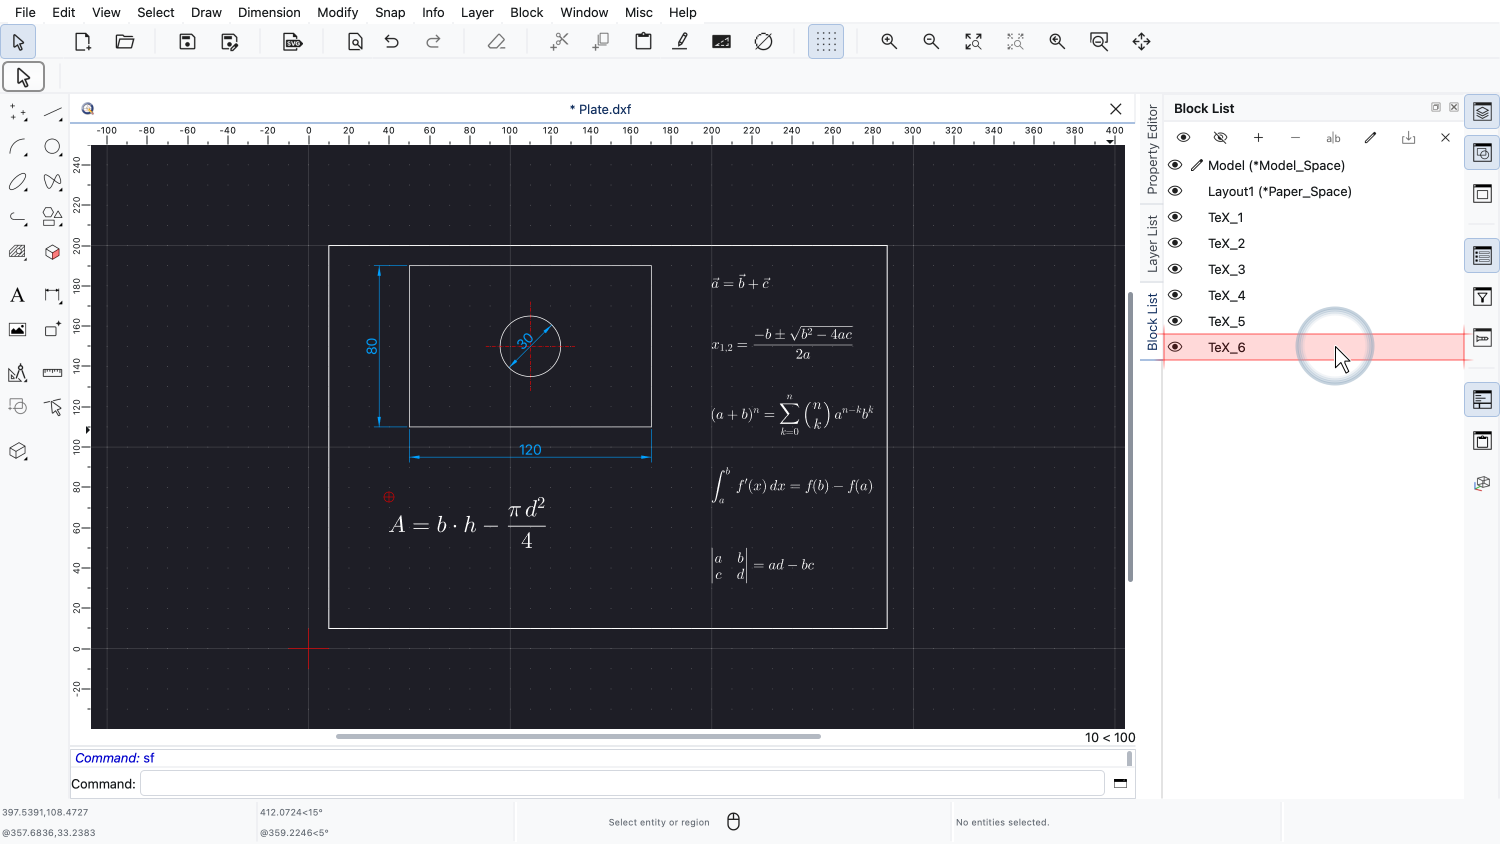
In the block list, we can see that QCAD stores each rendered math object in block of its own.
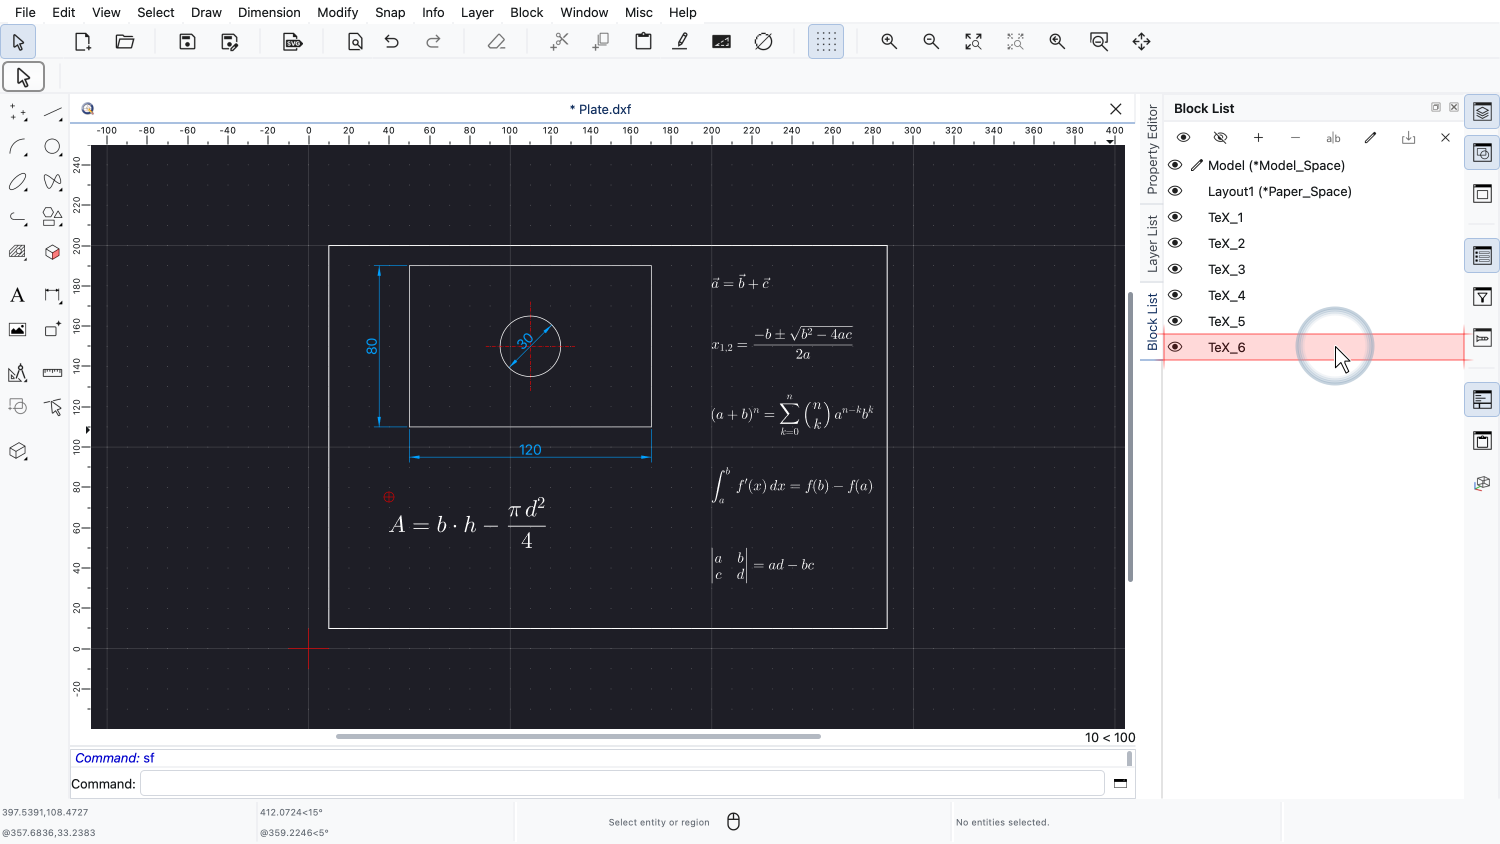
Each such block belongs to the math object it represents. When the math object is deleted, its block is removed as well.
This is also how math objects are stored in DXF and DWG files. As regular blocks with the rendered geometry of the mathematical expressions inside.
Other CAD applications can read these files and show the formula exactly as we see it here, as a block reference.
However, other CAD applications cannot re-render the LaTeX code.
The formula can therefore only be edited as a math object in QCAD Professional.
In other CAD applications, it remains an ordinary block that cannot be edited as a math object.
We now want to add the result of our calculation to the formula.
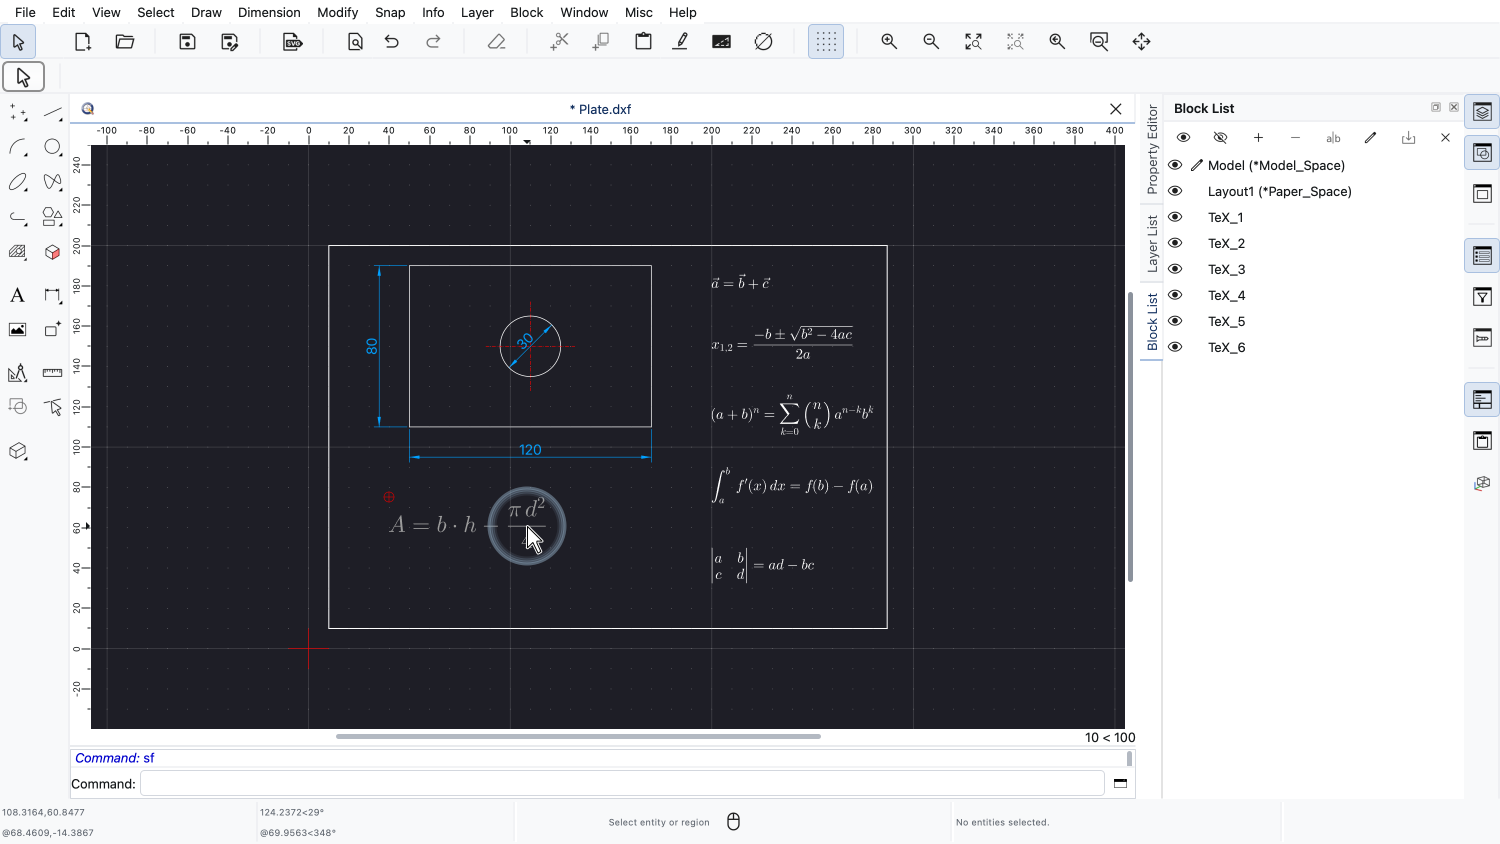
To edit a math object, we simply double-click it.
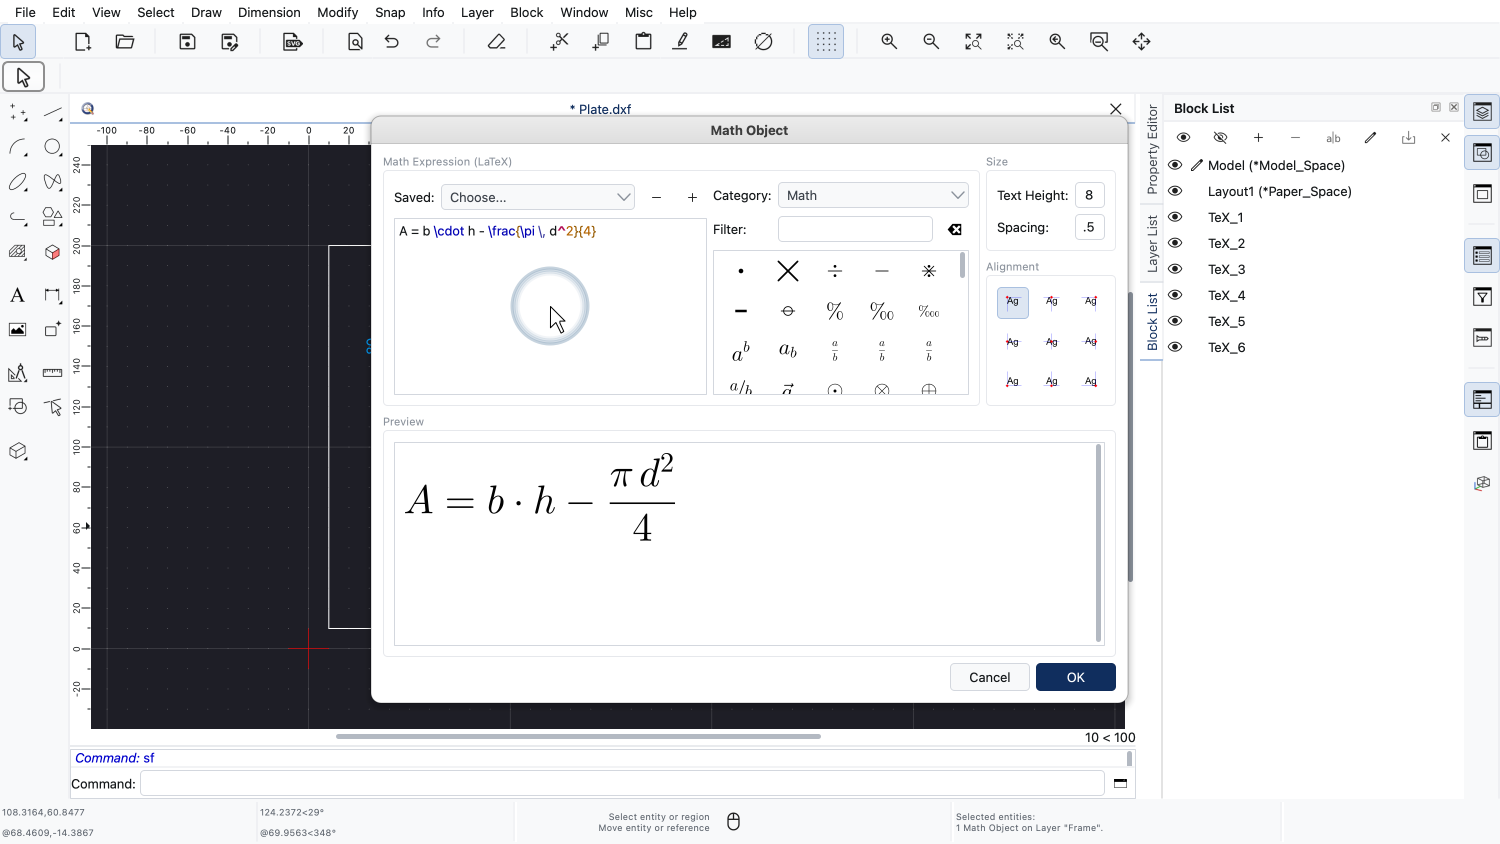
The math object dialog opens again, with the LaTeX code of the math object we double-clicked.
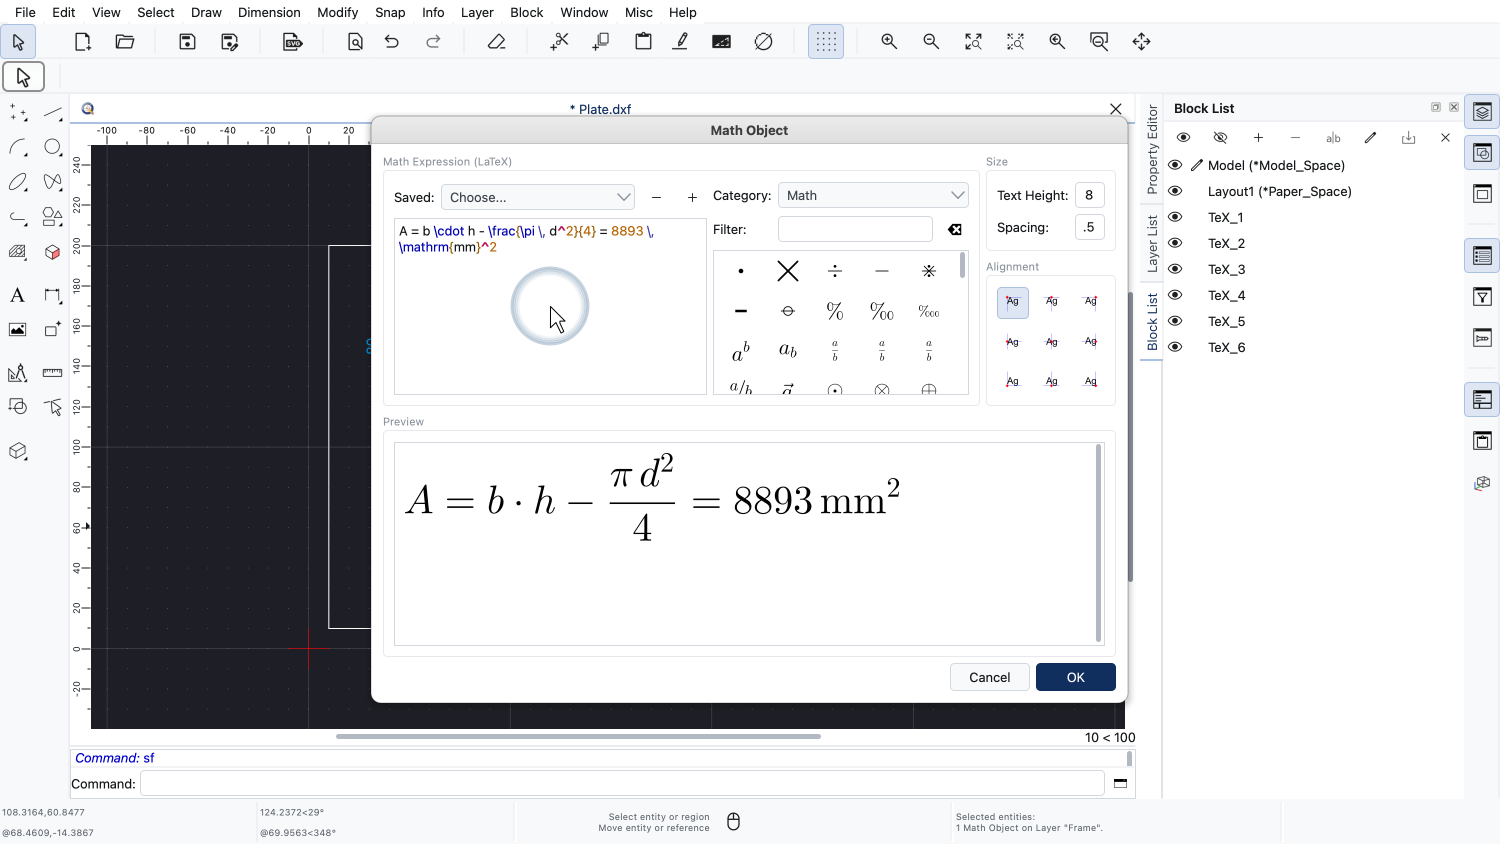
We add the result of the calculation to the end of our expression.
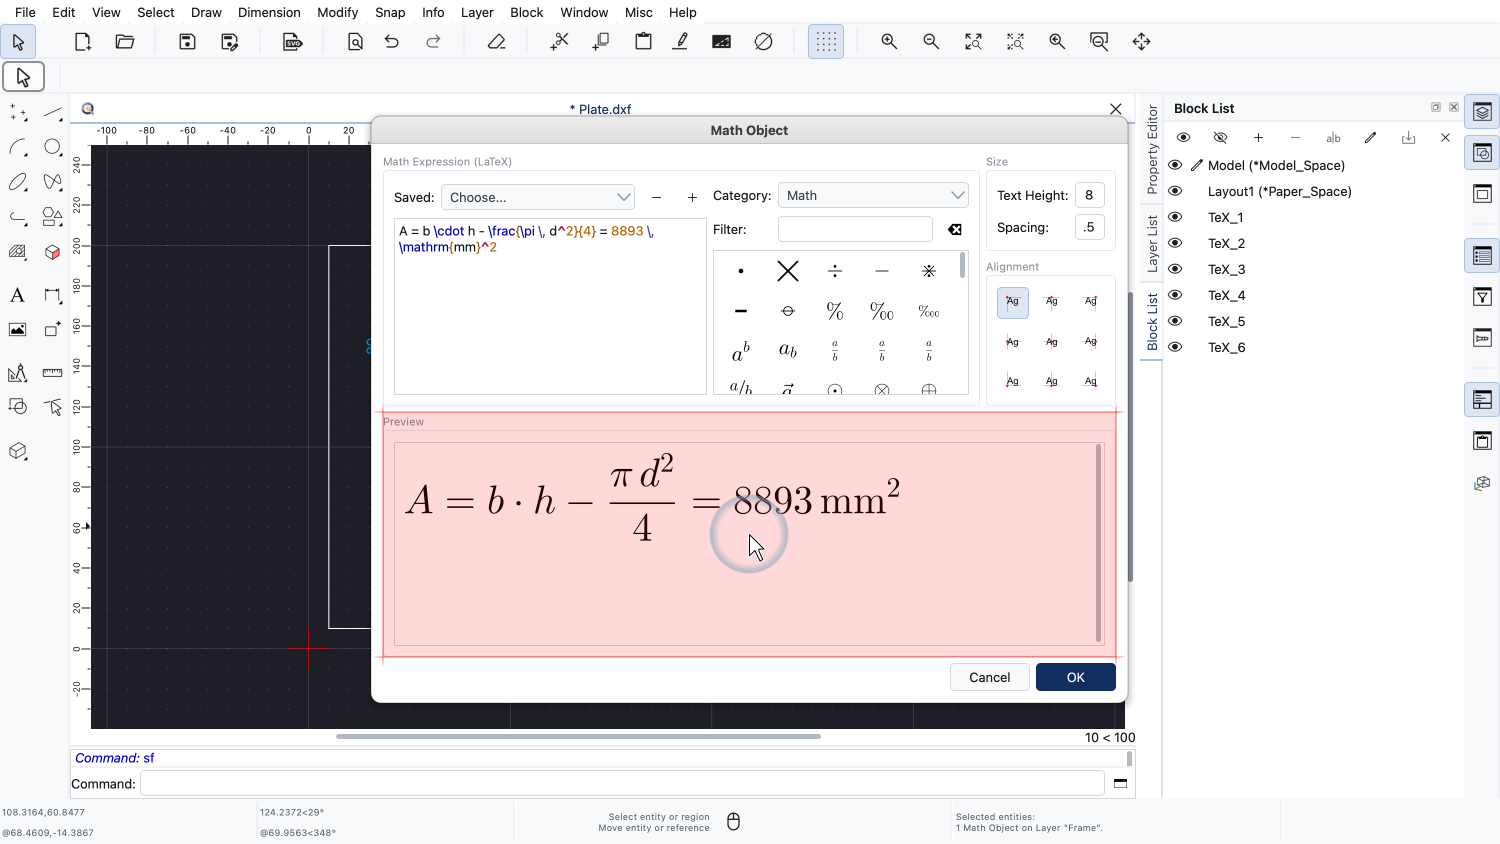
The preview shows the updated expression.
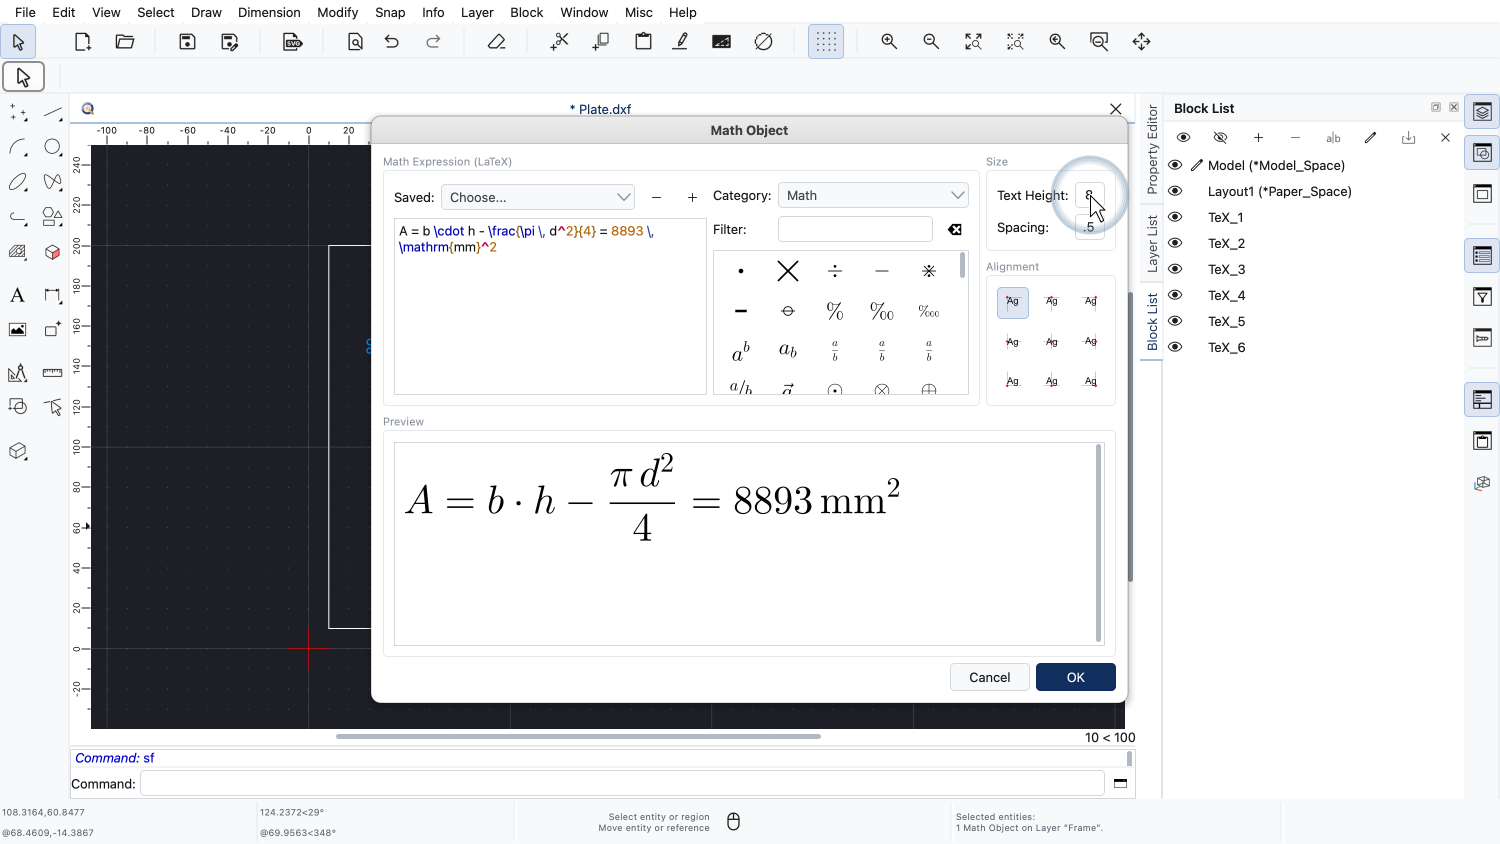
Text height, spacing and alignment can be changed here at any time, too.
We confirm our changes.
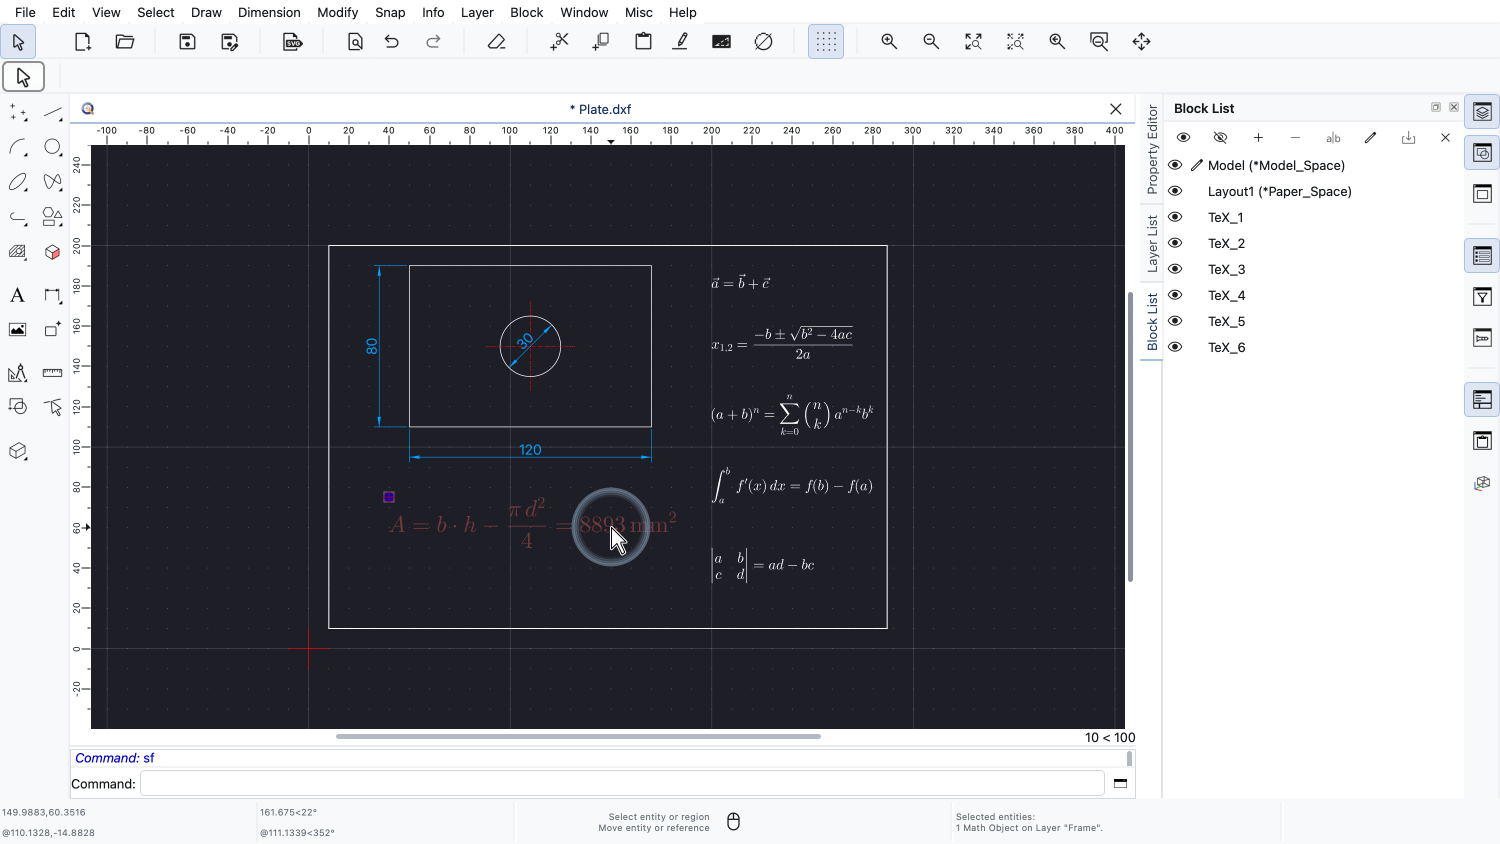
QCAD renders the expression again and updates the math object in our drawing.
A math object can also be edited from its context menu, using the tool Edit Math Object.
Finally, we look at how a math object can be turned into plain geometry.
This is called exploding.
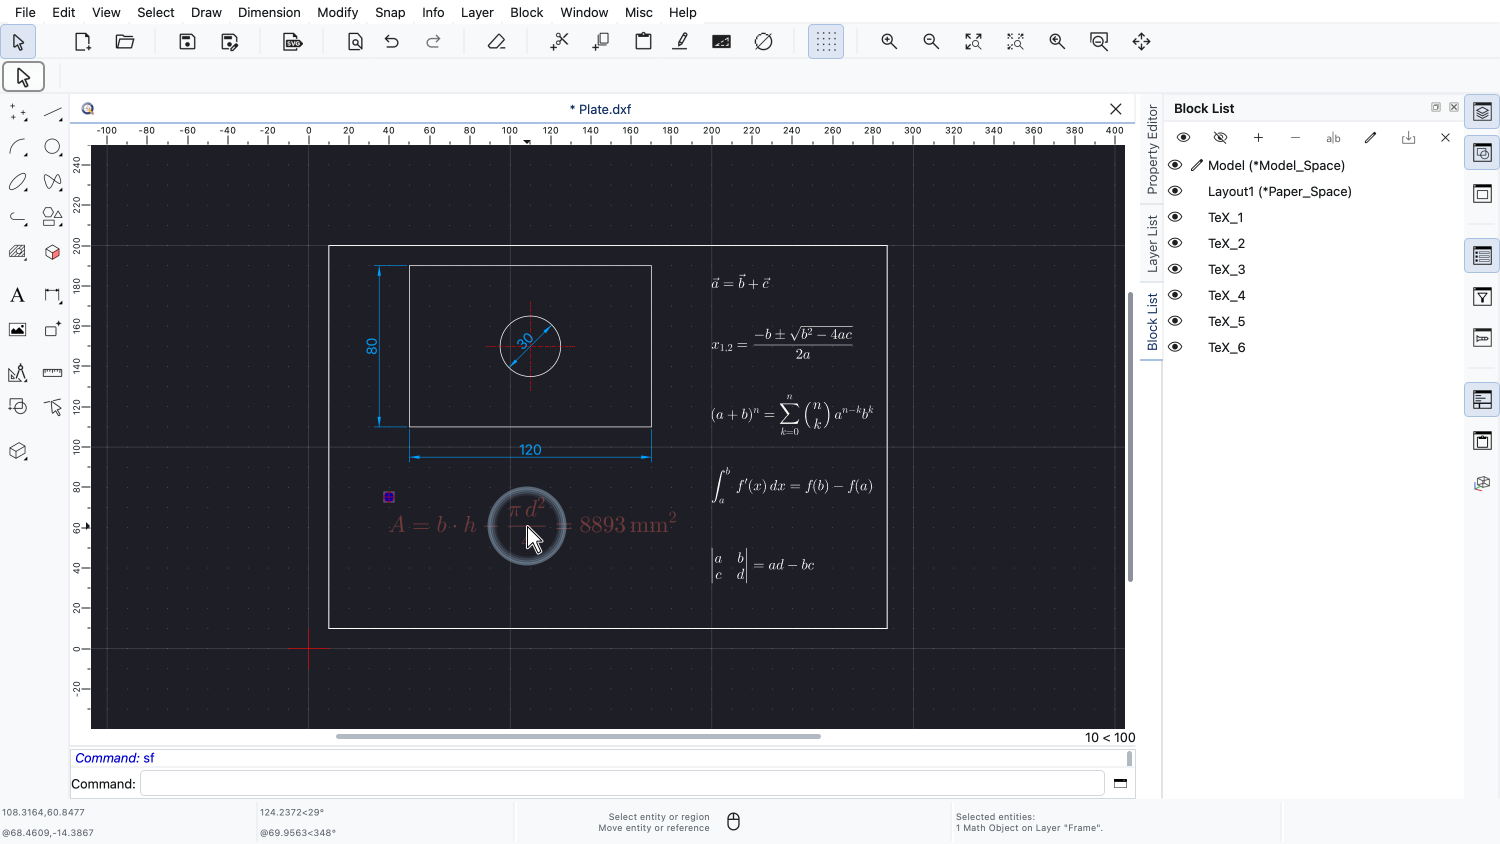
We select the math object we want to explode.
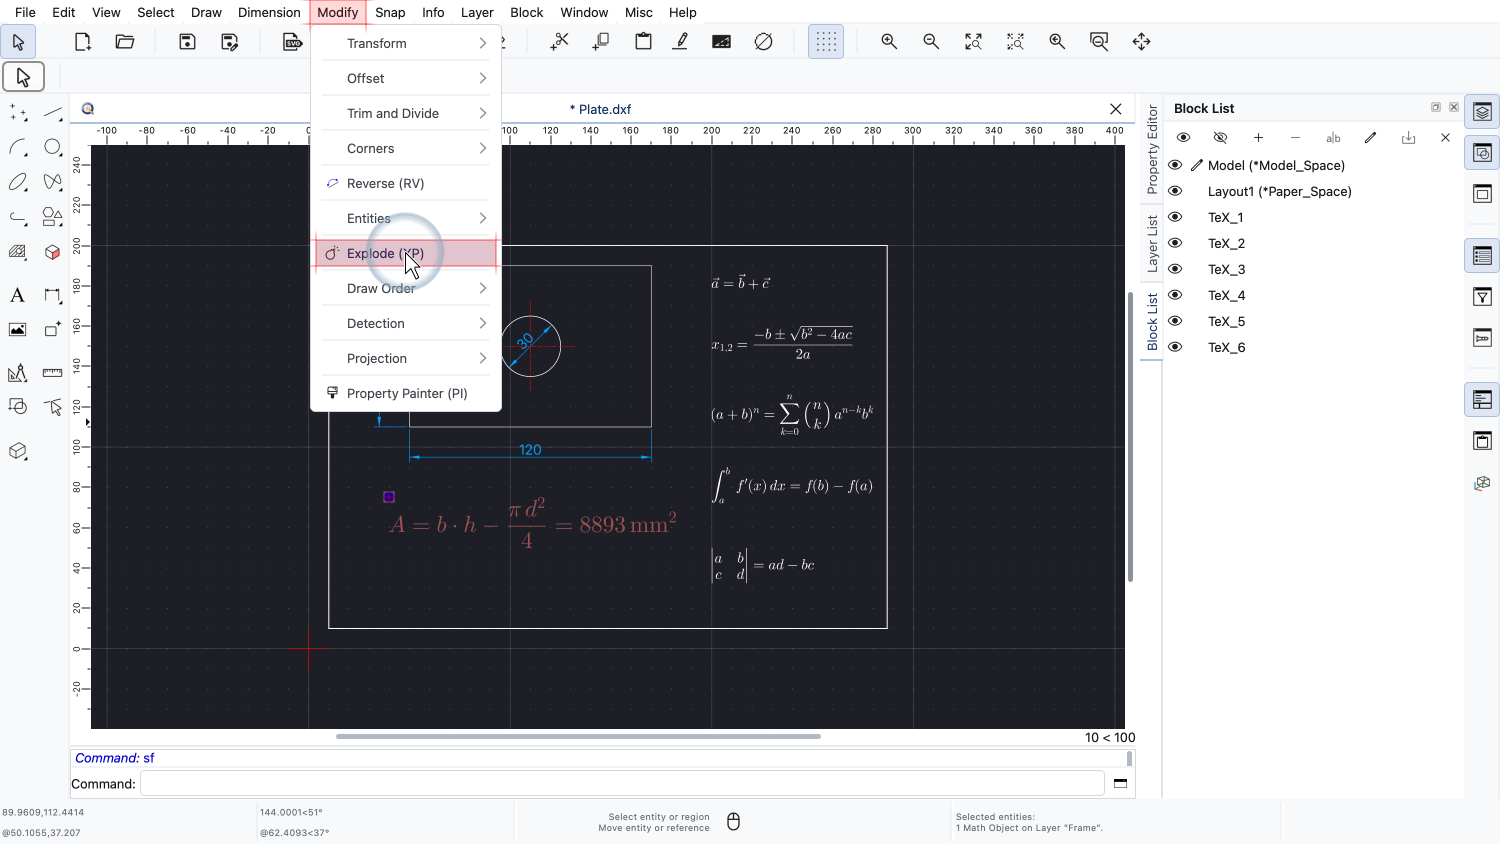
The explode tool can be found in the Modify menu.
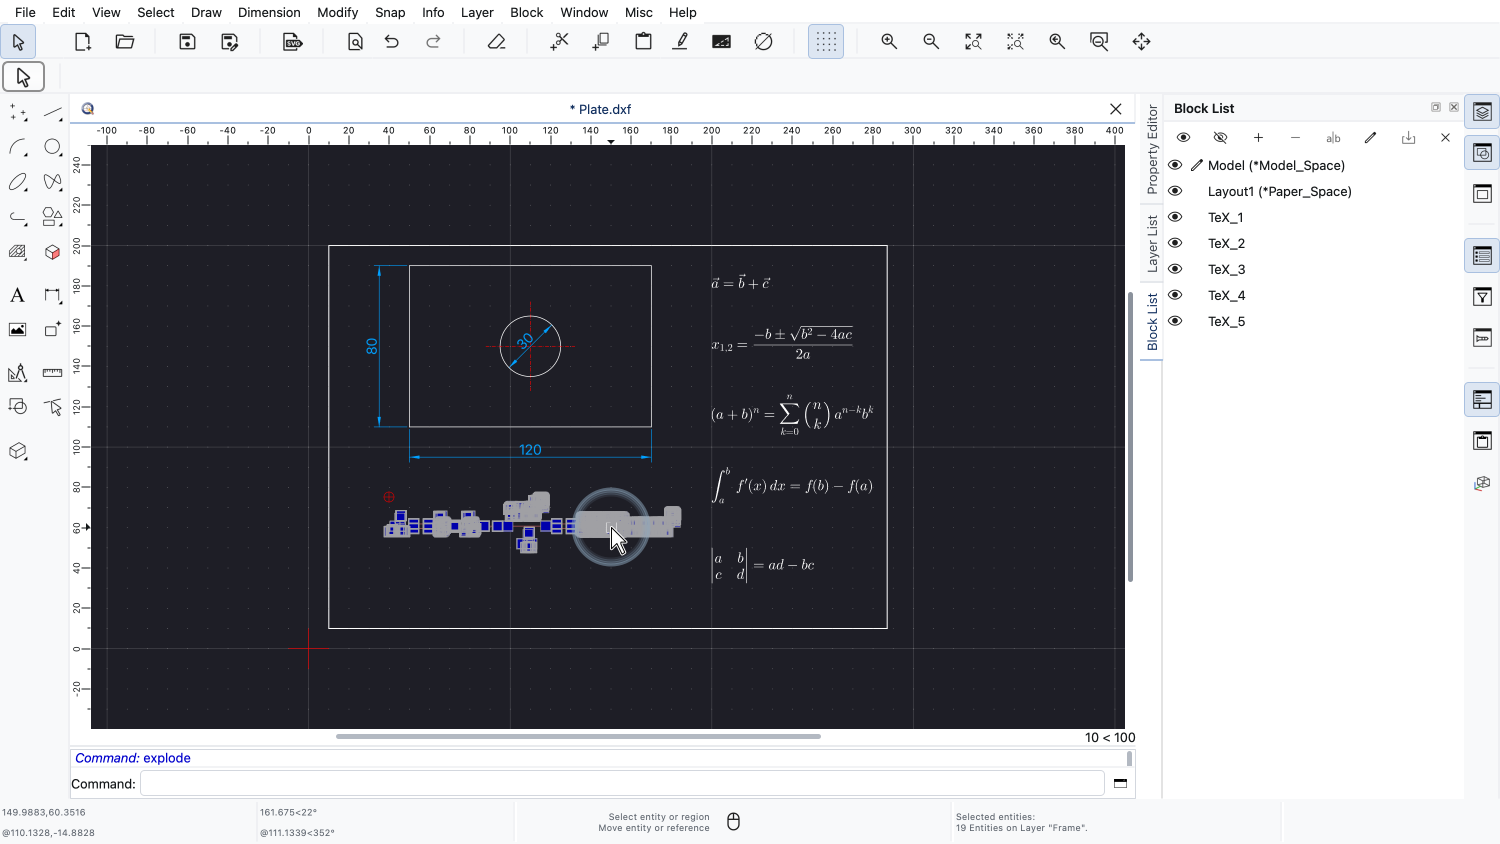
In the drawing, the formula still looks exactly the same as before.
However, the math object has been replaced with the geometry it was rendered from.
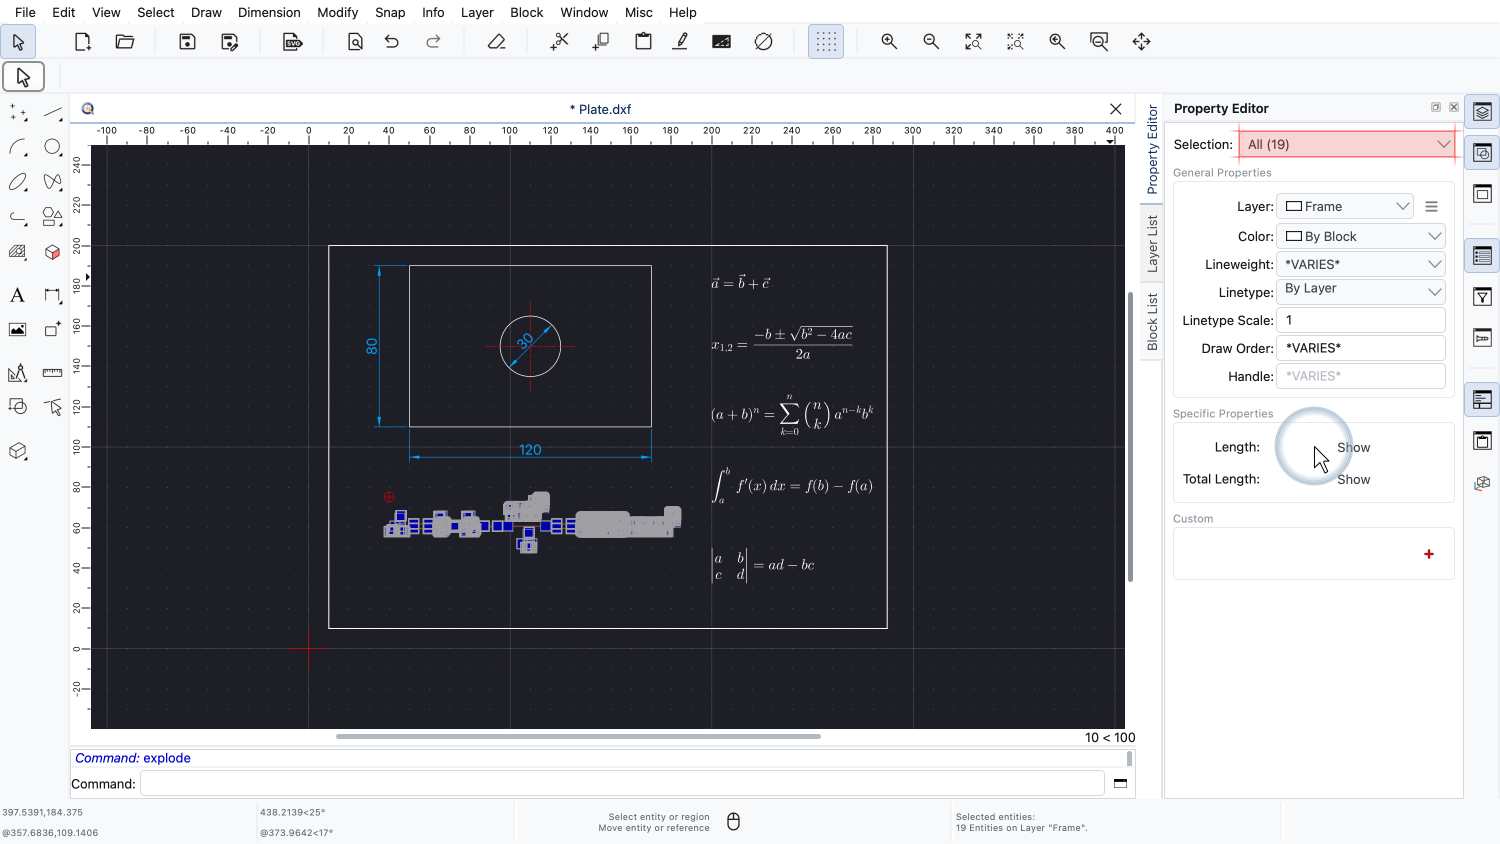
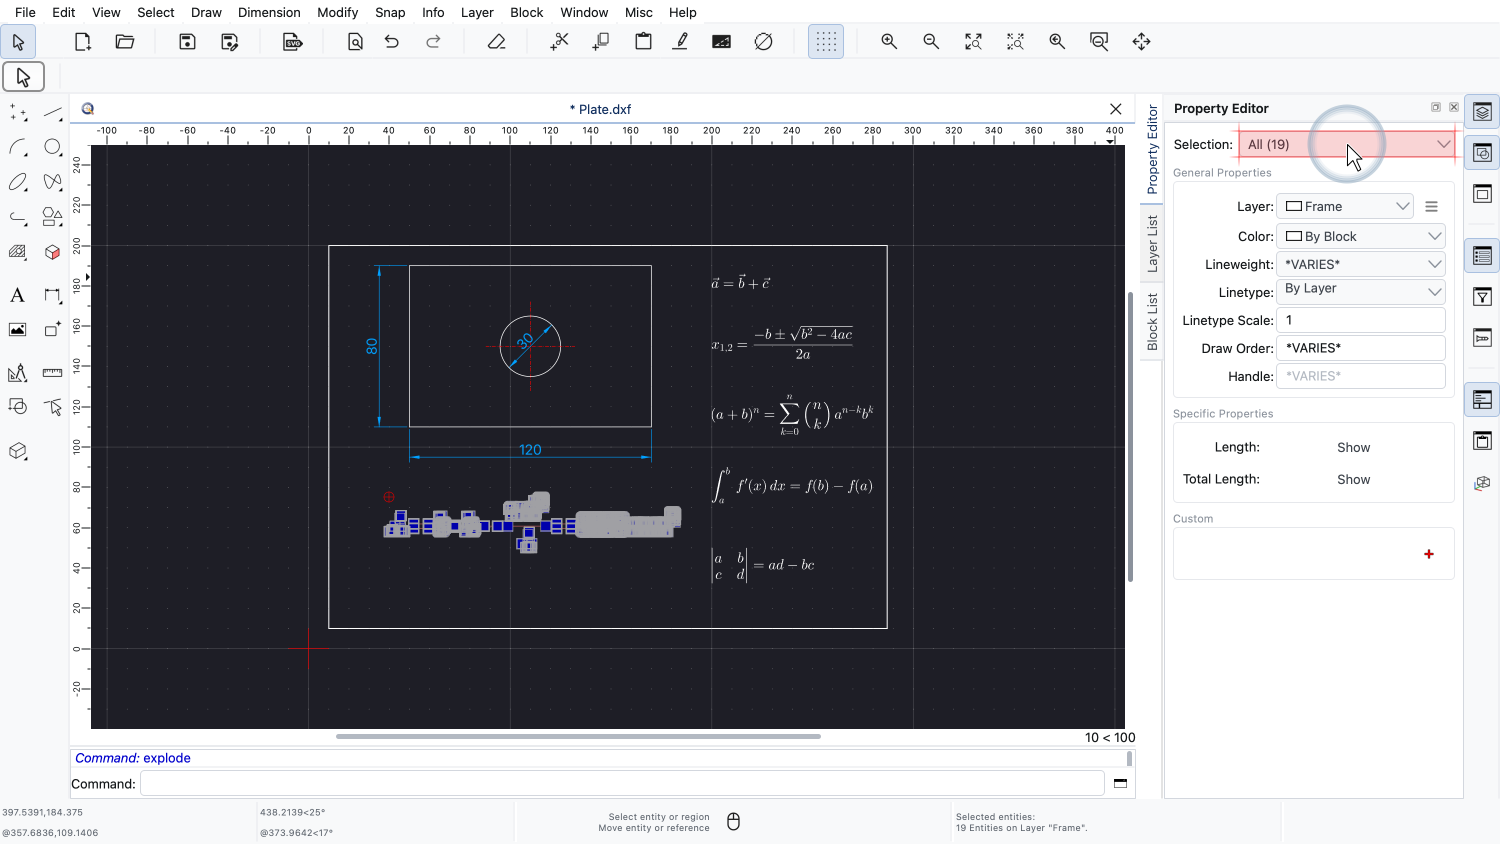
The property editor shows that our formula now consists of many individual filled hatches and solids.
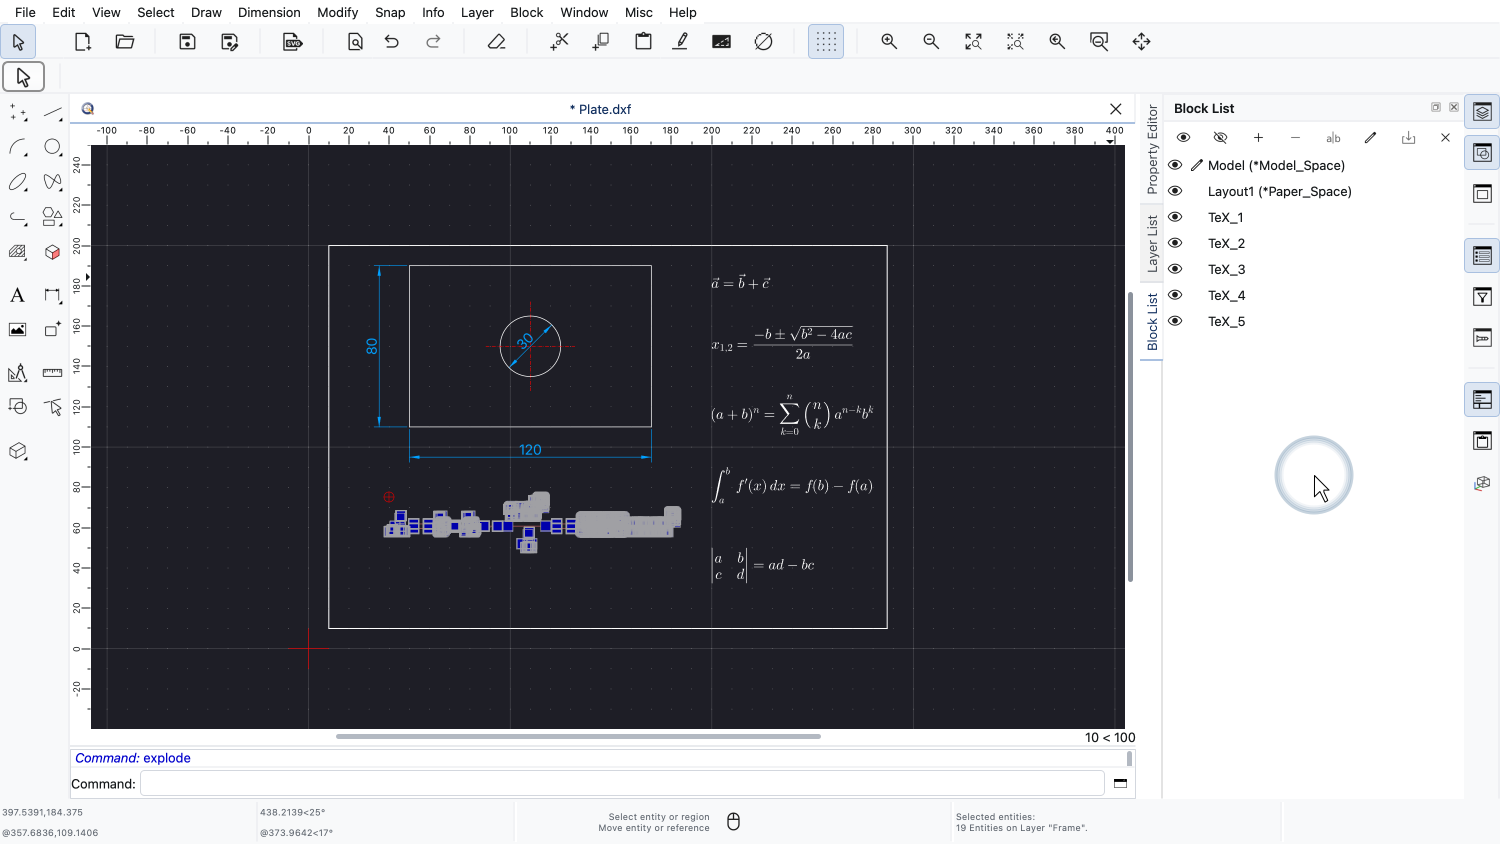
The block that contained the rendered formula has been removed together with the math object.
These entities can be edited like any other geometry, but they can no longer be edited as a math object.
The LaTeX code of the expression is lost when a math object is exploded.
It is therefore a good idea to explode math objects only when this is really necessary.
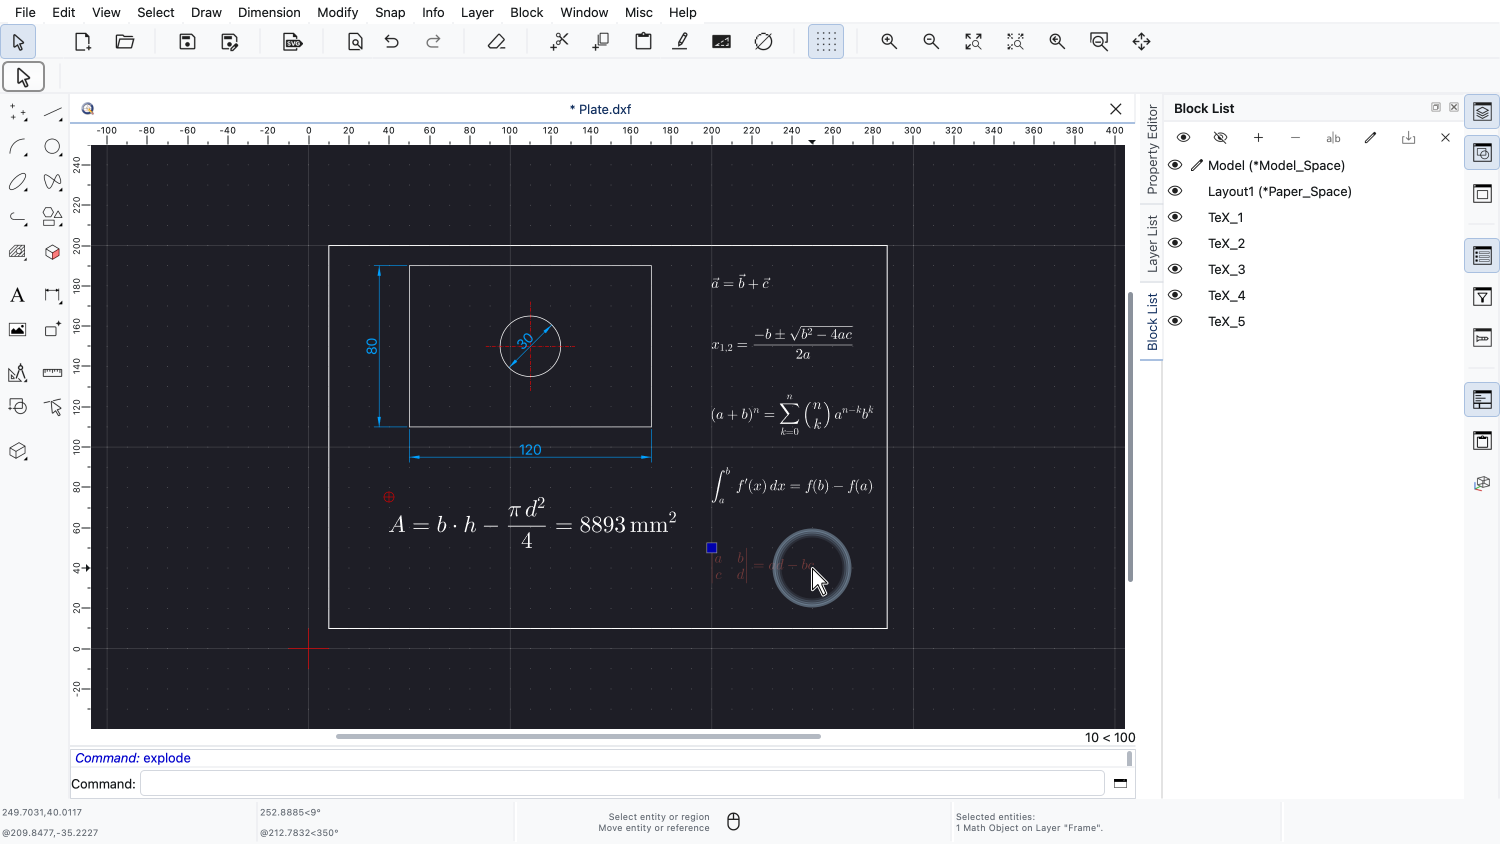
Since math objects are stored as blocks, there is usually no need to explode them before sharing a drawing with users of other CAD applications.
You should now know how to add, edit and explode math objects in QCAD.
Math objects are a convenient way to document formulas and calculations directly in a drawing.
Be sure to practice this with your own QCAD installation.
Thank you for watching this QCAD tutorial.