

2.14 Printing Posters
In this QCAD tutorial, we learn how to print a large drawing as a poster on multiple pages.
Example drawing:park.dxf
Most of us have a printer at home or in the office that can print on small paper formats such as A4 or Letter.
Sometimes however, we want to print a drawing in a much larger size than that, for example to hang it on a wall or to discuss it in a meeting.
QCAD can split a drawing up into several pages which can then be printed on a standard printer and glued together to form a poster.
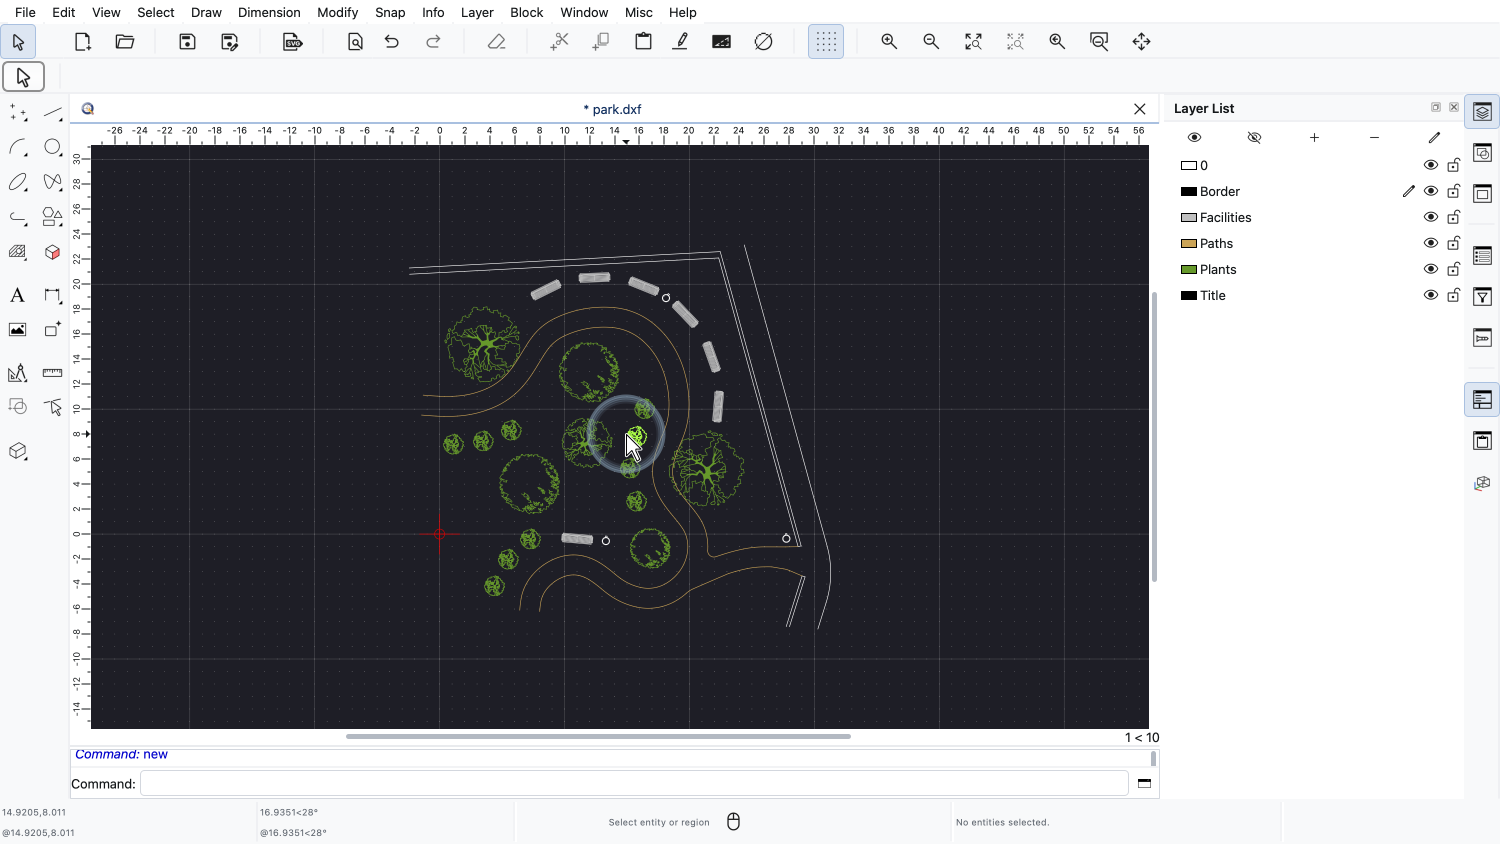
For this tutorial, we use the park layout plan that we already know from the tutorials about blocks and printing.
The plan has been drawn in real size in meters and is about 34 meters wide and 31 meters high.
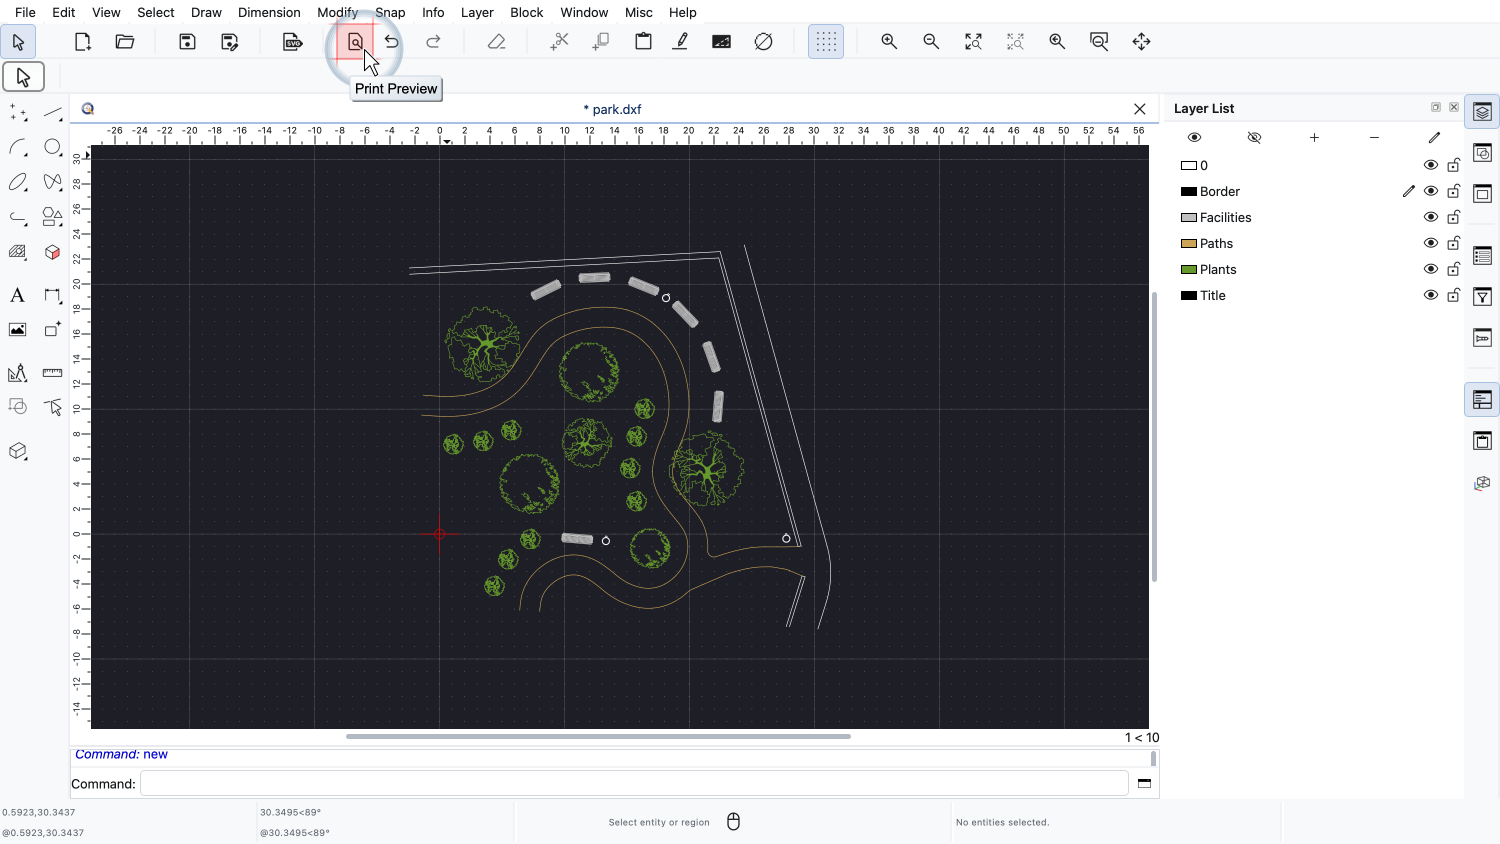
We switch to the print preview.
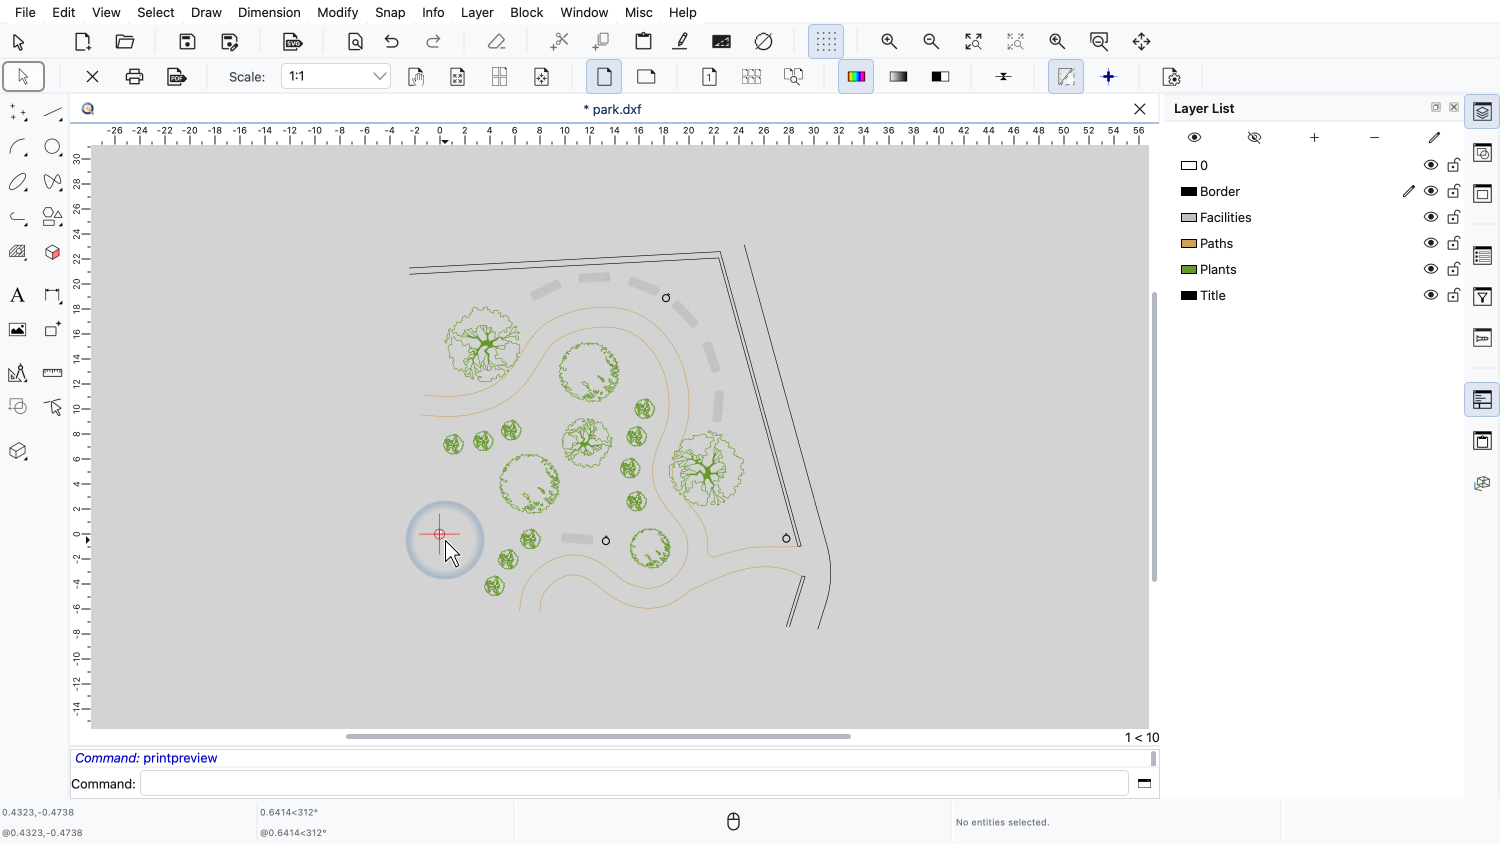
The paper is currently set to a single A4 page and the scale is set to 1:1, so our page is just a tiny white dot near the origin.
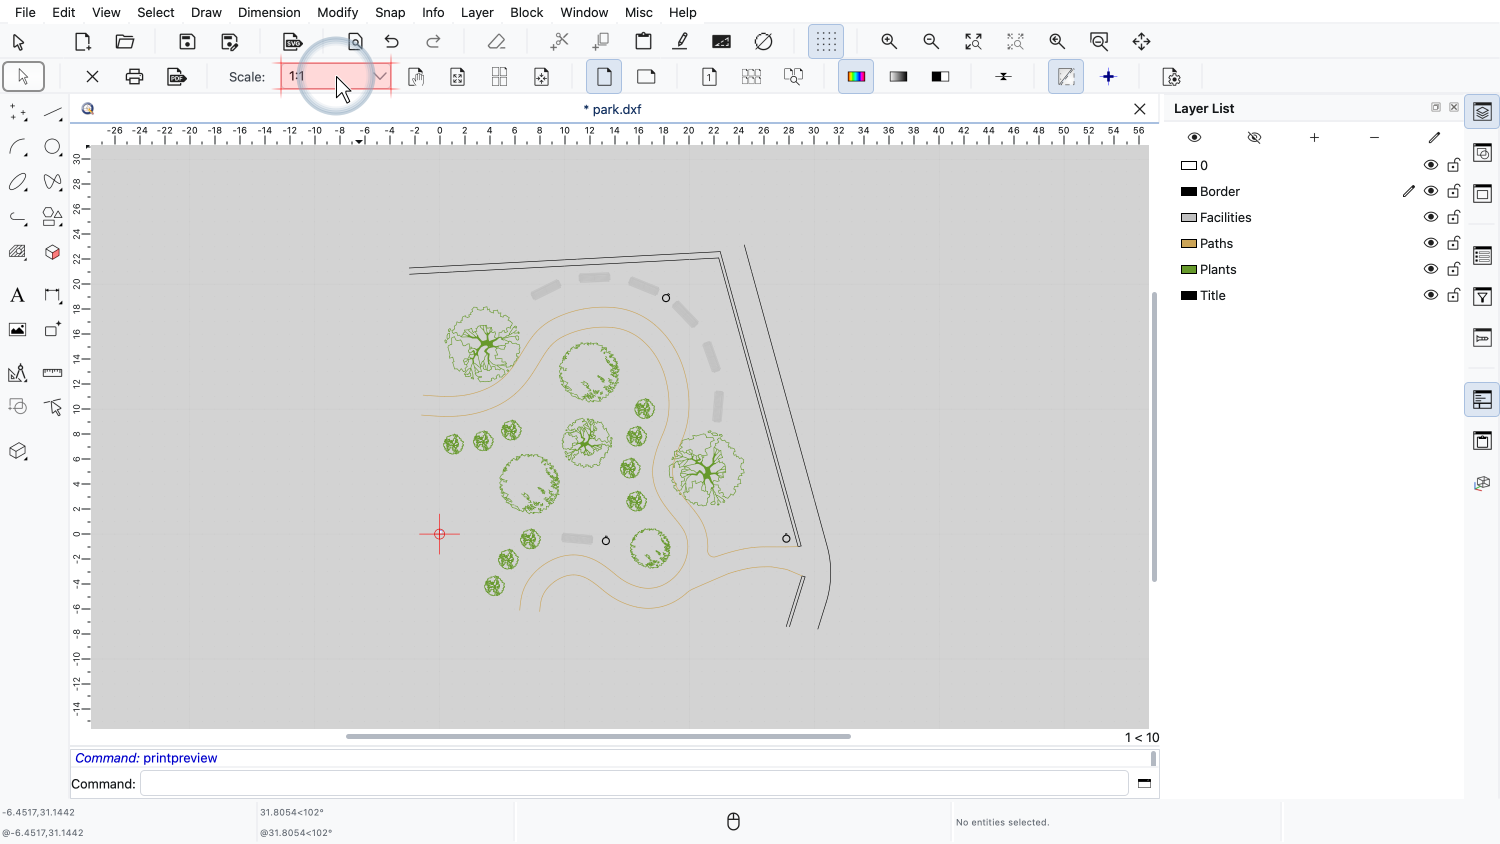
The size of a poster is determined by the drawing scale.
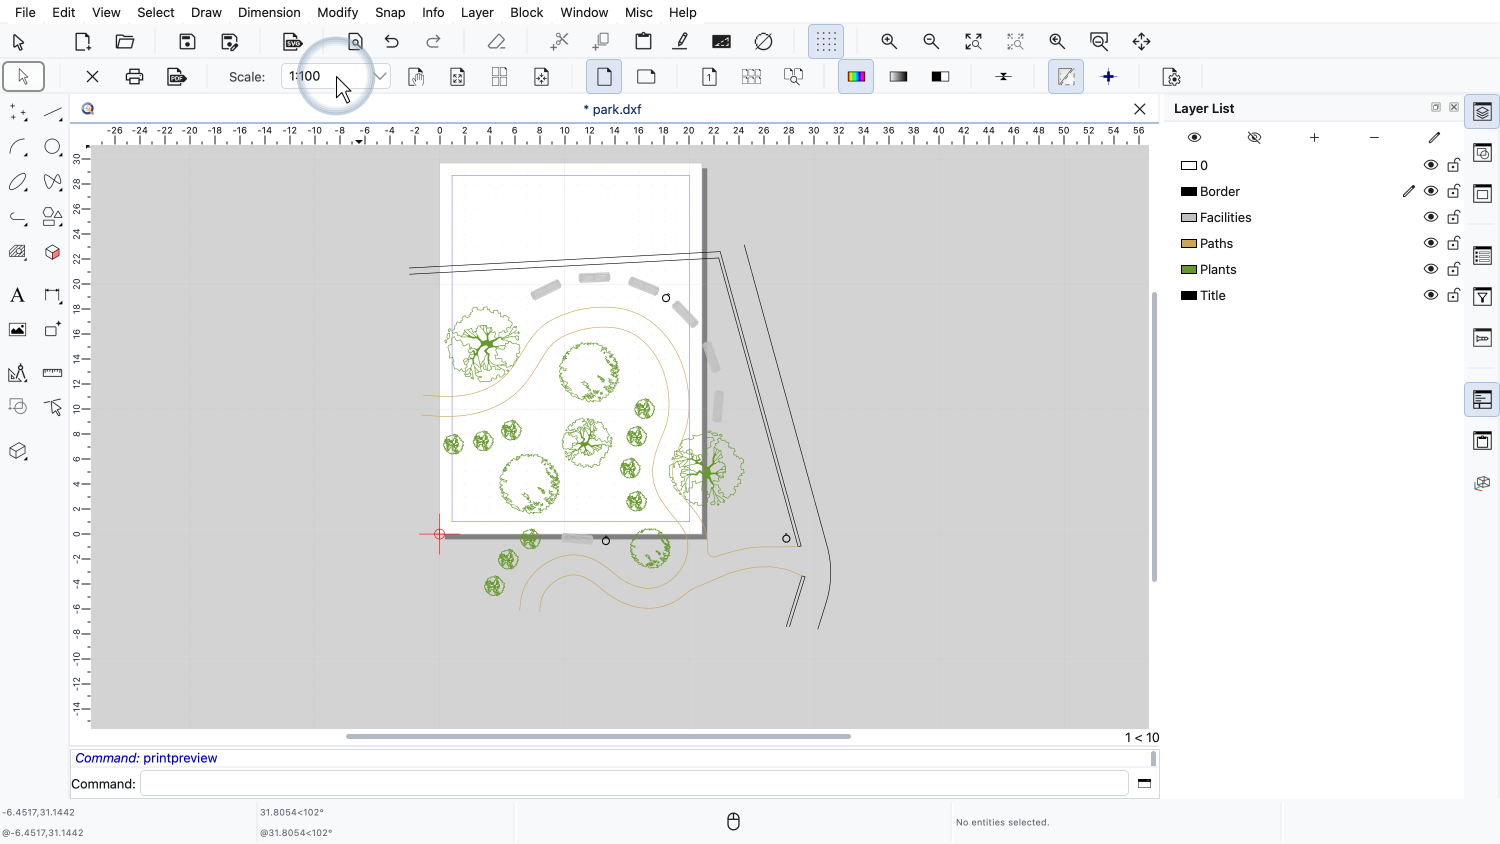
We set the scale to 1:100.
At this scale, one meter in our park corresponds to one centimeter on paper, so our poster will be about 34 by 31 centimeters in size.
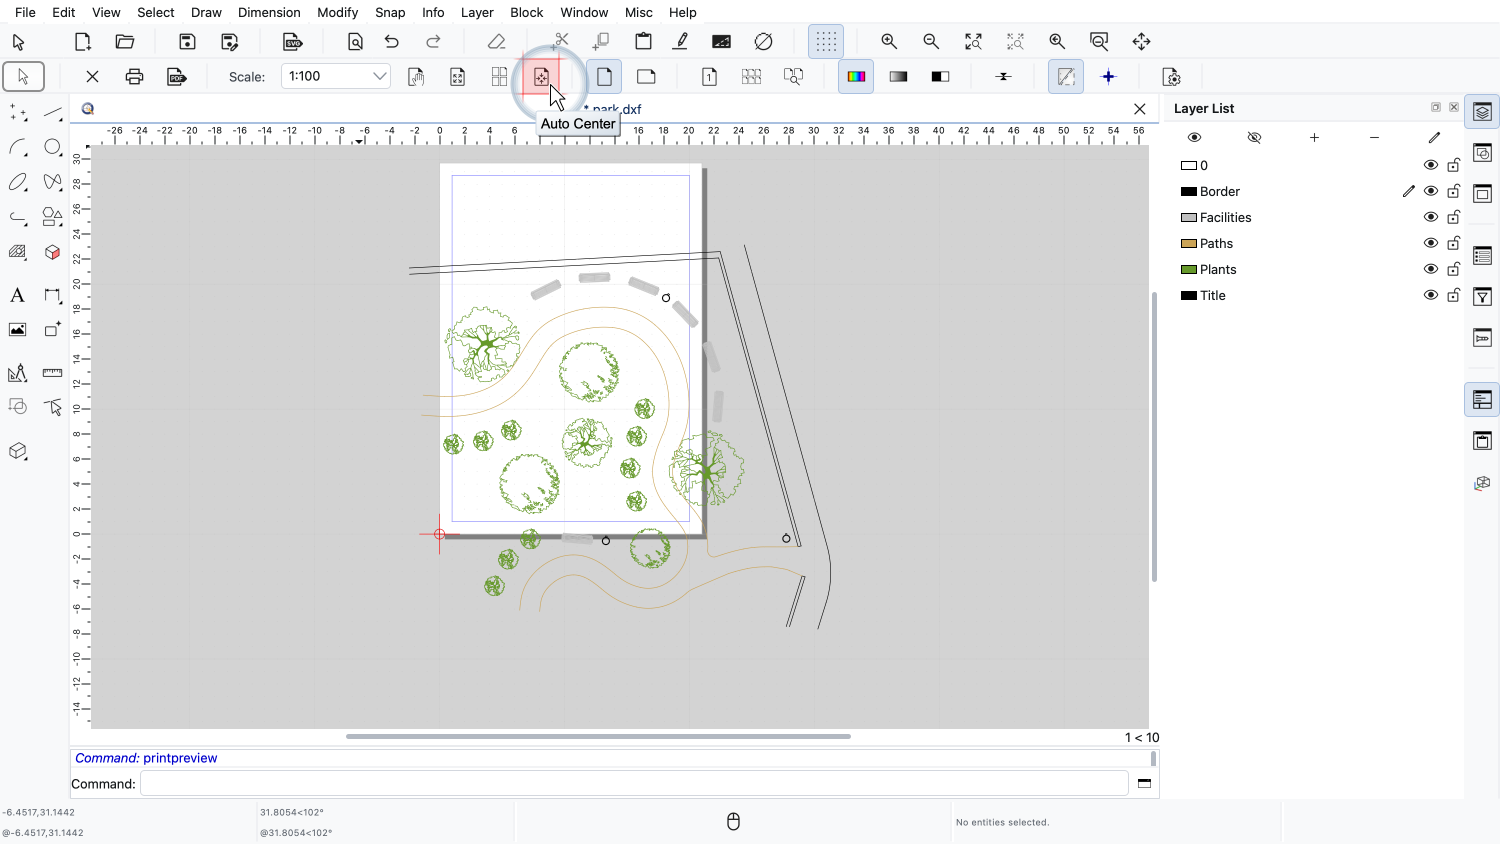
We use auto center to position the page in the middle of the plan.
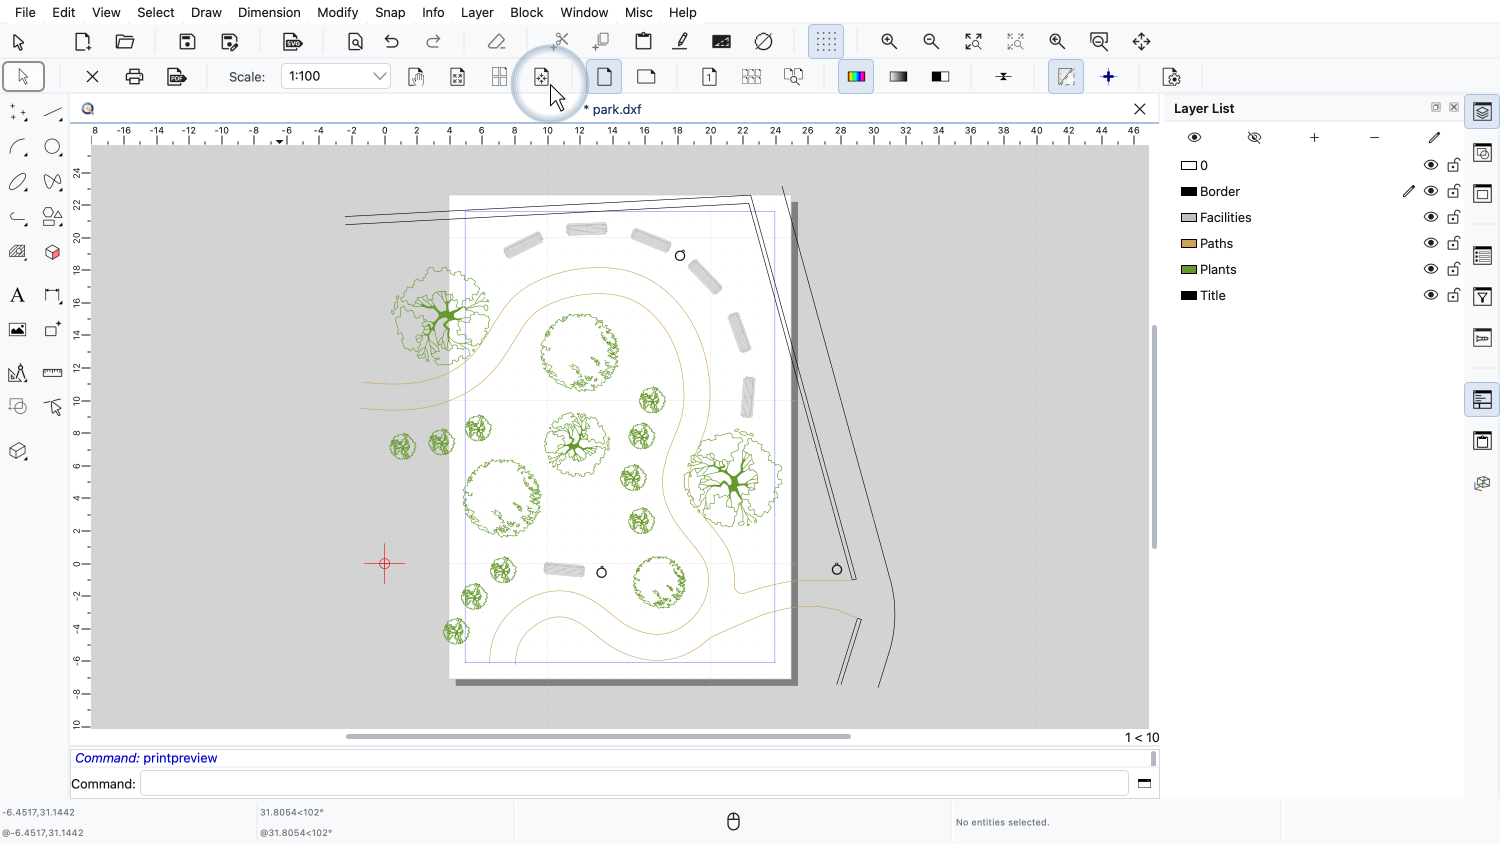
We can see that a single A4 page is not large enough for the plan at this scale.
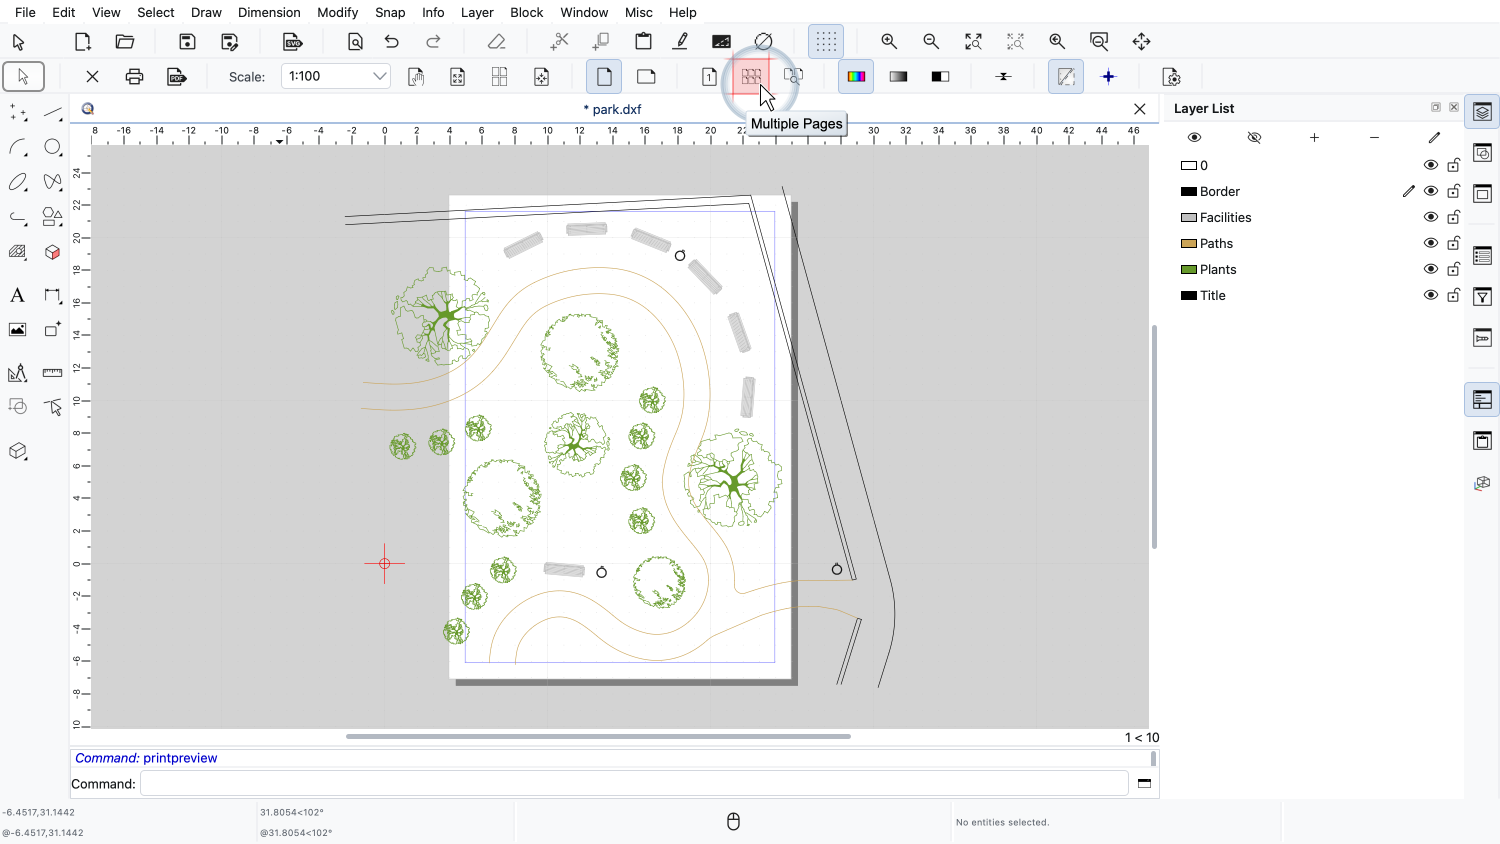
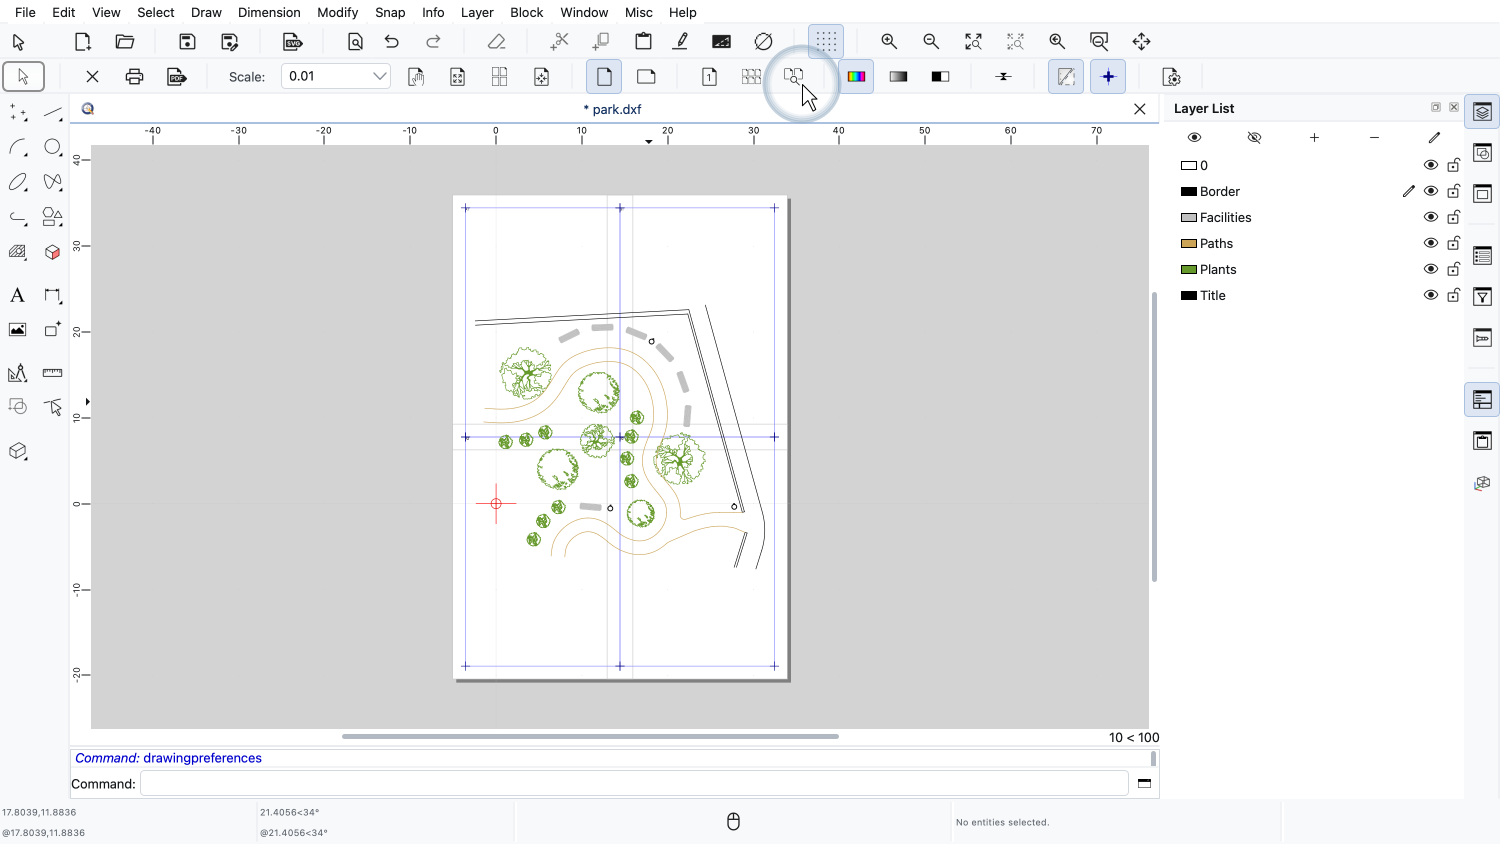
To print the plan on more than one page, we click the button for multiple pages in the options toolbar.
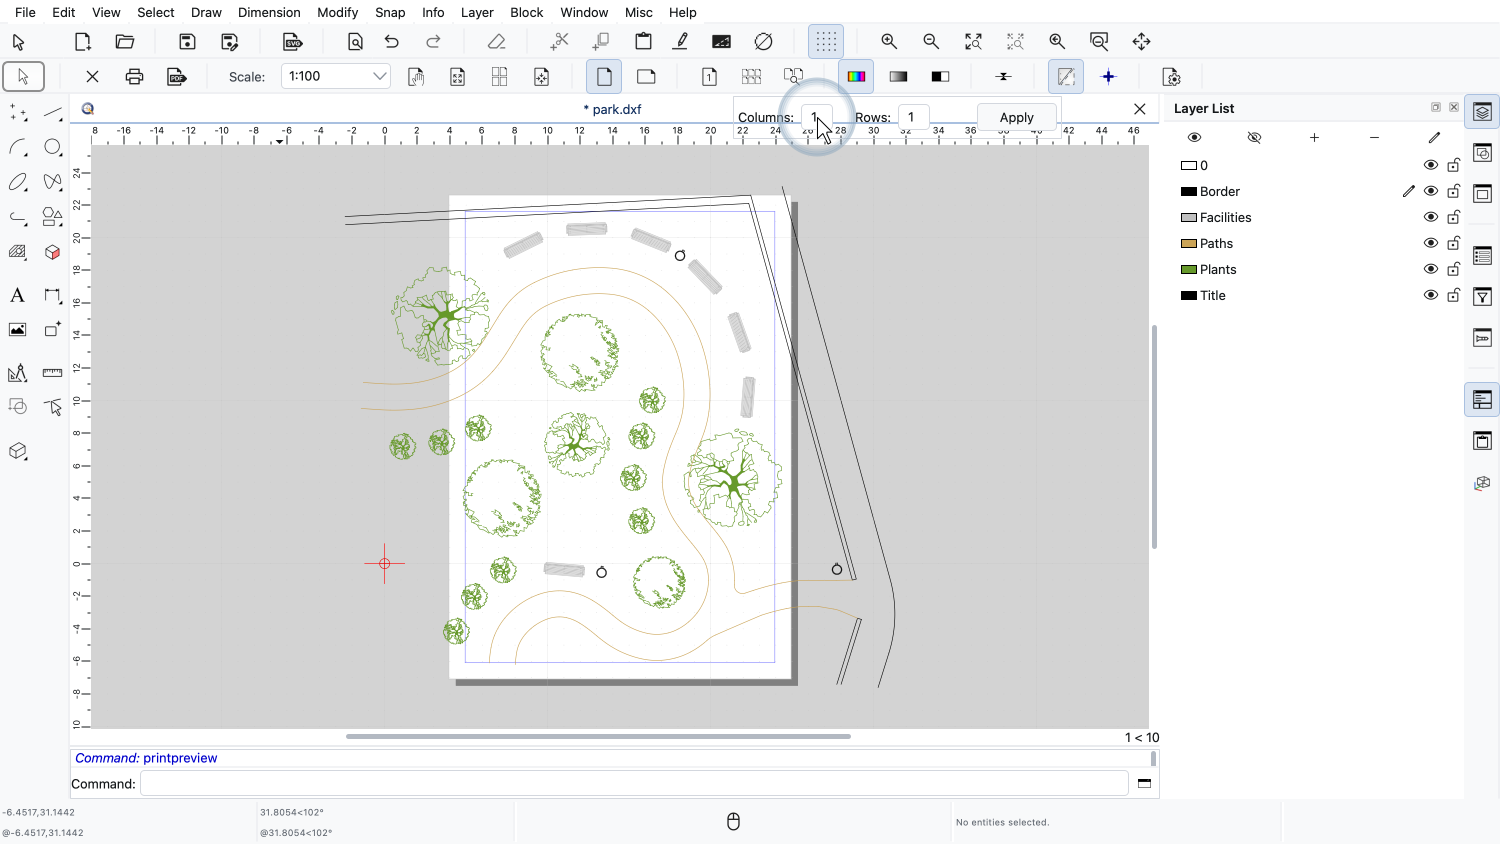
Here, we can enter the number of columns and rows of pages.
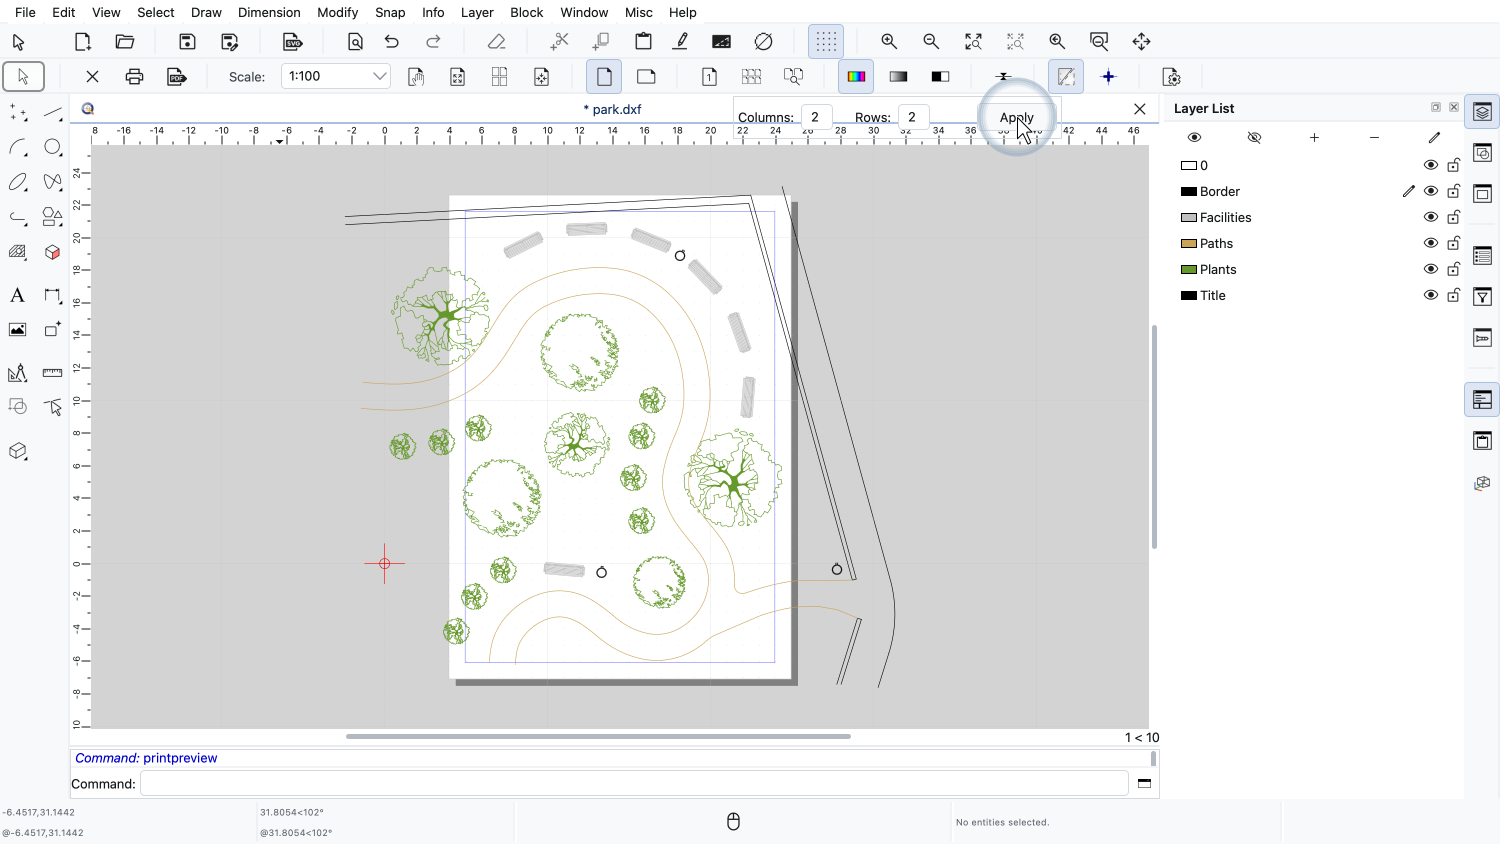
We enter two columns and two rows and click Apply.
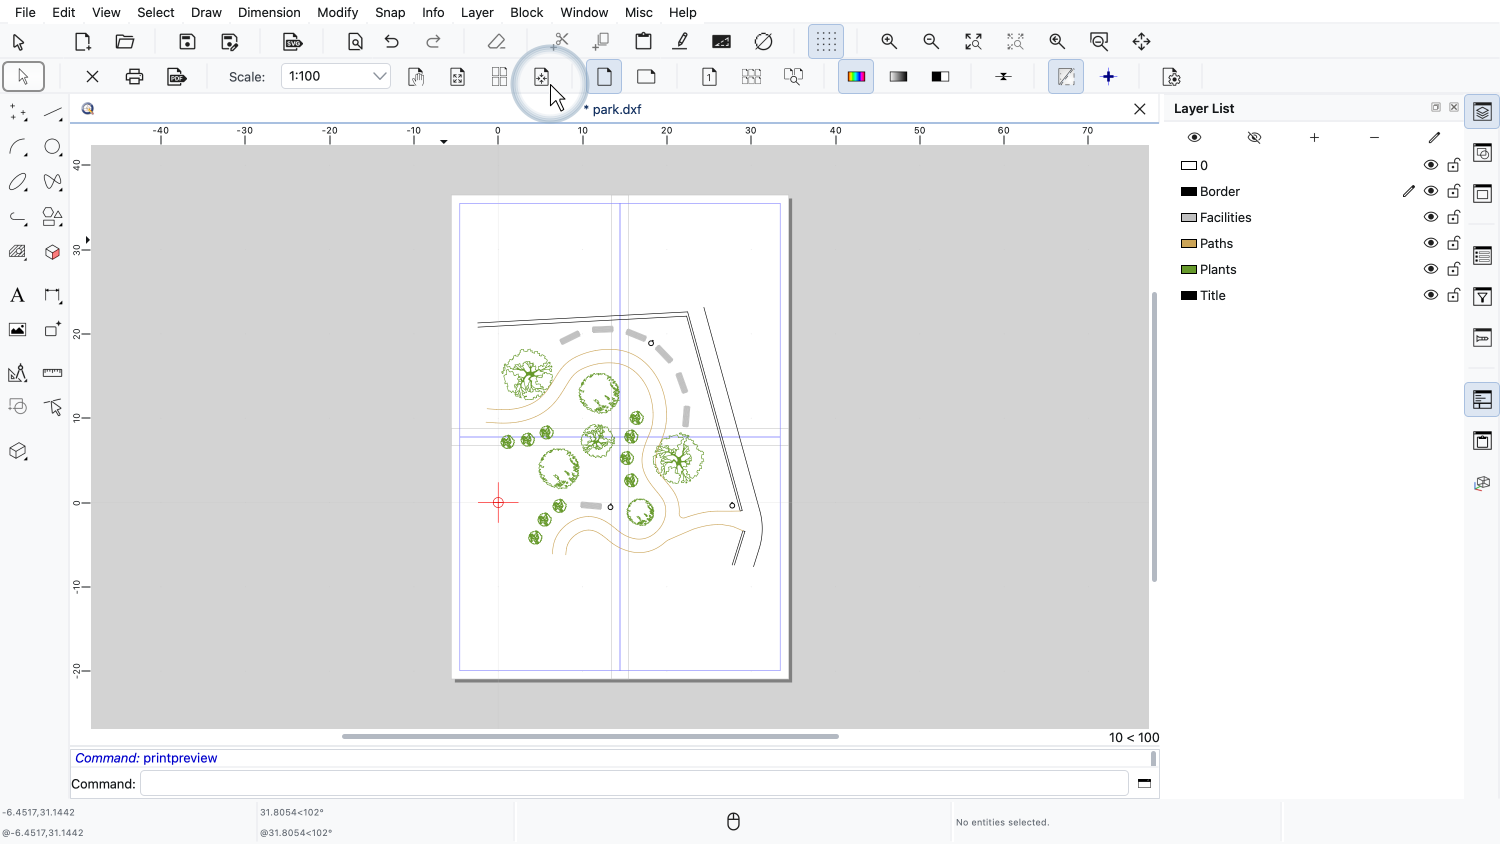
The print preview now shows four pages which together cover the entire park plan.
Each page will be printed on a separate sheet of paper.
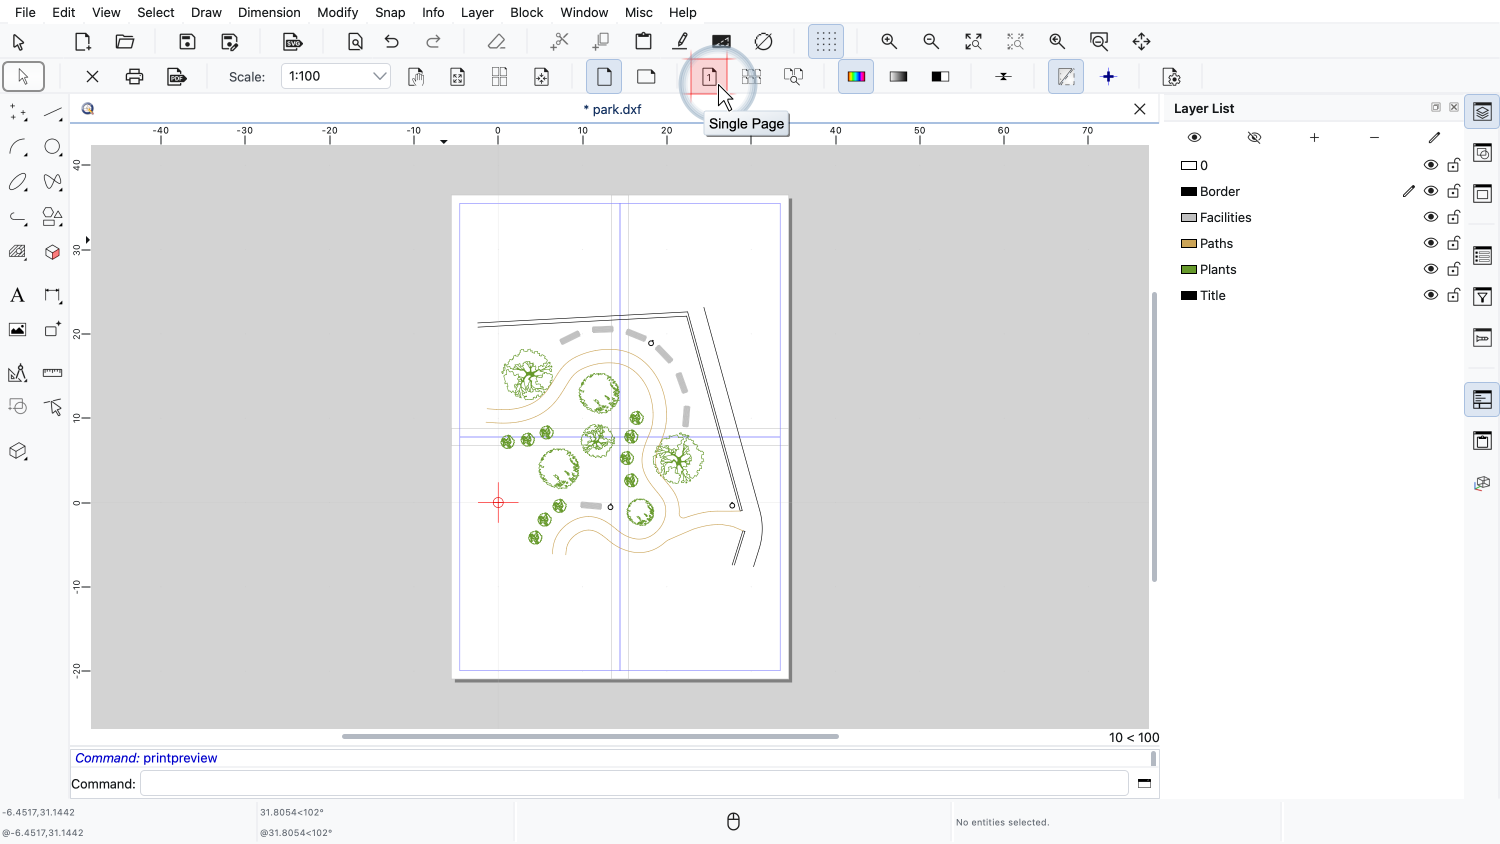
To go back to printing on a single page, we can use the single page button next to it.
If we want a larger poster, we choose a larger scale.
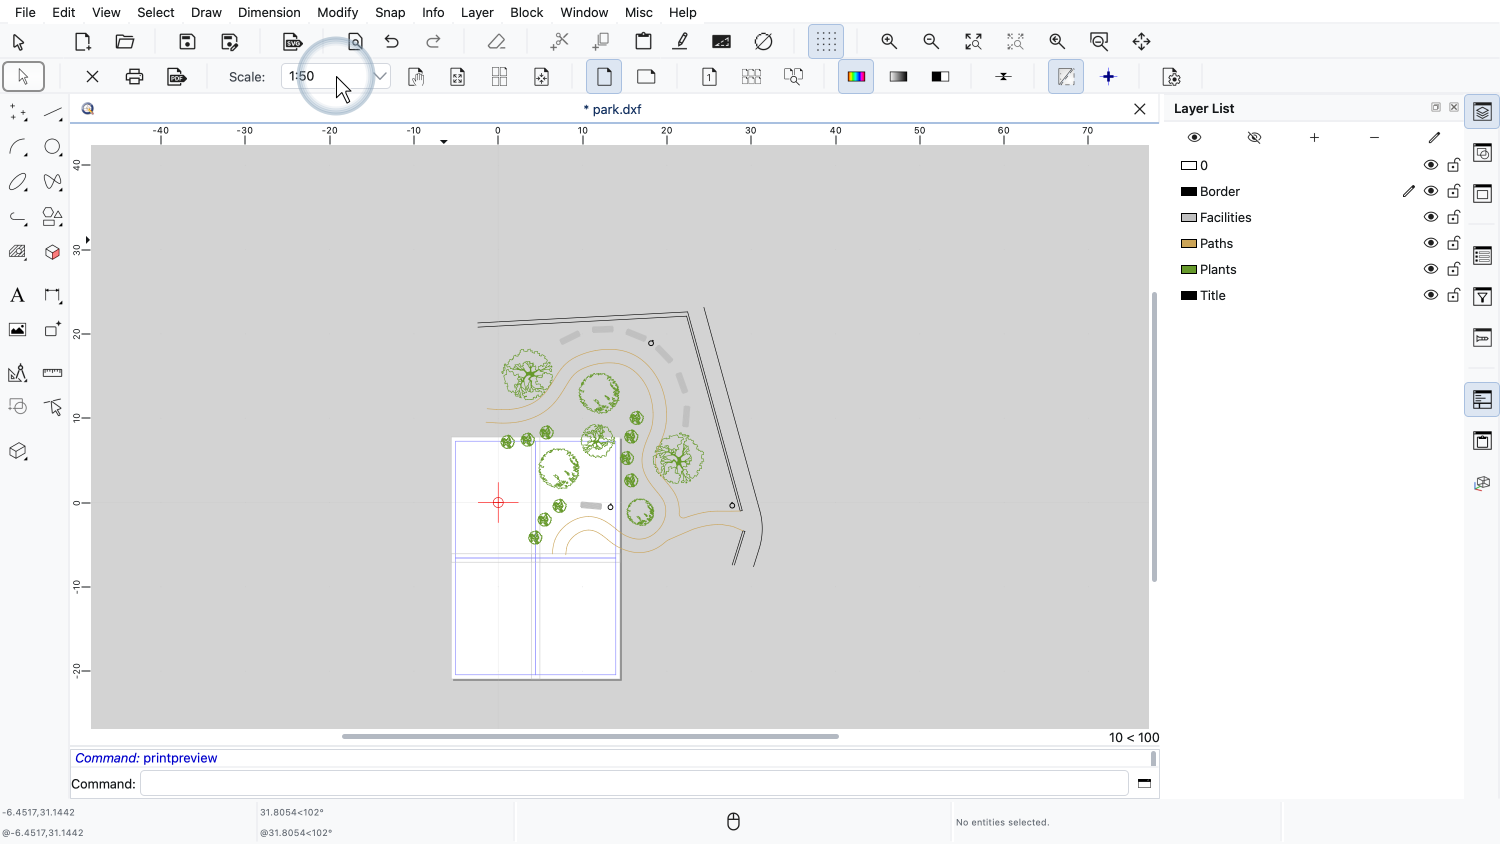
We change the scale to 1:50 to print the plan twice as large.
Our four pages are now no longer large enough to show the whole plan.
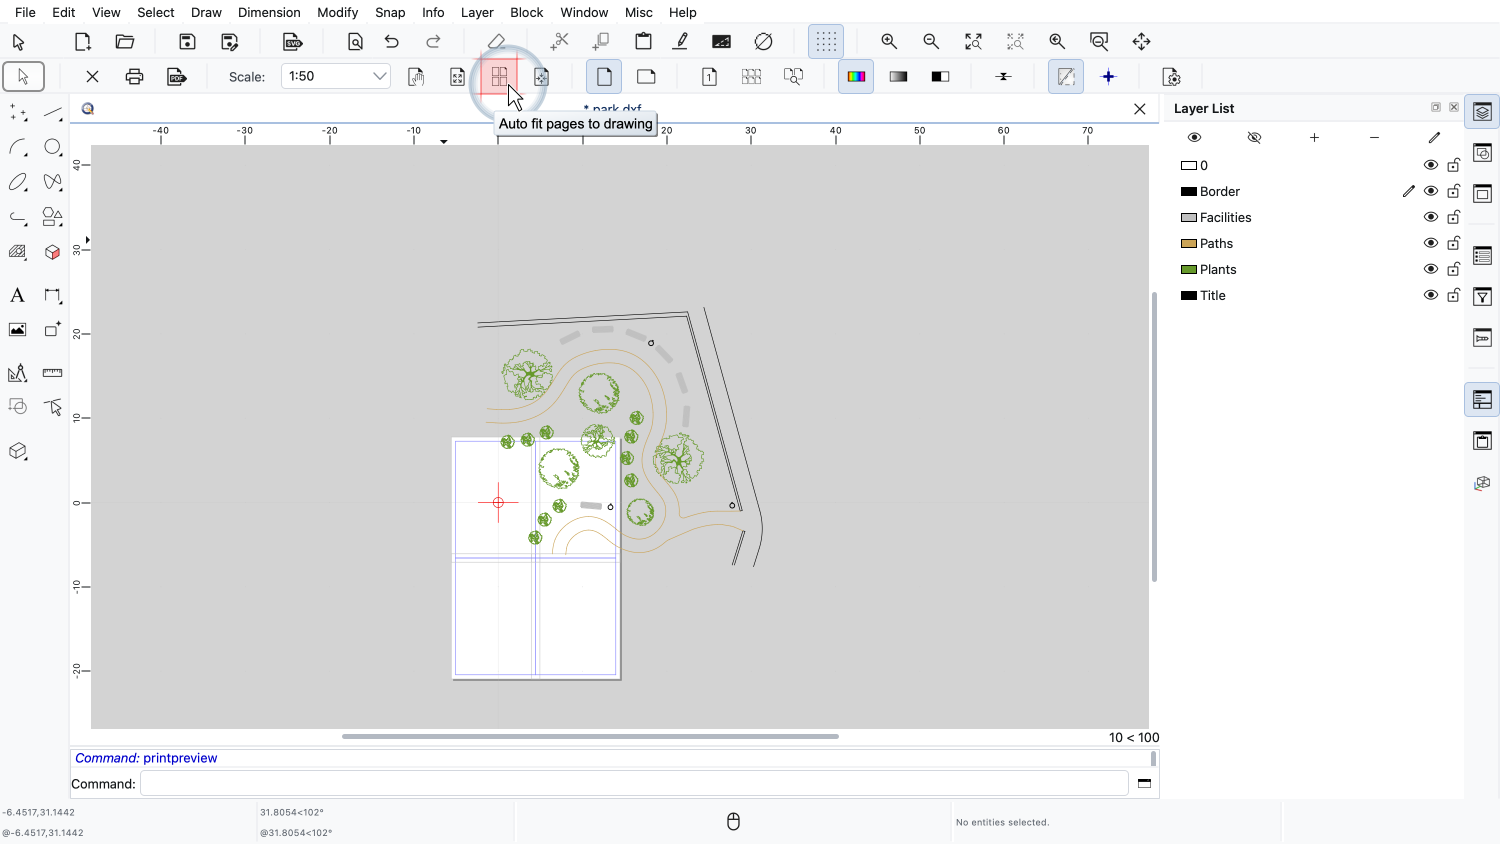
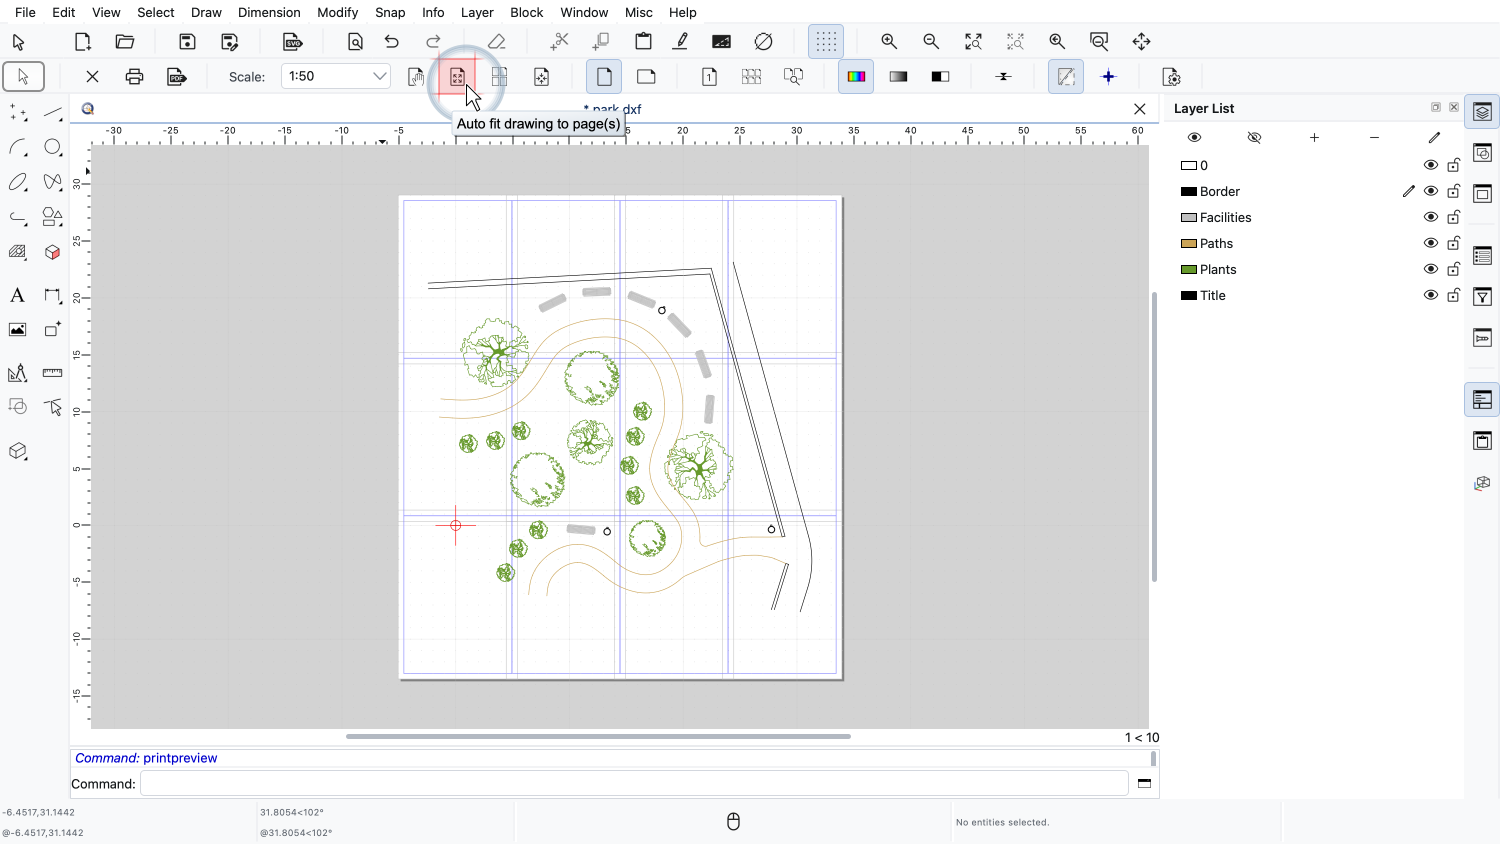
Instead of calculating the number of pages ourselves, we can let QCAD do this for us with the tool to auto fit the pages to the drawing.
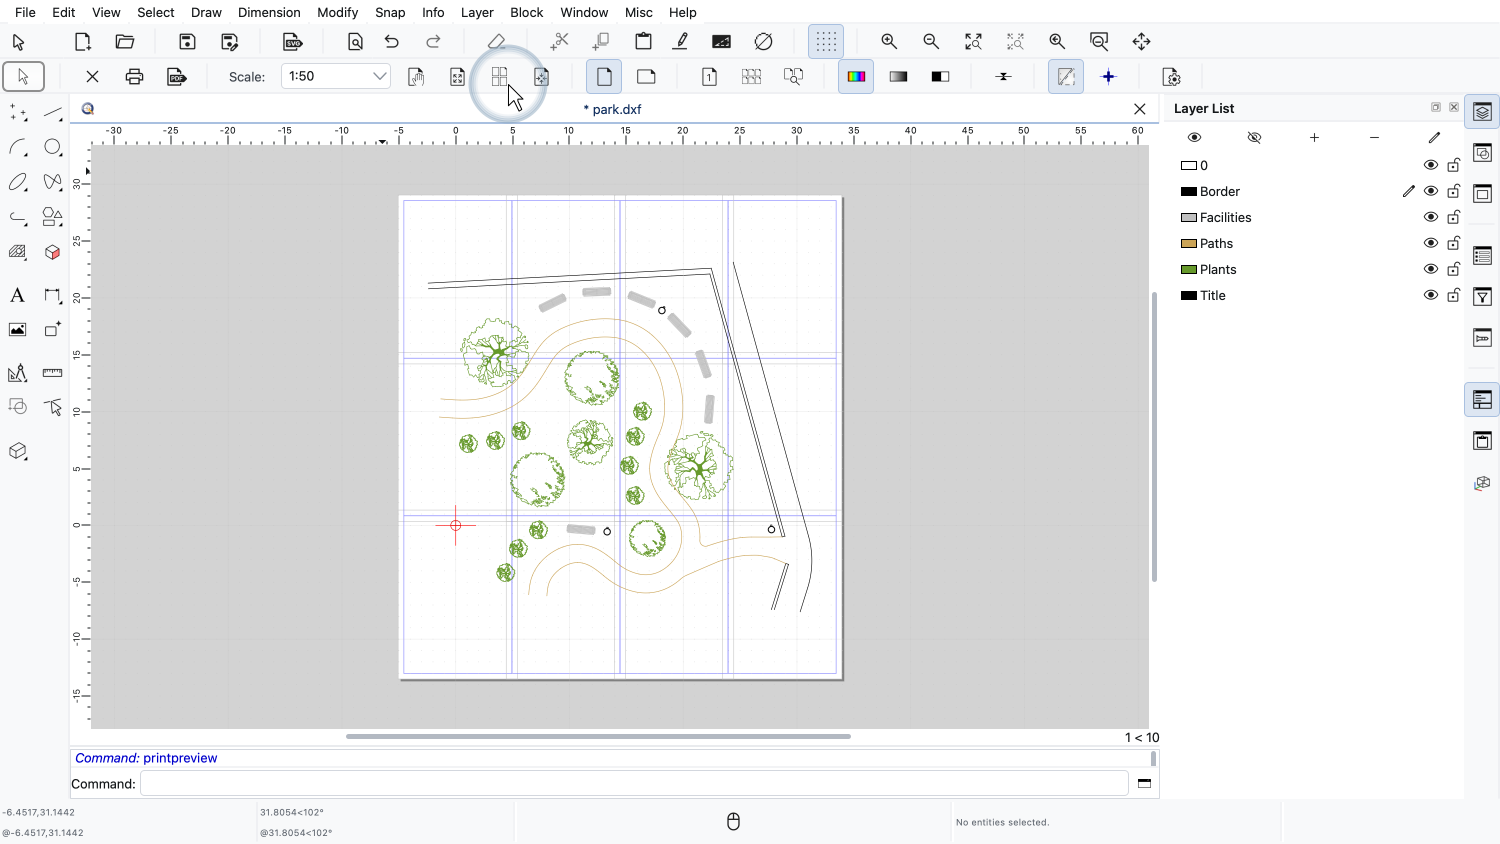
QCAD has adjusted the number of pages, so that the whole plan fits at the chosen scale and centered the plan on the pages.
We now need four columns and three rows, or twelve pages in total, for a poster of about 68 by 62 centimeters.
The tool to auto fit the drawing to the pages works the other way around.
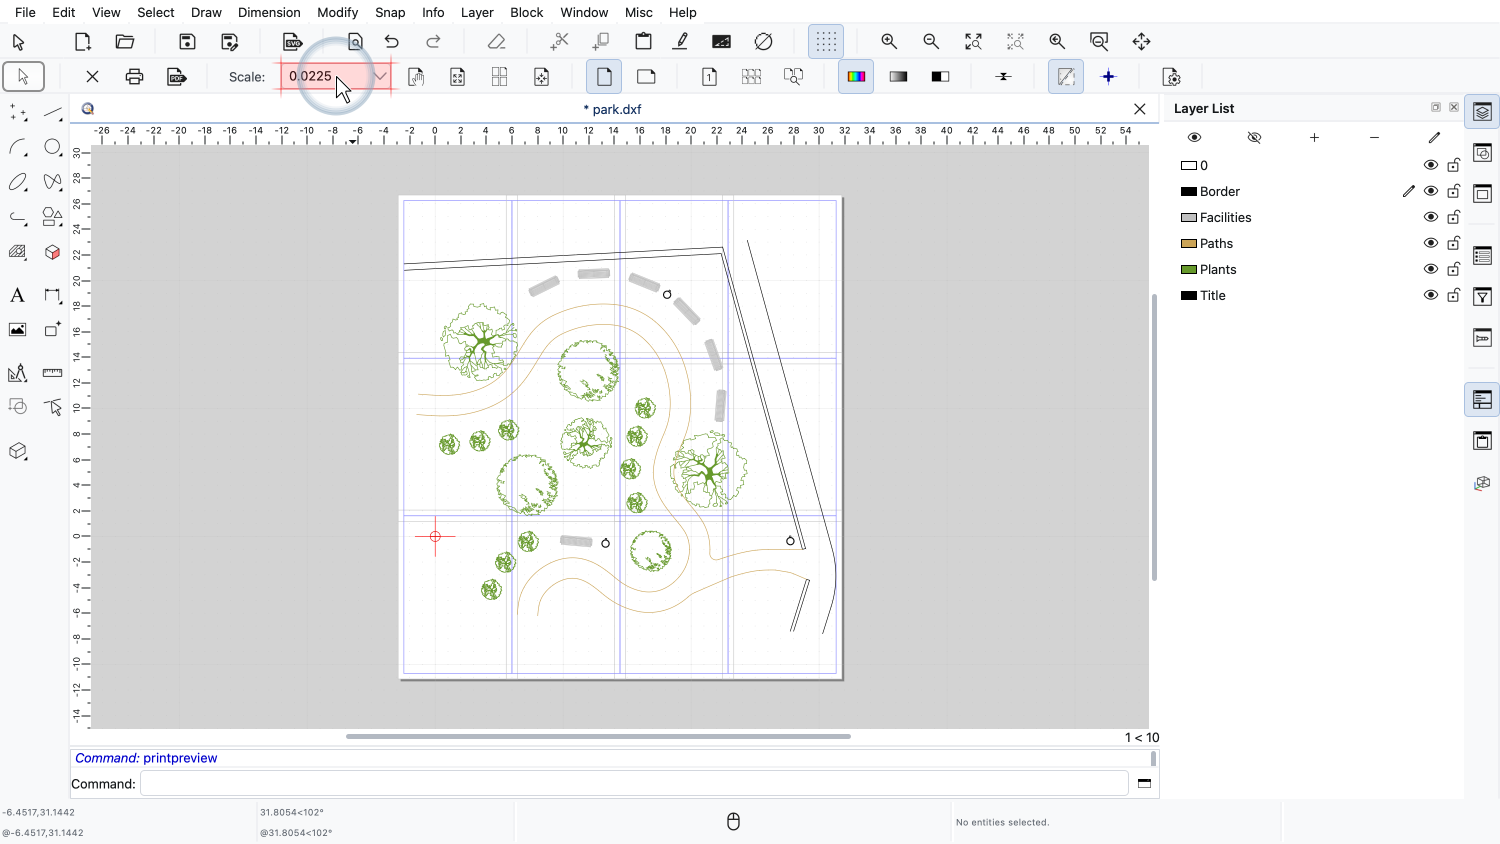
It keeps the number of pages and adjusts the scale, so that the plan fills the available pages as well as possible.
The resulting scale is usually not a round number.
This is fine for a poster that is only meant to be looked at.
If we want to take measurements on the printed poster with a ruler, we should always choose a round scale such as 1:50 or 1:100 instead.
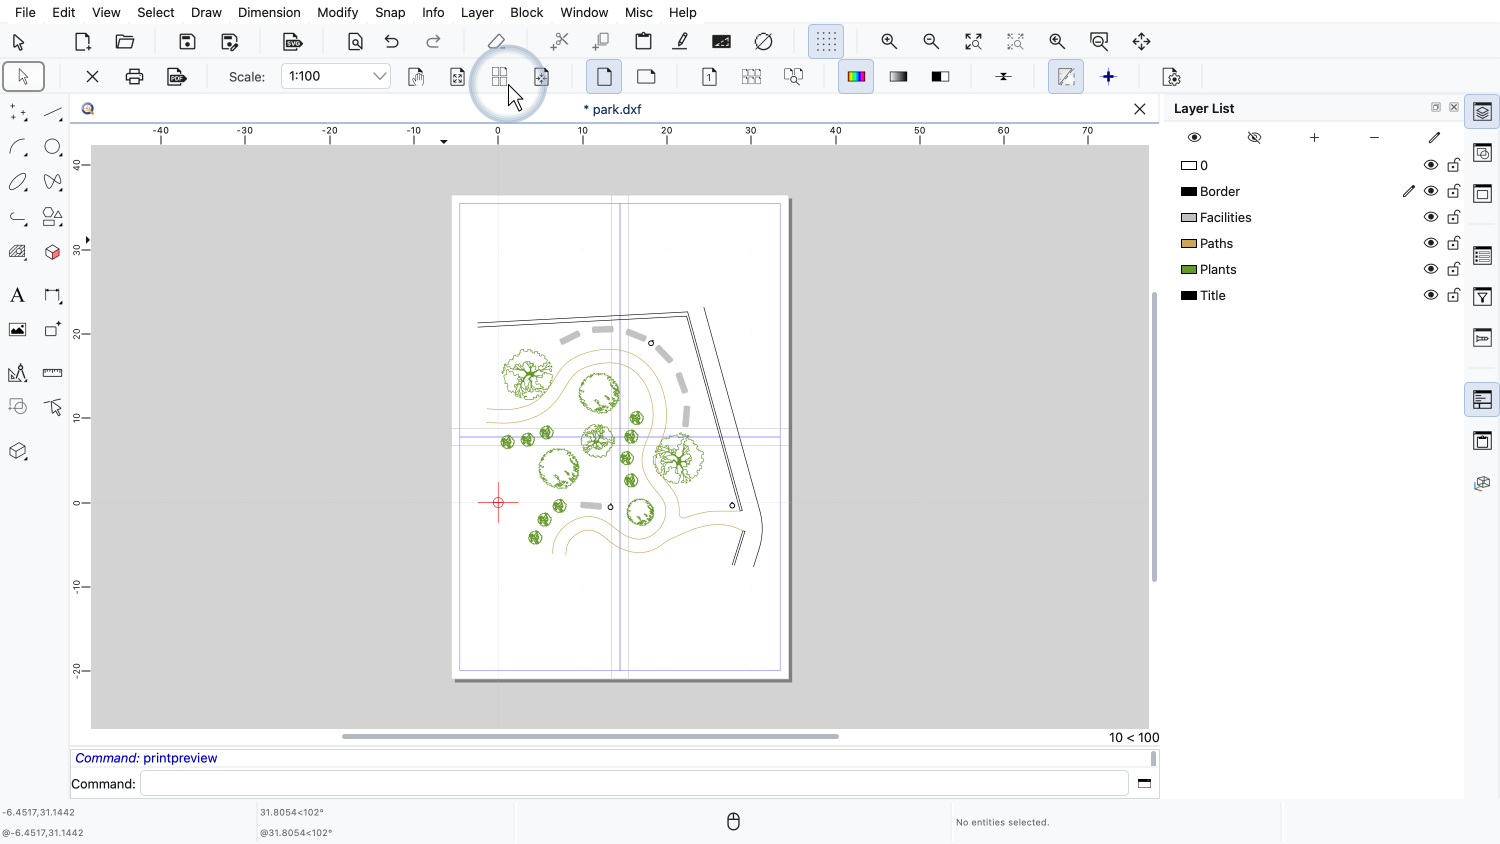
For the rest of this tutorial, we go back to a scale of 1:100 and let QCAD fit the pages again.
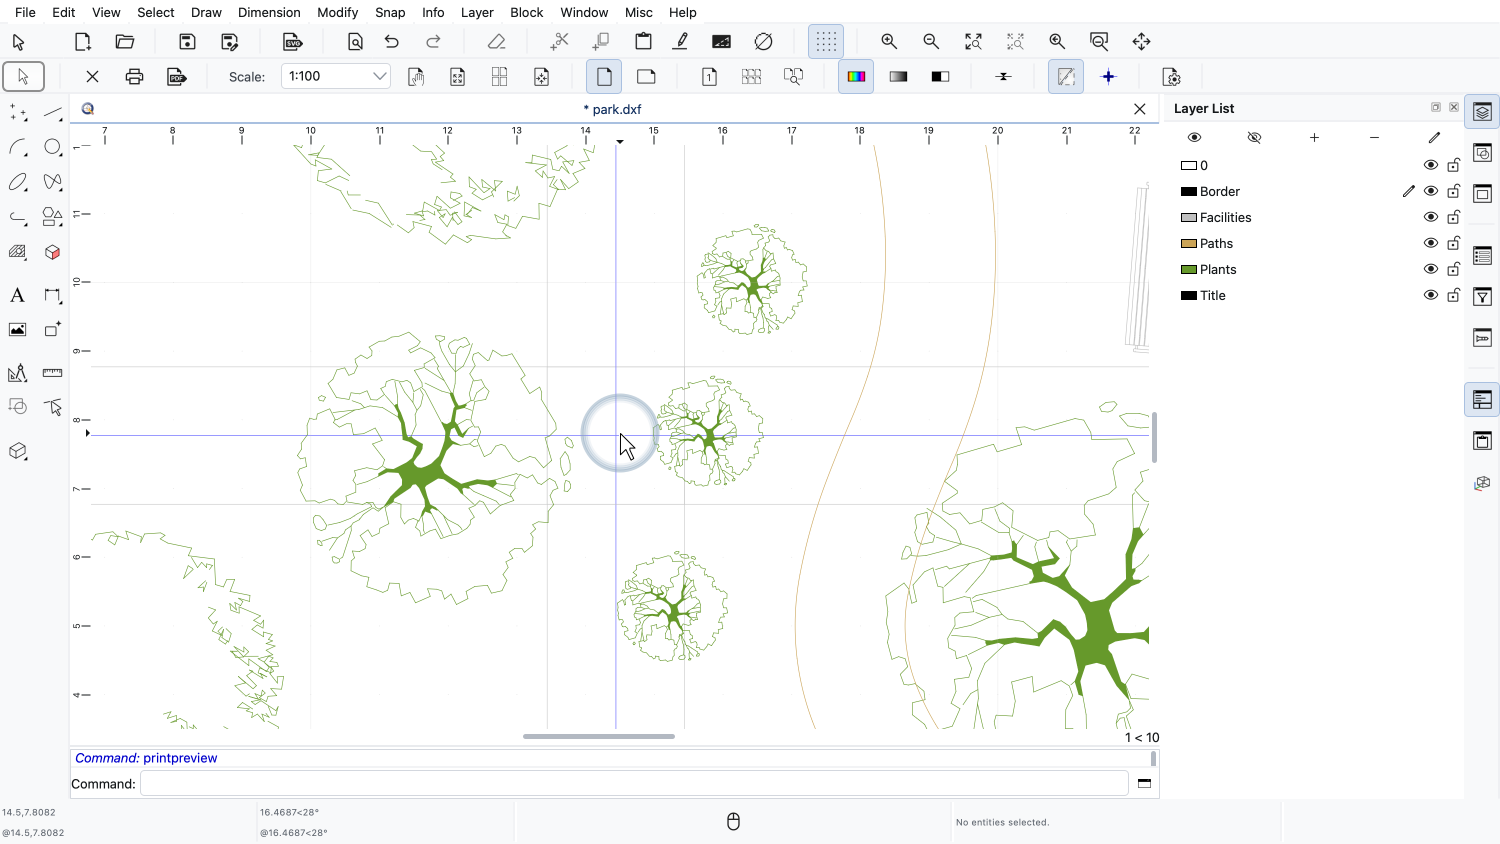
We zoom in to the point where the four pages meet.
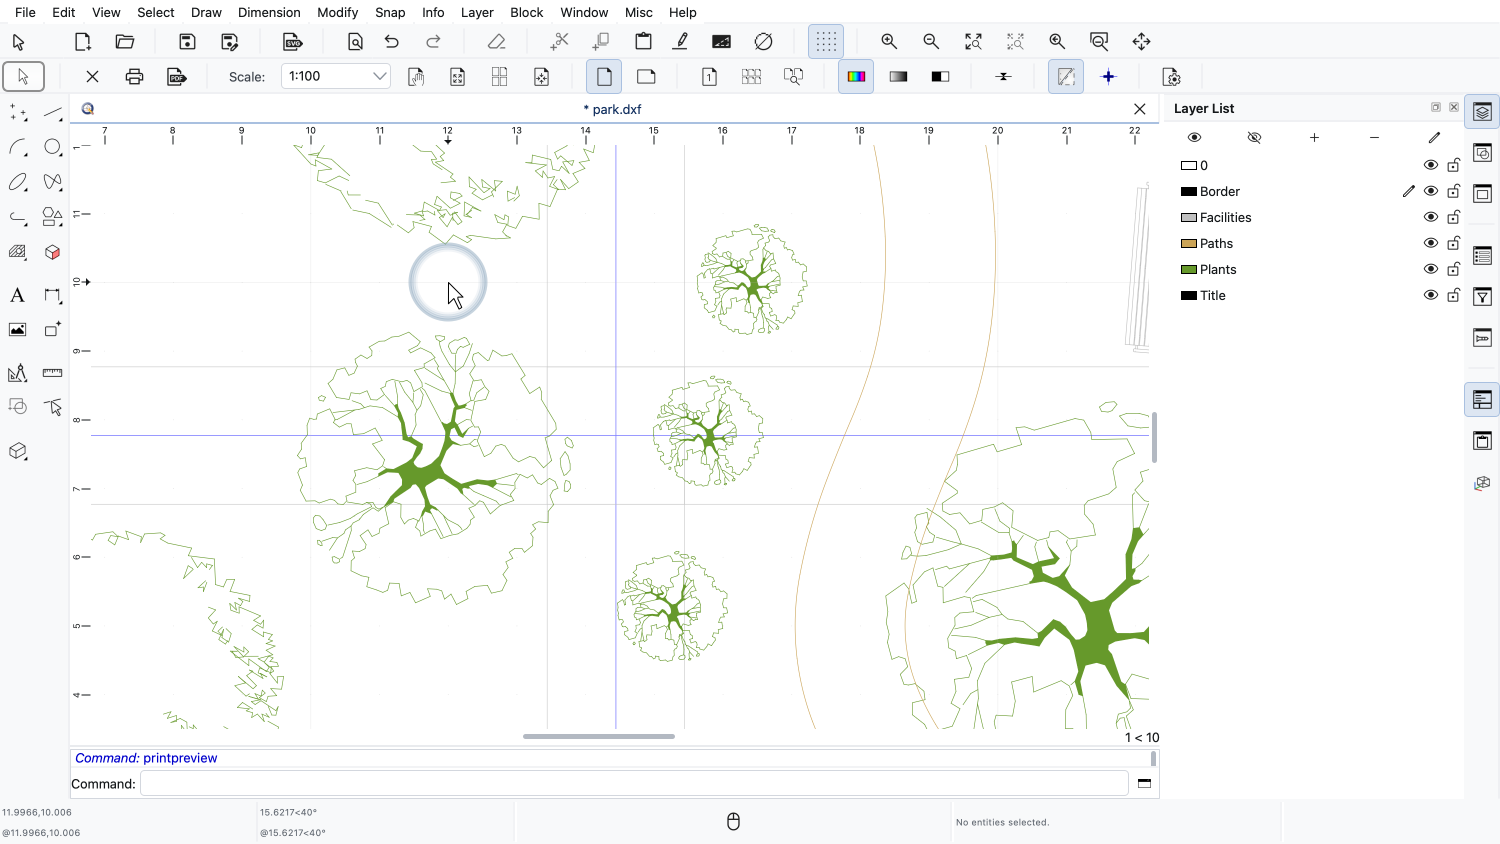
The blue rectangles show the area of each page that is covered by the plan.
Around each blue rectangle is the page margin.
For a single page, the margin is simply the empty space between the drawing and the edge of the paper.
For a poster, the margins get another important purpose: they become glue margins.
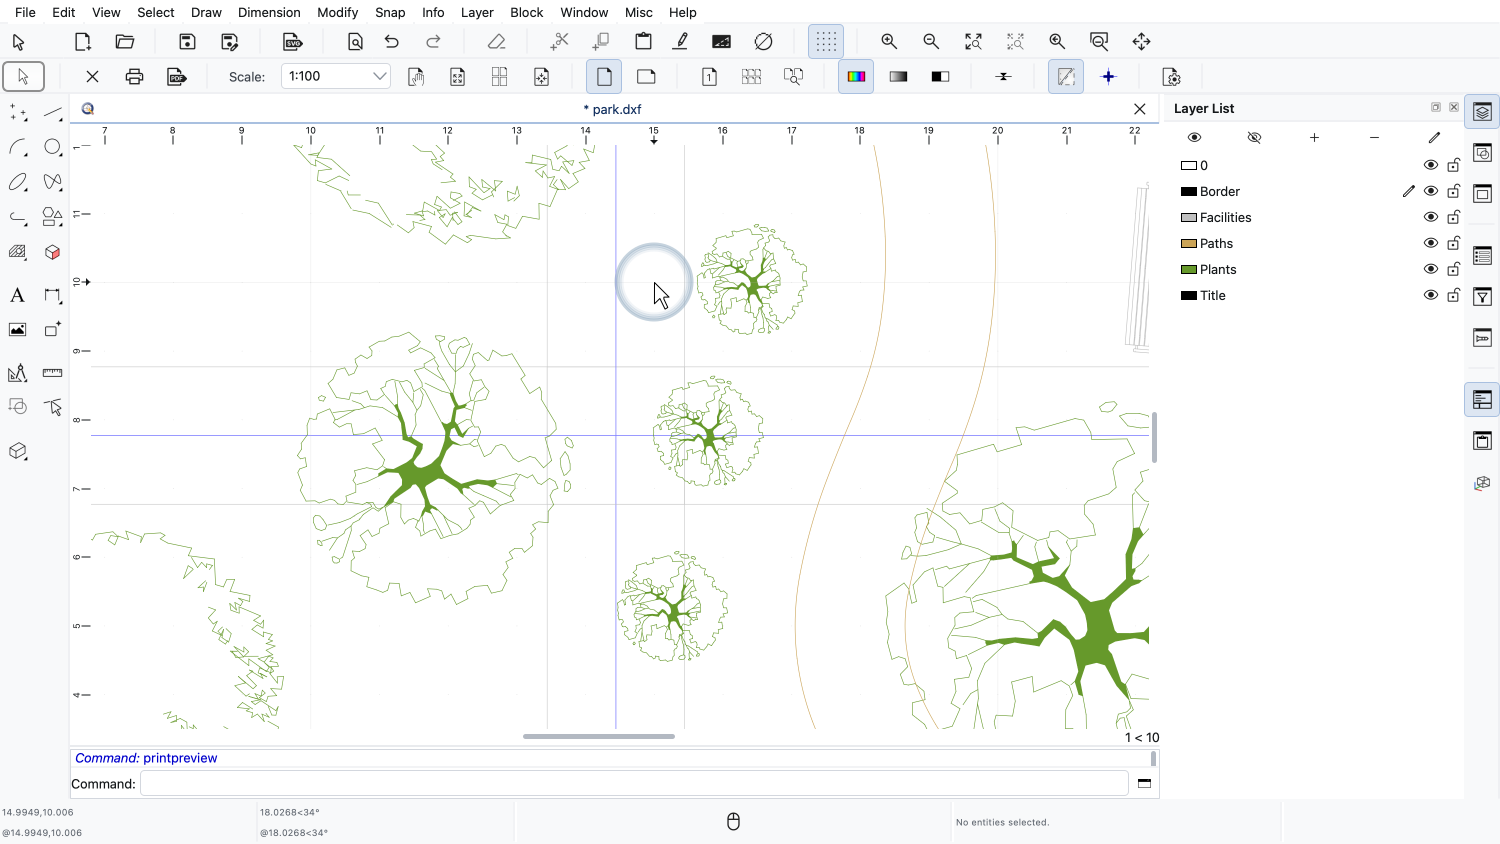
Everything inside the margin of a page is also printed on the neighboring page.
This means that neighboring sheets overlap by the width of the margins.
When assembling the poster, we cut away the margin of one sheet and glue it onto the margin of the next sheet.
This way, the drawing continues seamlessly from one sheet to the next.
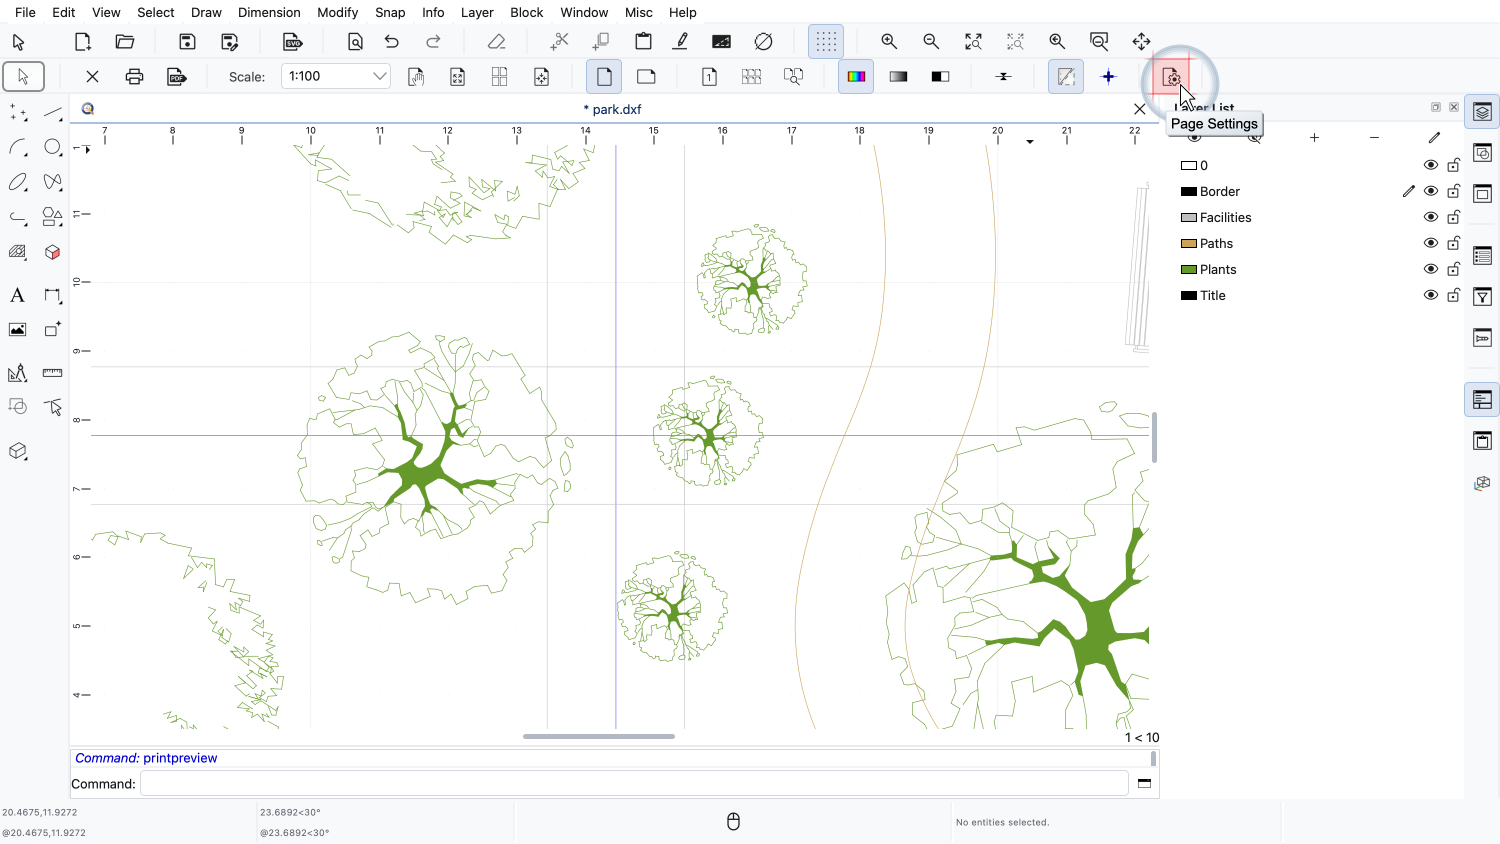
We can adjust the margins in the page settings.
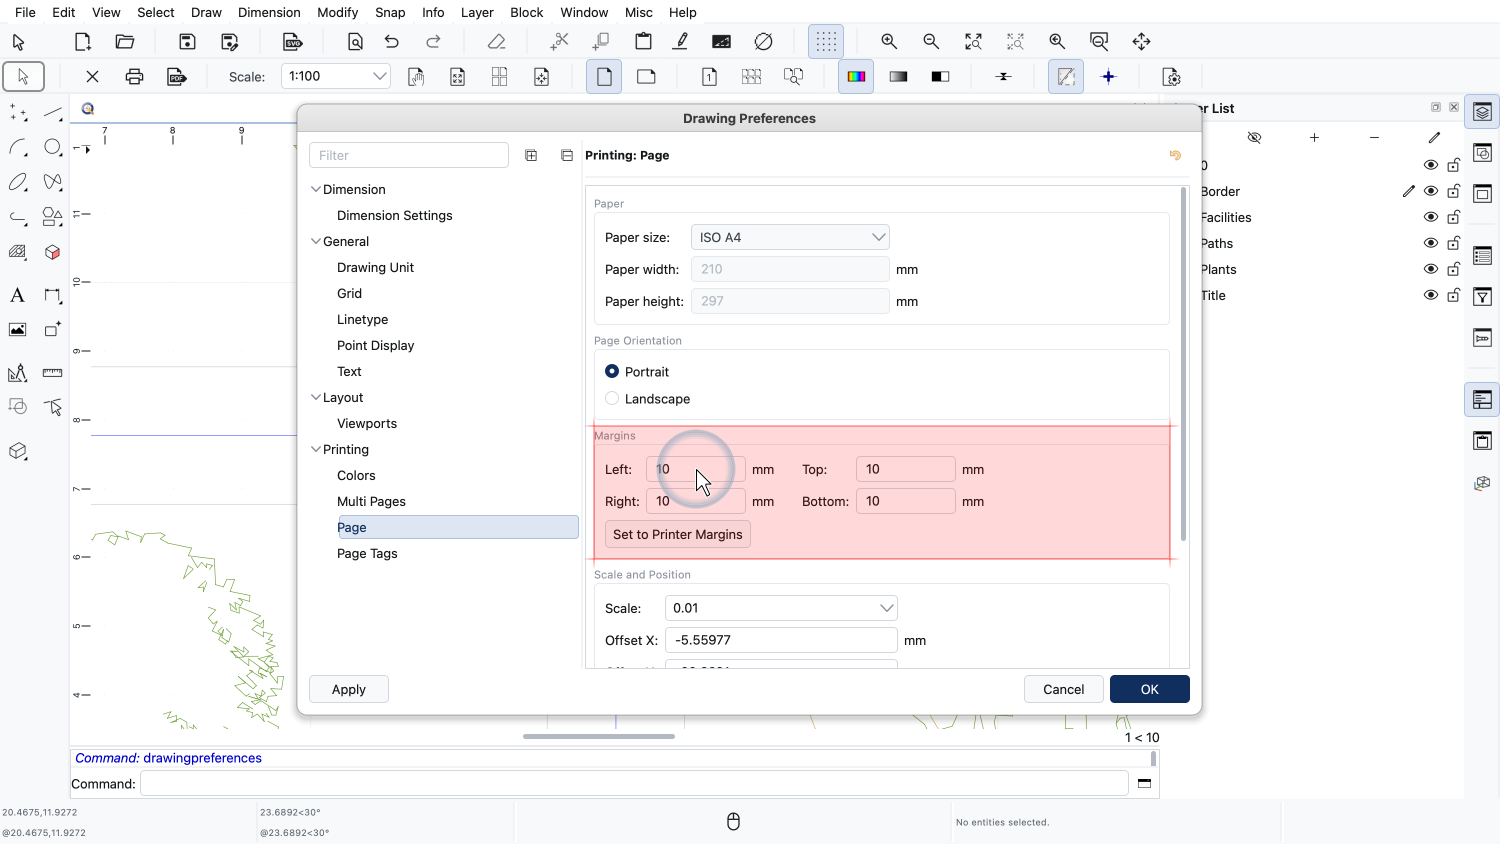
The margins are currently set to 10 millimeters on all sides.
The margins must not be smaller than the area of the paper that our printer cannot print on.
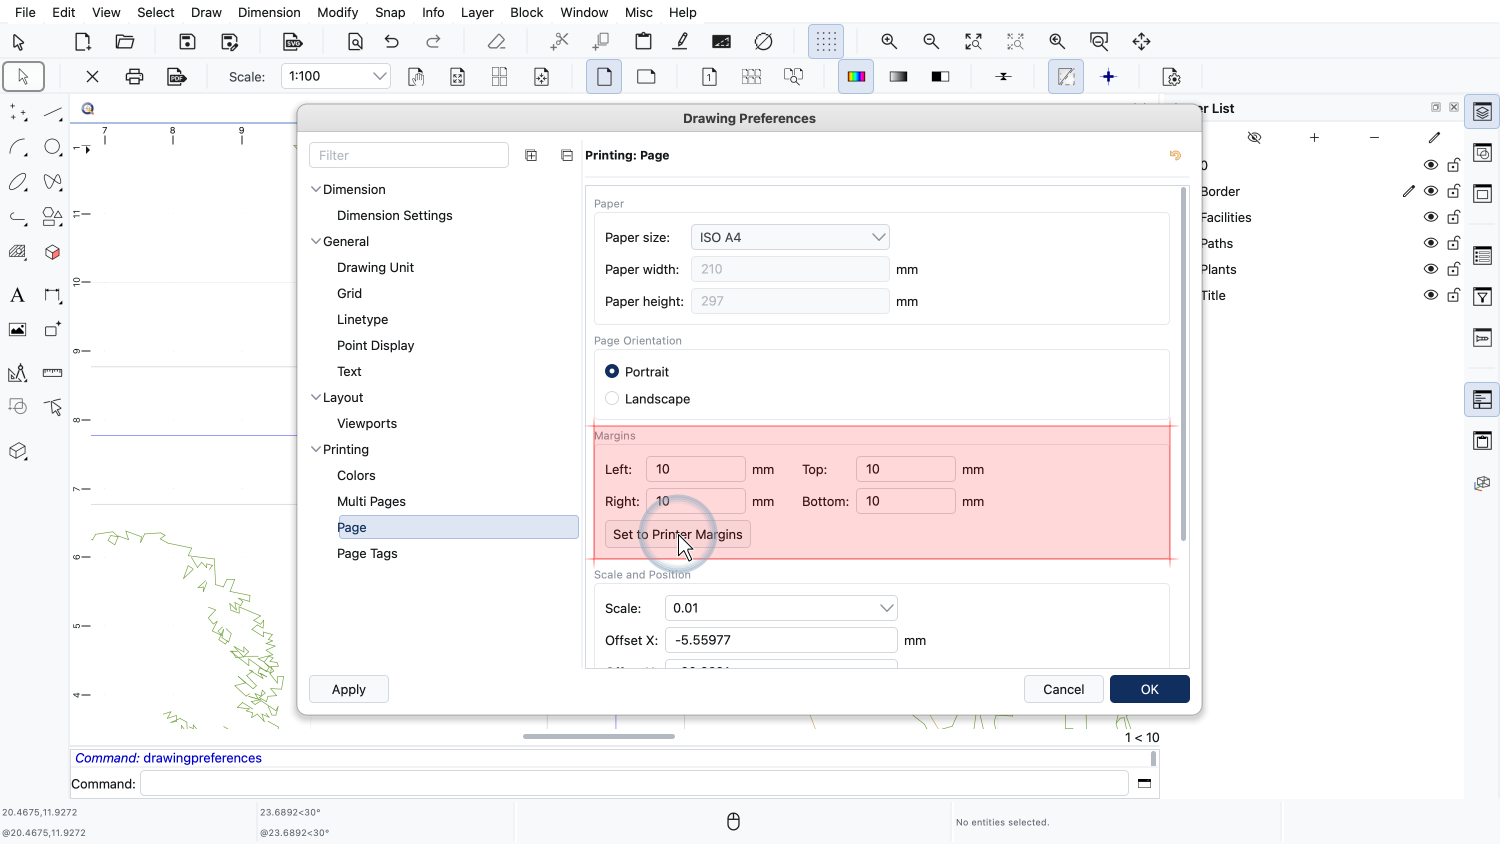
The button "Set to Printer Margins" sets the margins to the minimum margins supported by the current printer.
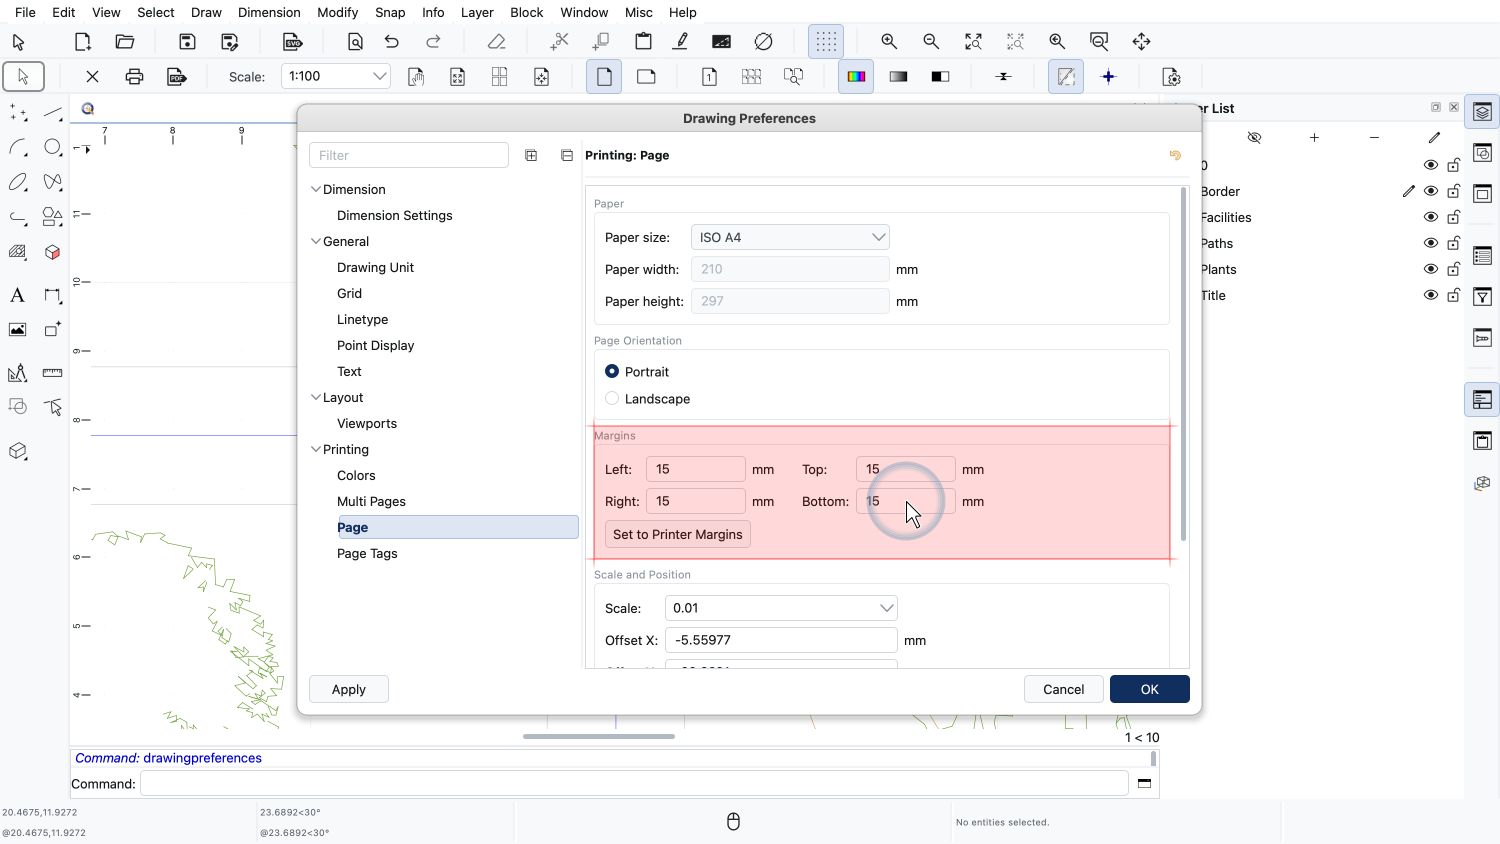
To have a little more room for gluing, we increase the margins to 15 millimeters.
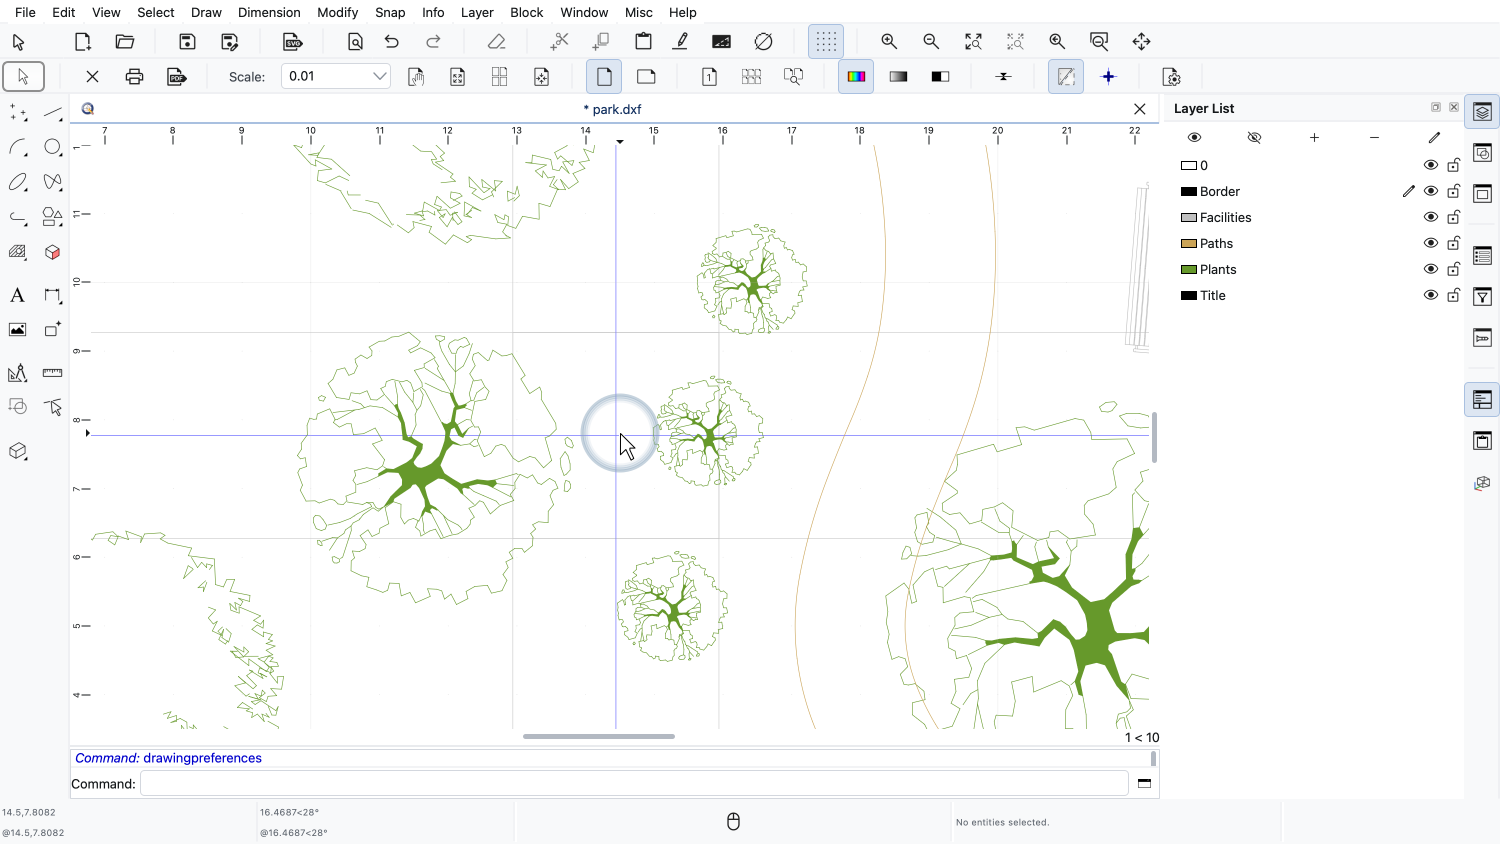
Since larger margins leave less space for the drawing on each page, we center the plan again.
The overlapping areas between the pages are now wider.
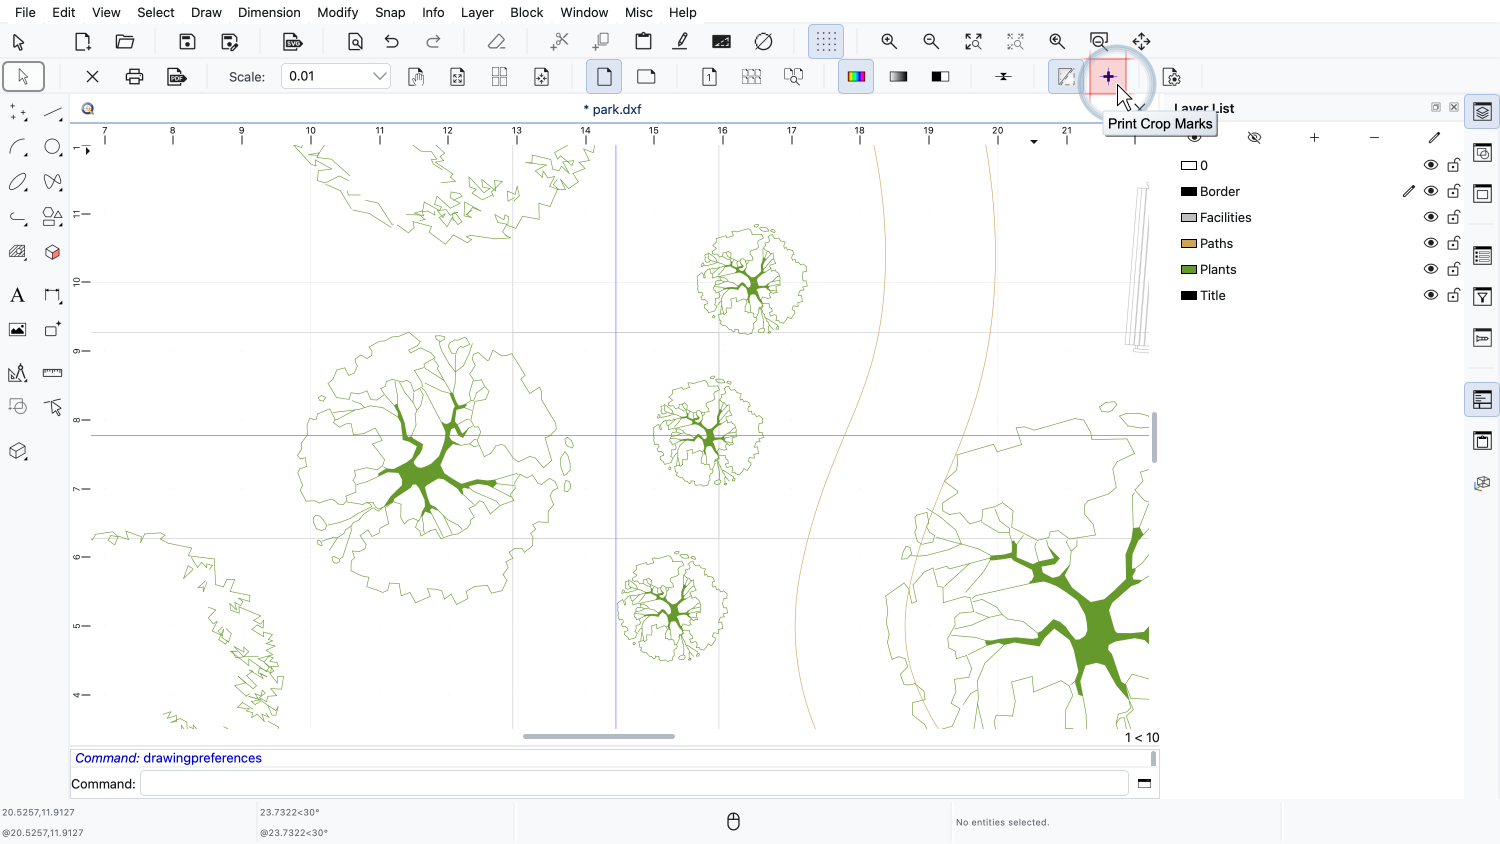
To know exactly where to cut and how to align the sheets, we can print crop marks.
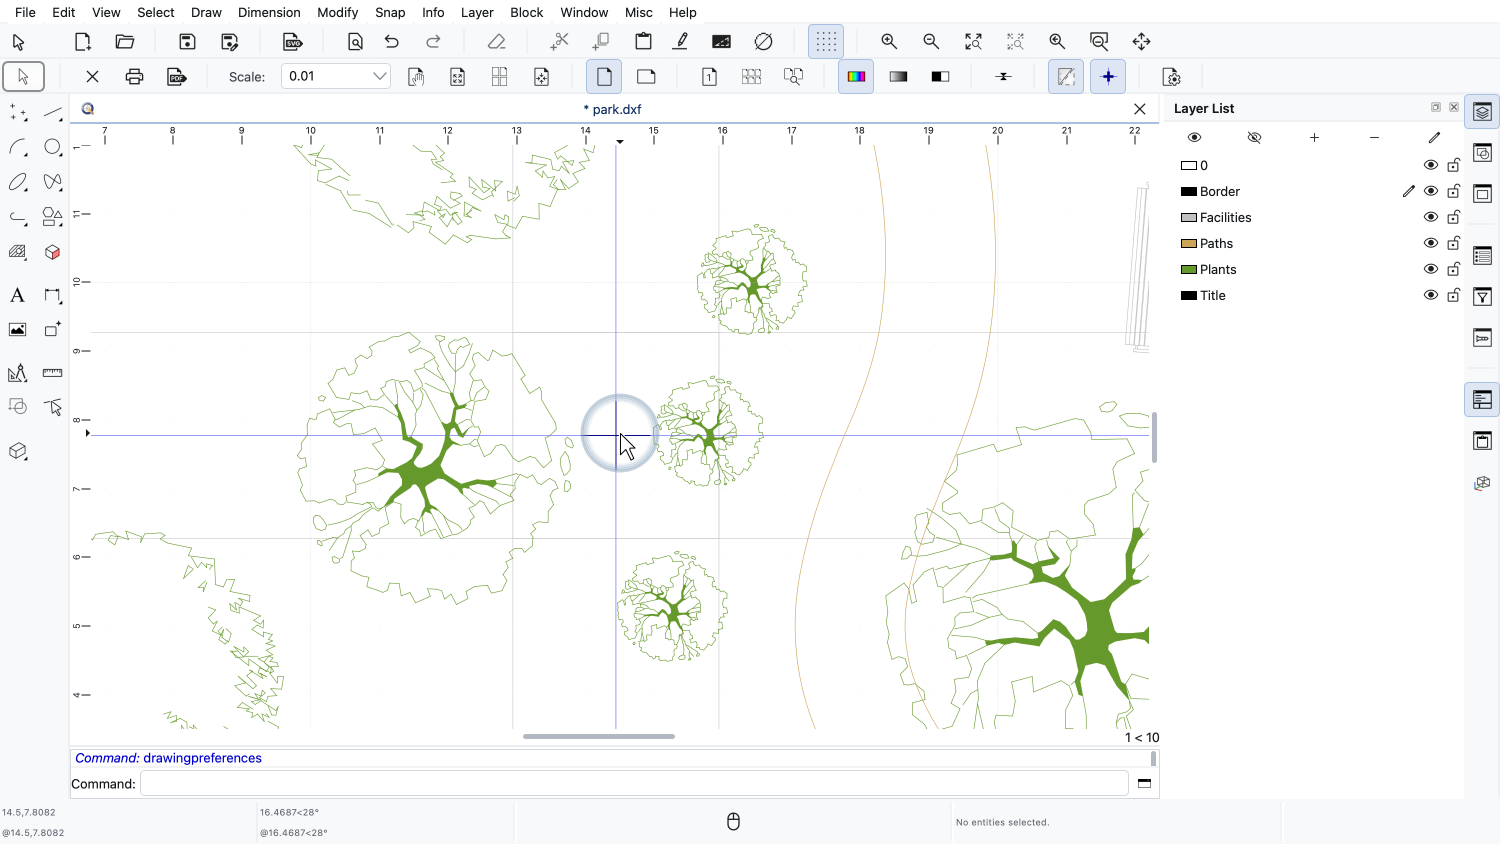
Crop marks are small crosses that are printed at the corners of the blue area of every page.
To assemble the poster, we cut off the margin of a sheet along the line through its crop marks.
We then place the sheet on top of the neighboring sheet, so that the crop marks of both sheets are exactly on top of each other.
The margin of the neighboring sheet underneath serves as the glue area.
It is usually easiest to always cut off the left and top margins and glue the sheets onto the right and bottom margins of their neighbors.
With a large number of pages, it can be hard to tell in which order the printed sheets belong.
This is why QCAD can print a page number, also called page tag, on every page.
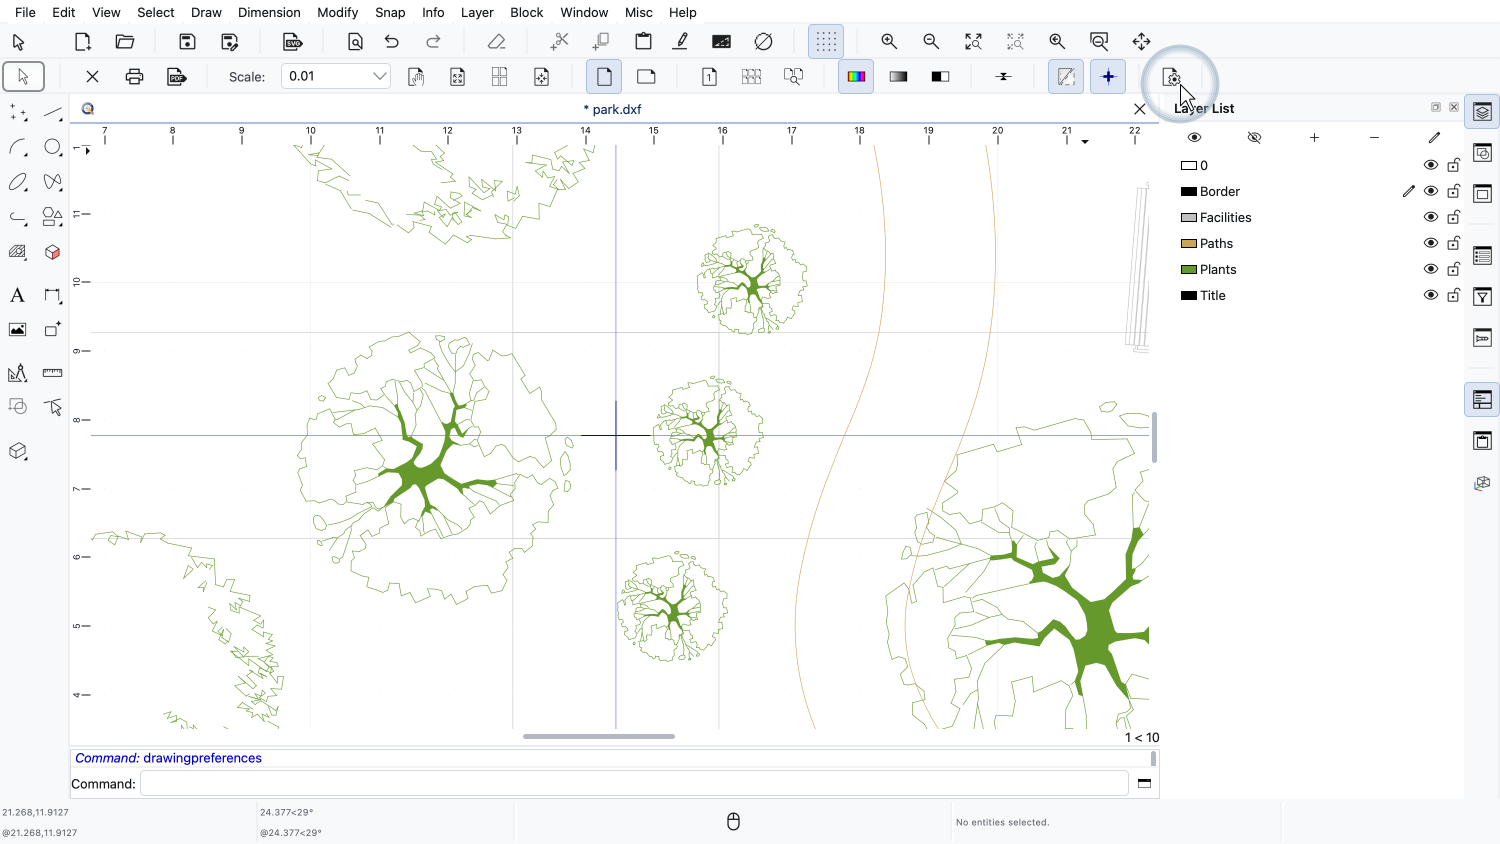
Page tags are enabled in the drawing preferences which we open again through the page settings button.
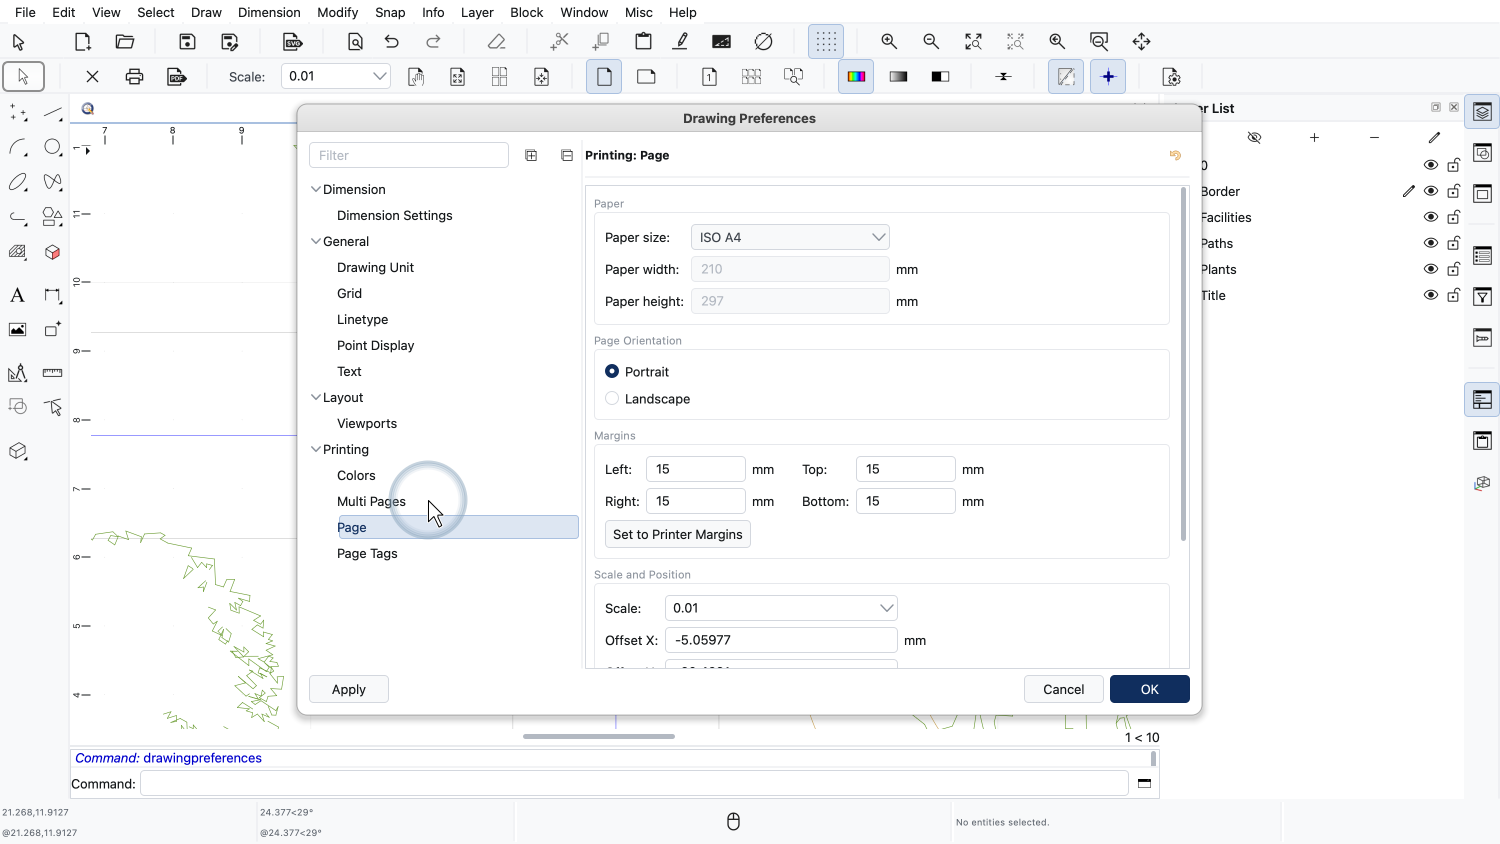
The drawing preferences contain some more categories for printing.
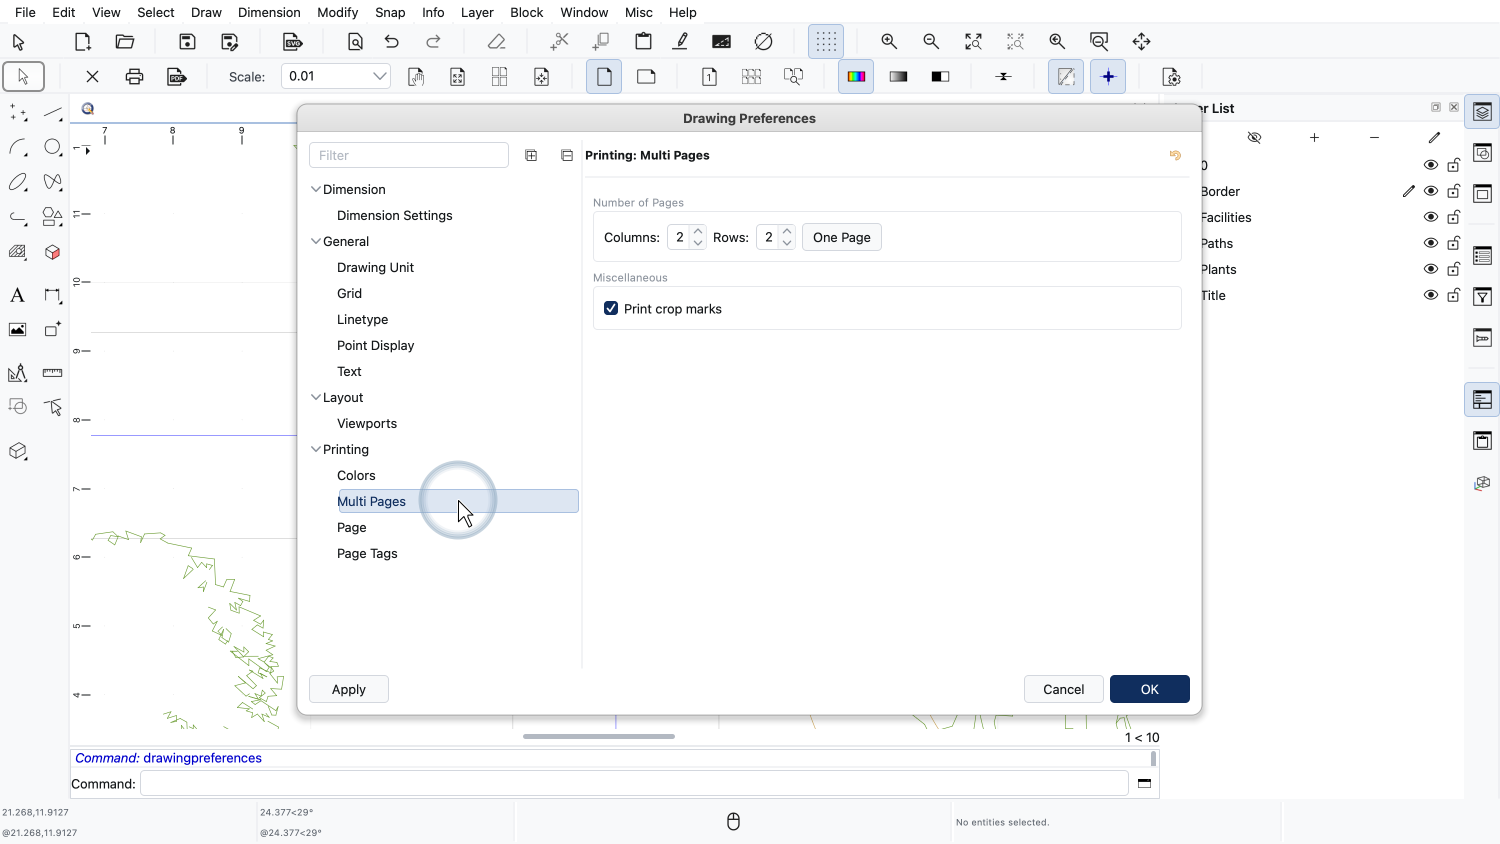
Under "Multi Pages", we find the number of columns and rows as well as the option for crop marks that we have already set in the options toolbar.
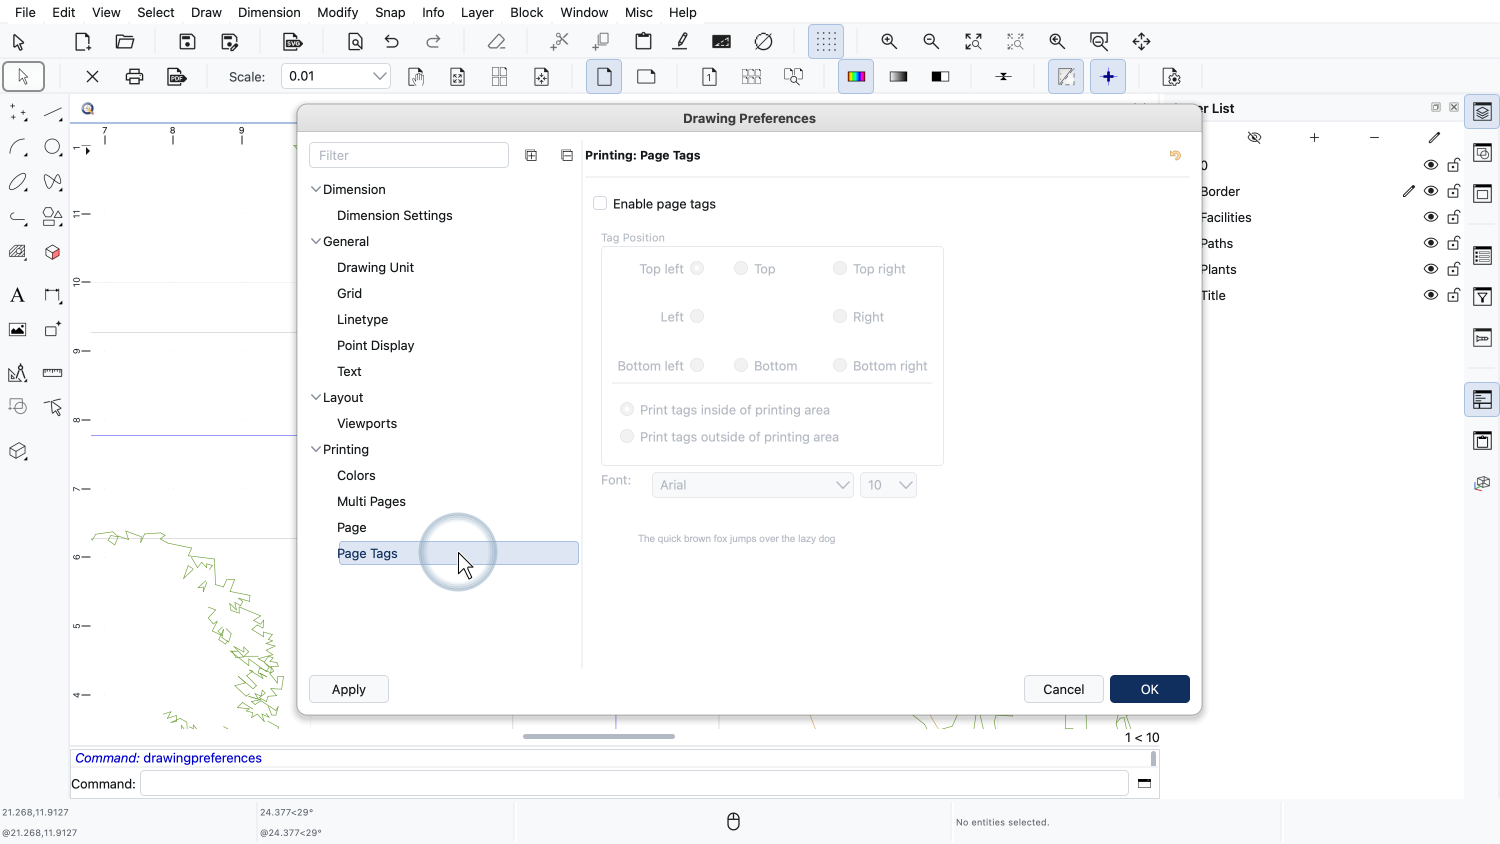
We switch to the category "Page Tags".

Here, we enable the page tags.
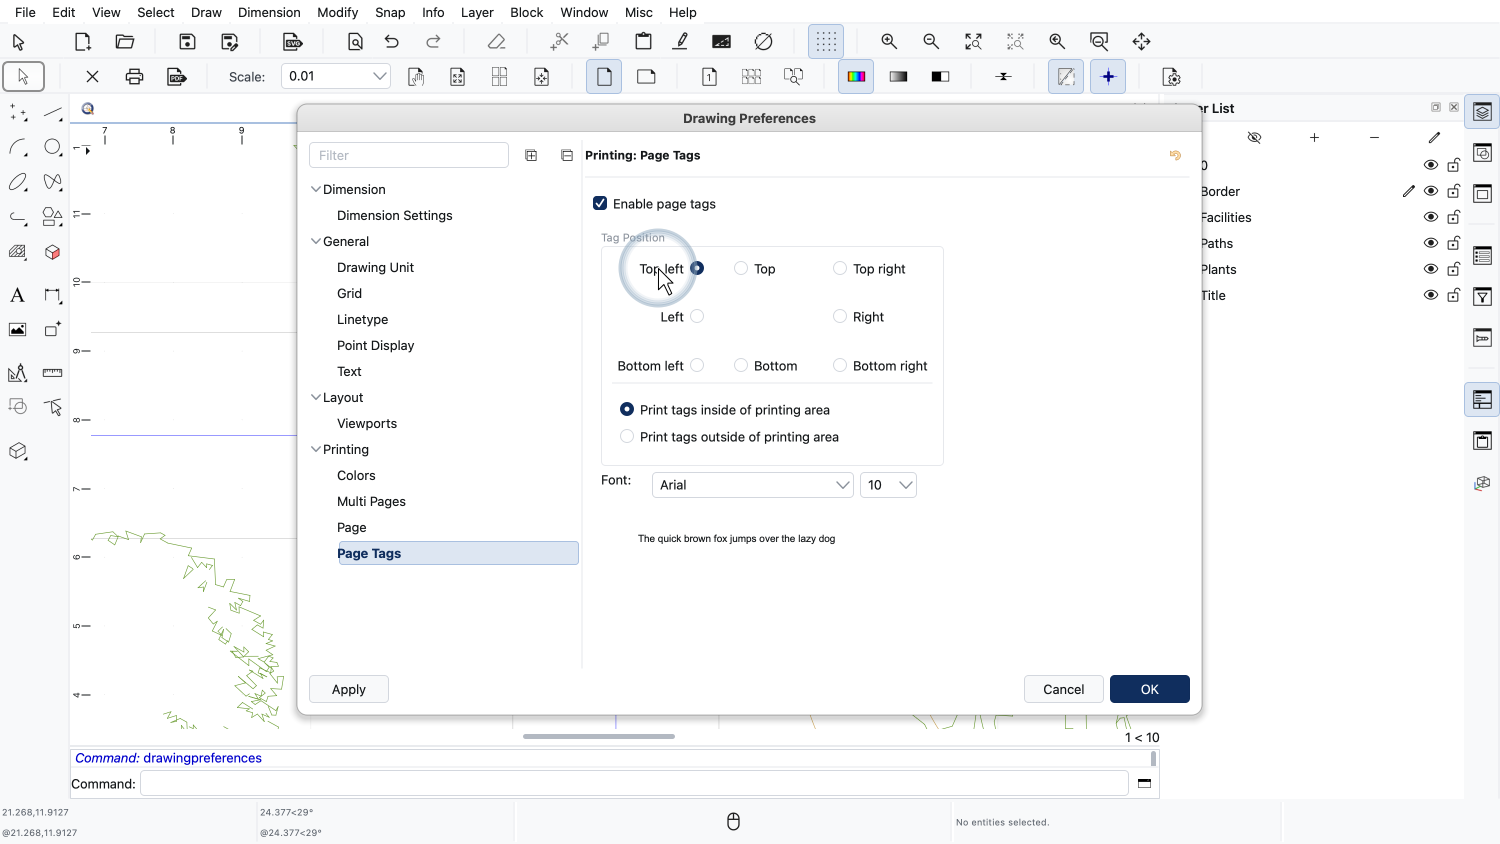
We can choose where on the page the tag is printed. We leave this at the top left.
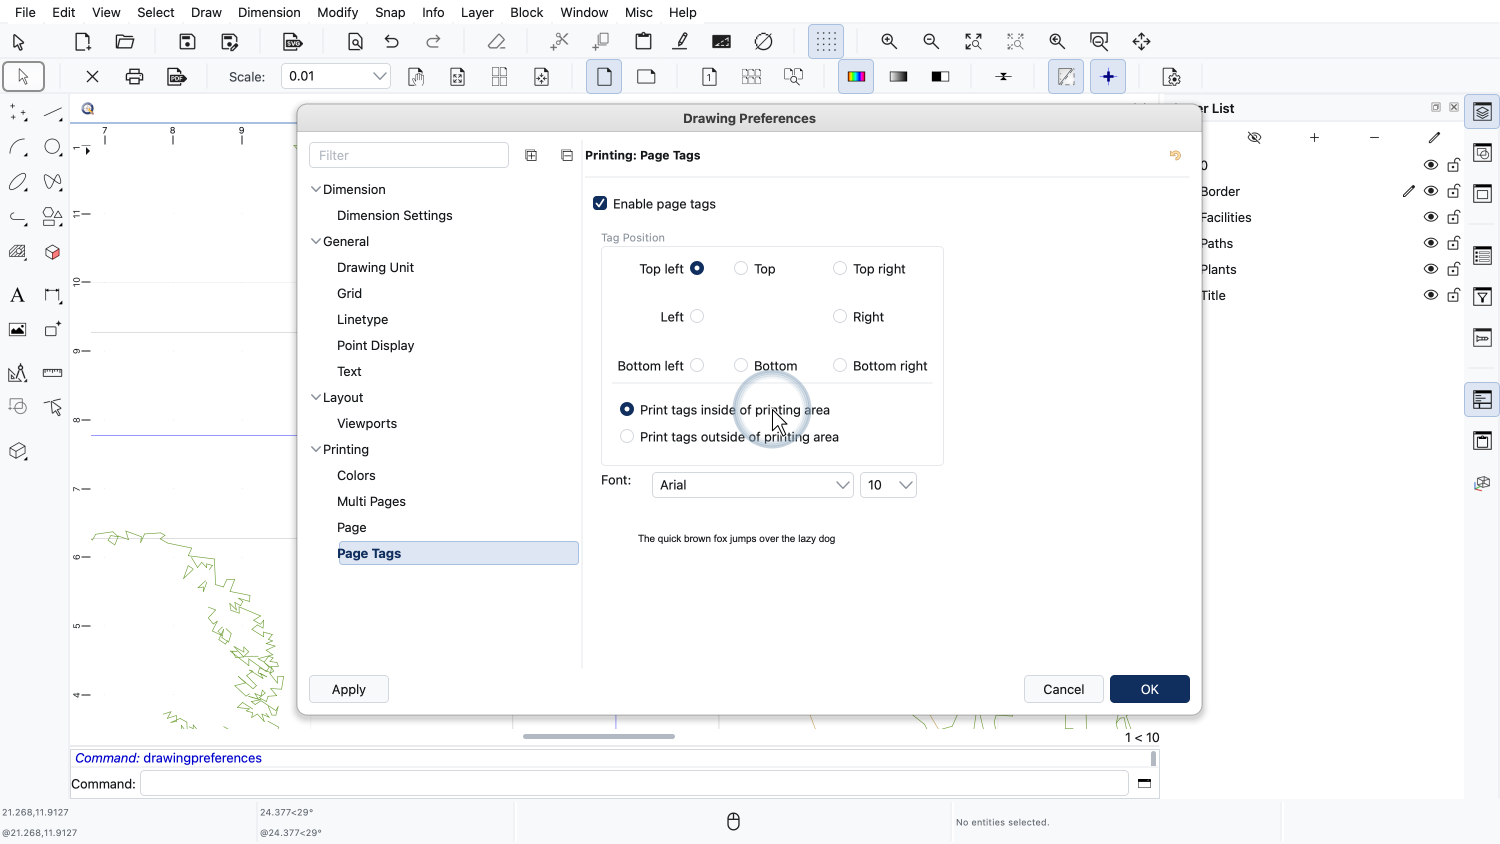
The page tags can be printed inside of the printing area, so they remain visible on the finished poster.
Alternatively, they can be printed outside, in the margin, so they disappear when the poster is glued together.
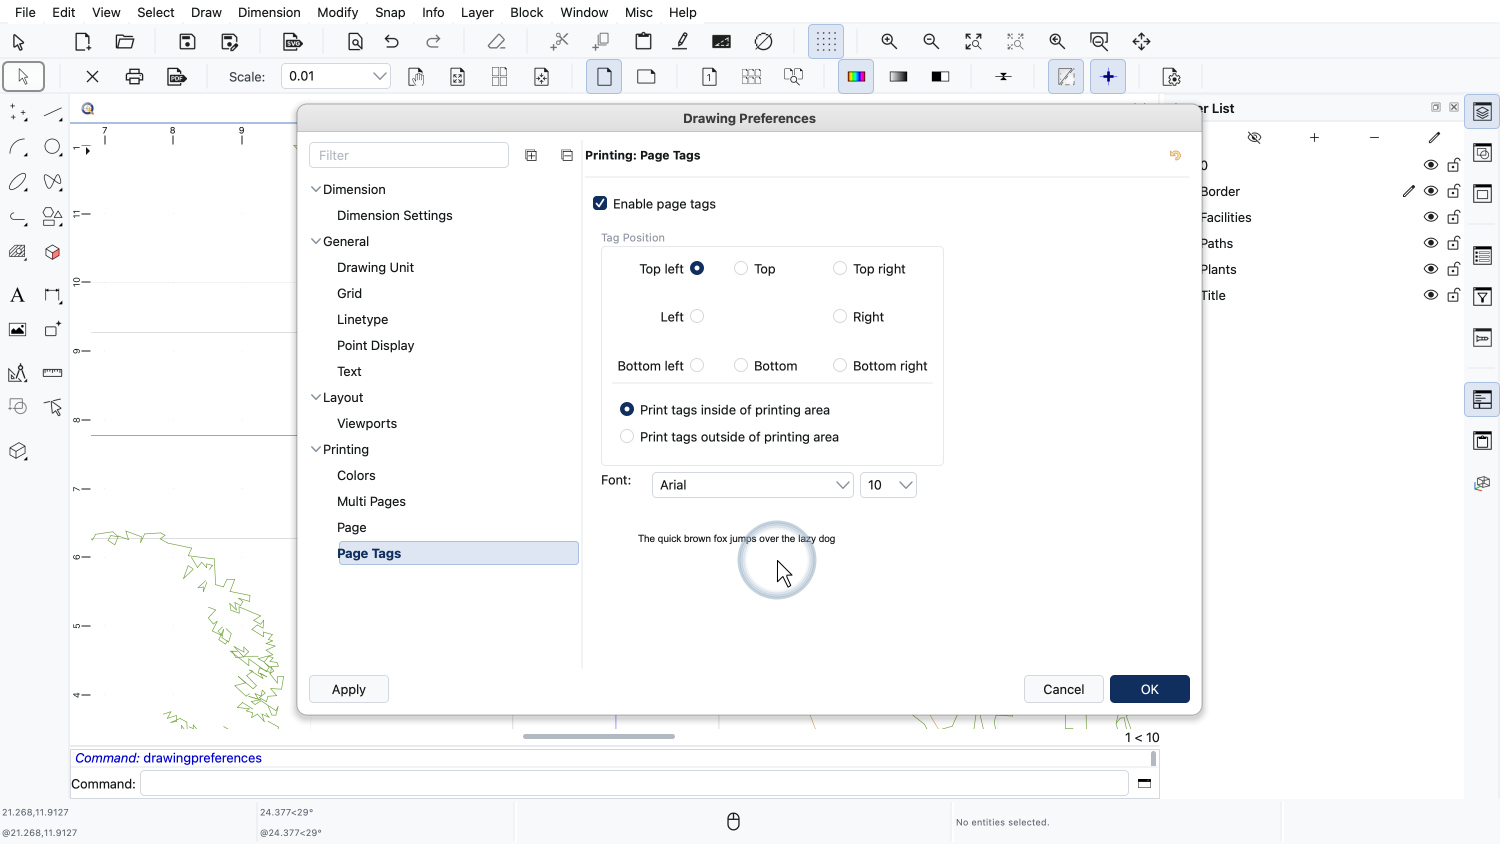
We can also choose the font and the size of the page tags.
Every page now shows its page tag at the top left.
The letter indicates the column and the number indicates the row of the page, much like the grid of a map.
Page A1 is at the top left, page B1 to the right of it and page A2 below it.
This makes it easy to find the right place for every sheet when assembling the poster.
Our poster is now ready for printing.
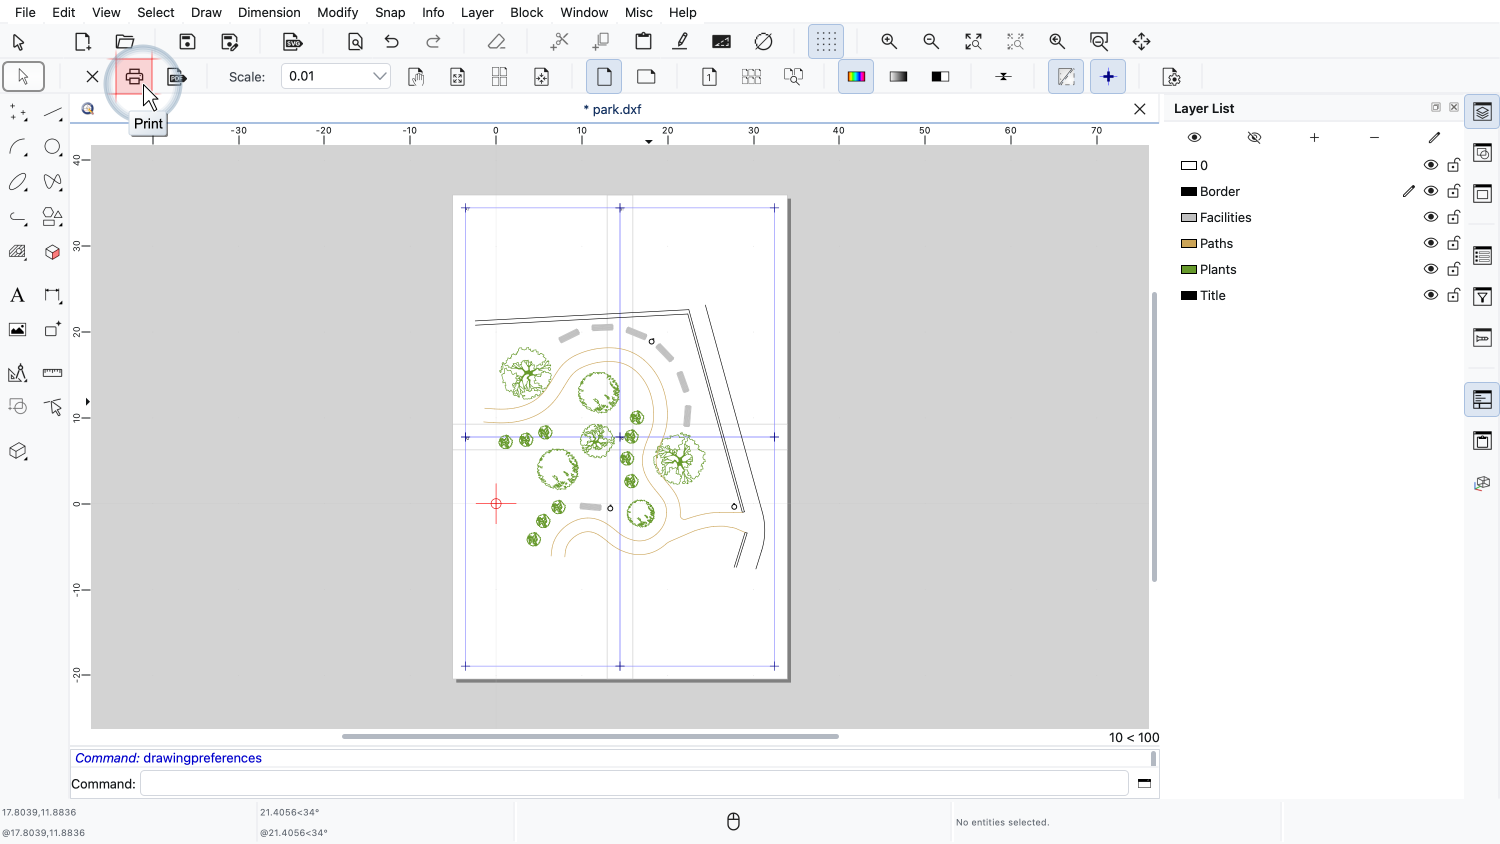
When we print, every page is sent to the printer as a separate page of the print job.
If a sheet gets lost or damaged, we can reprint a single page by choosing a page range in the printer dialog.
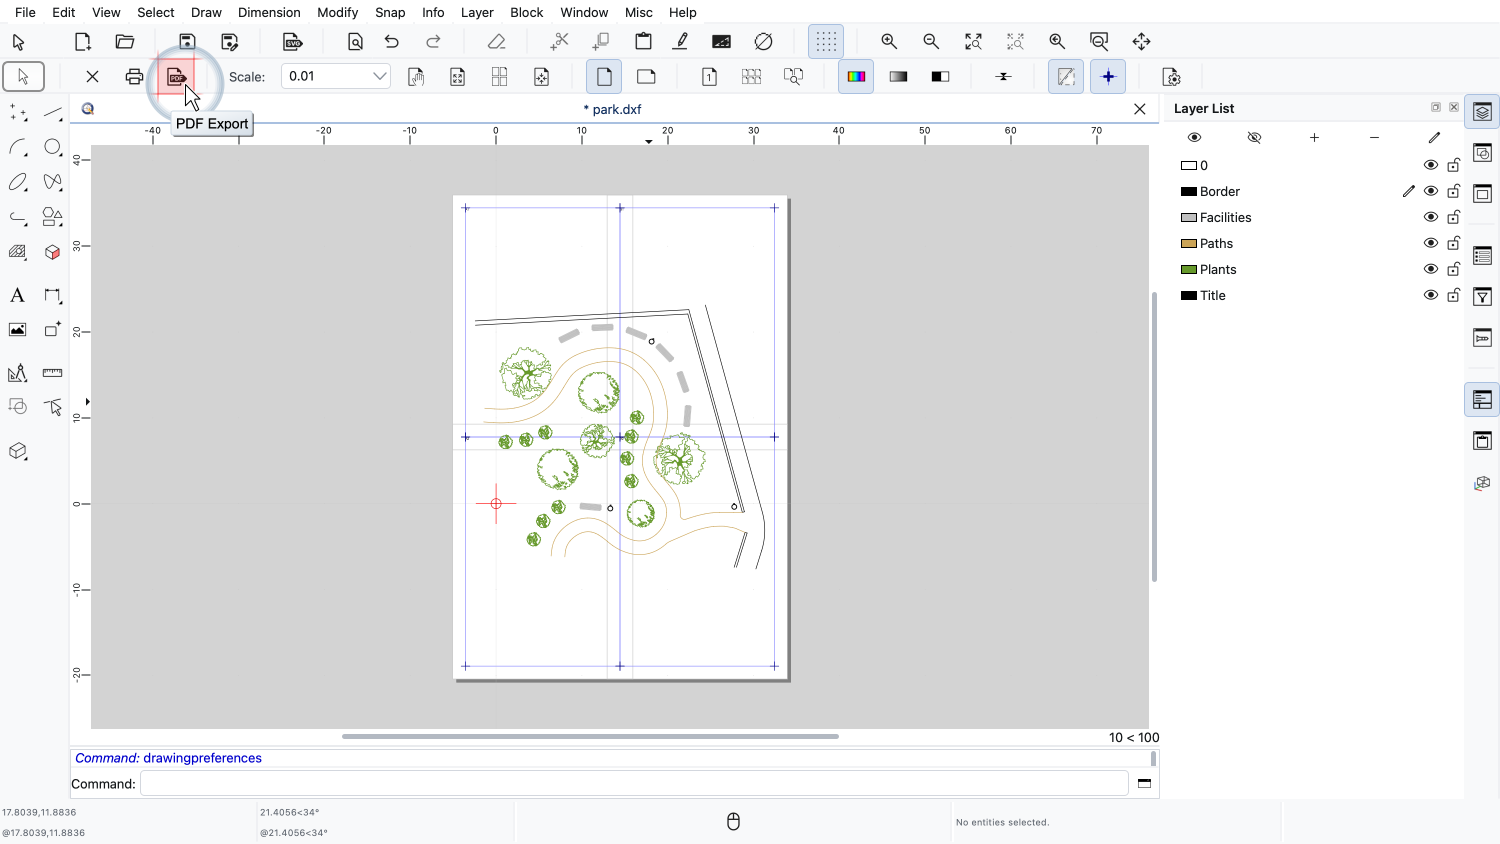
Exporting to PDF produces a PDF file with one PDF page for every page of our poster.
This is useful to print the poster later or on another computer.
All of these print settings are stored in the drawing file, so the next time we open the drawing, the poster is still set up the same way.
You should now be able to print a large drawing as a poster on multiple pages, with glue margins, crop marks and page numbers.
Be sure to practice this with your own installation.
Thank you for watching this QCAD tutorial.