Video Transcript
In this QCAD tutorial, we will learn how to activate layers based on existing entities instead of using the layer list.
This way, we can quickly activate the layer of any entity in the drawing by simply moving the mouse pointer over the entity and entering a keyboard shortcut.
Example drawing: Panel.dxf
When working with drawings with multiple layers, it is usually necessary to switch layers frequently.
The tool we demonstrate in this tutorial provides a fast and intuitive way to switch to the layer of an entity that is already in the drawing.
This tool can be triggered using the keyboard shortcut Y followed by B.
This can be used anytime, even while drawing entities.
In this example, we continue working on this drawing and use the tool to activate the layer of an entity in the process instead of using the layer list to switch layers.
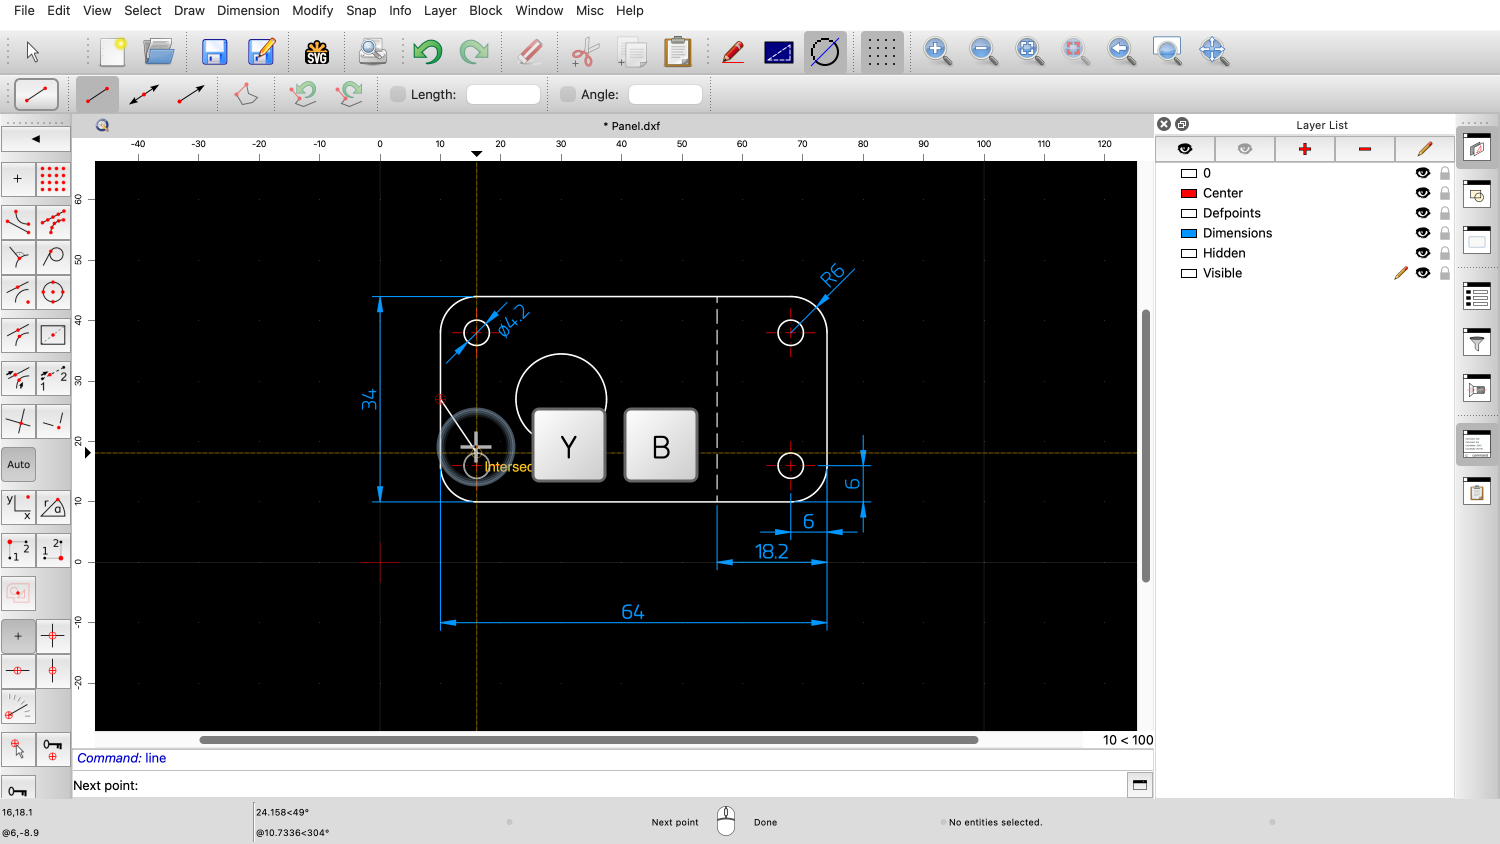
To quickly activate a layer of an entity when no other tool is running, we first move the mouse cursor over an entity that is on the desired layer.
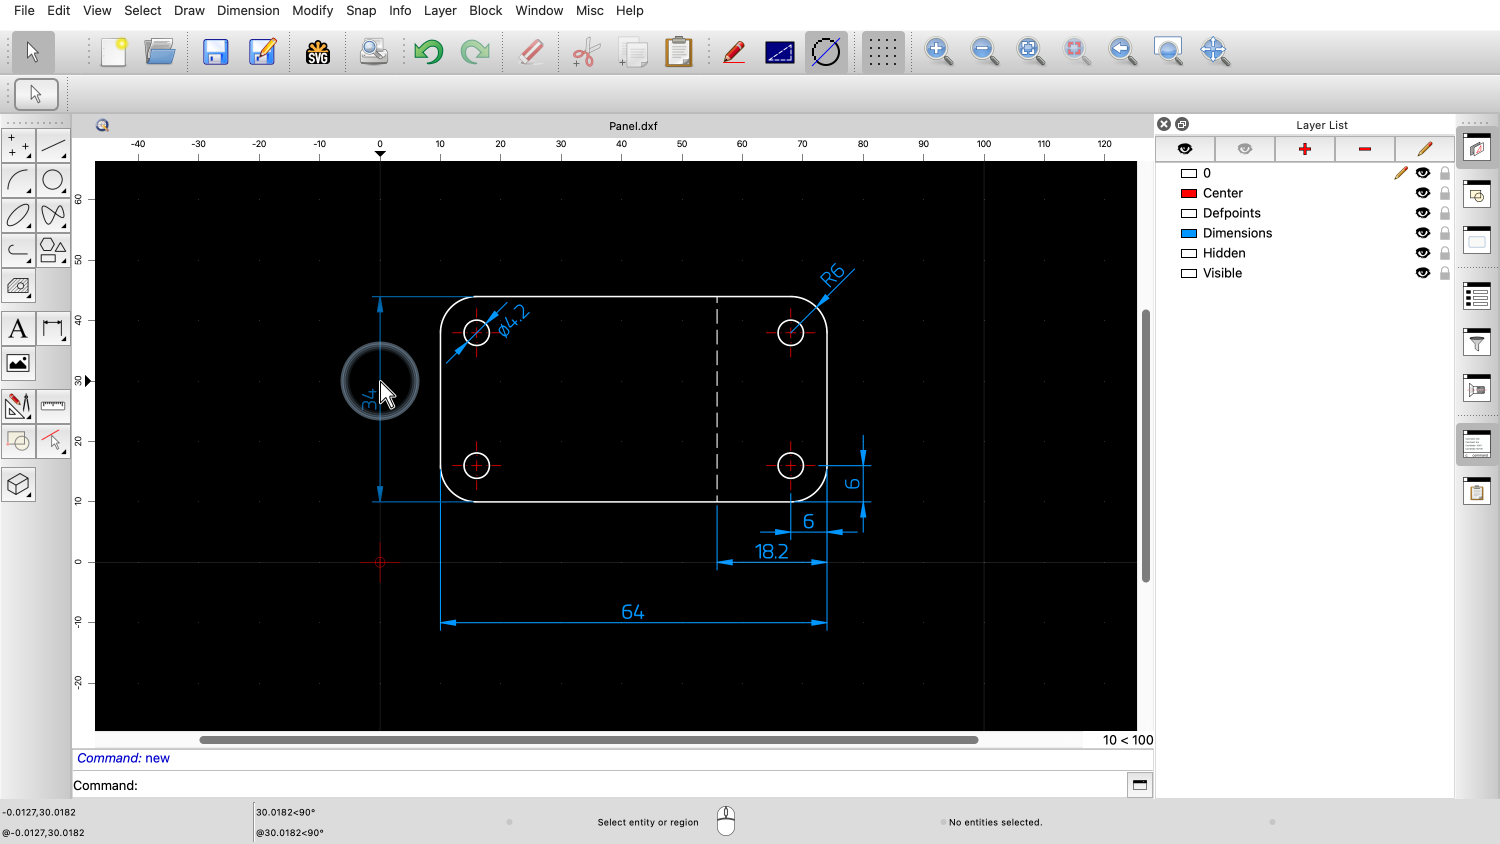
For example, we can move the mouse cursor over one of the dimension entities.
Then we type the keyboard shortcut Y followed by B.
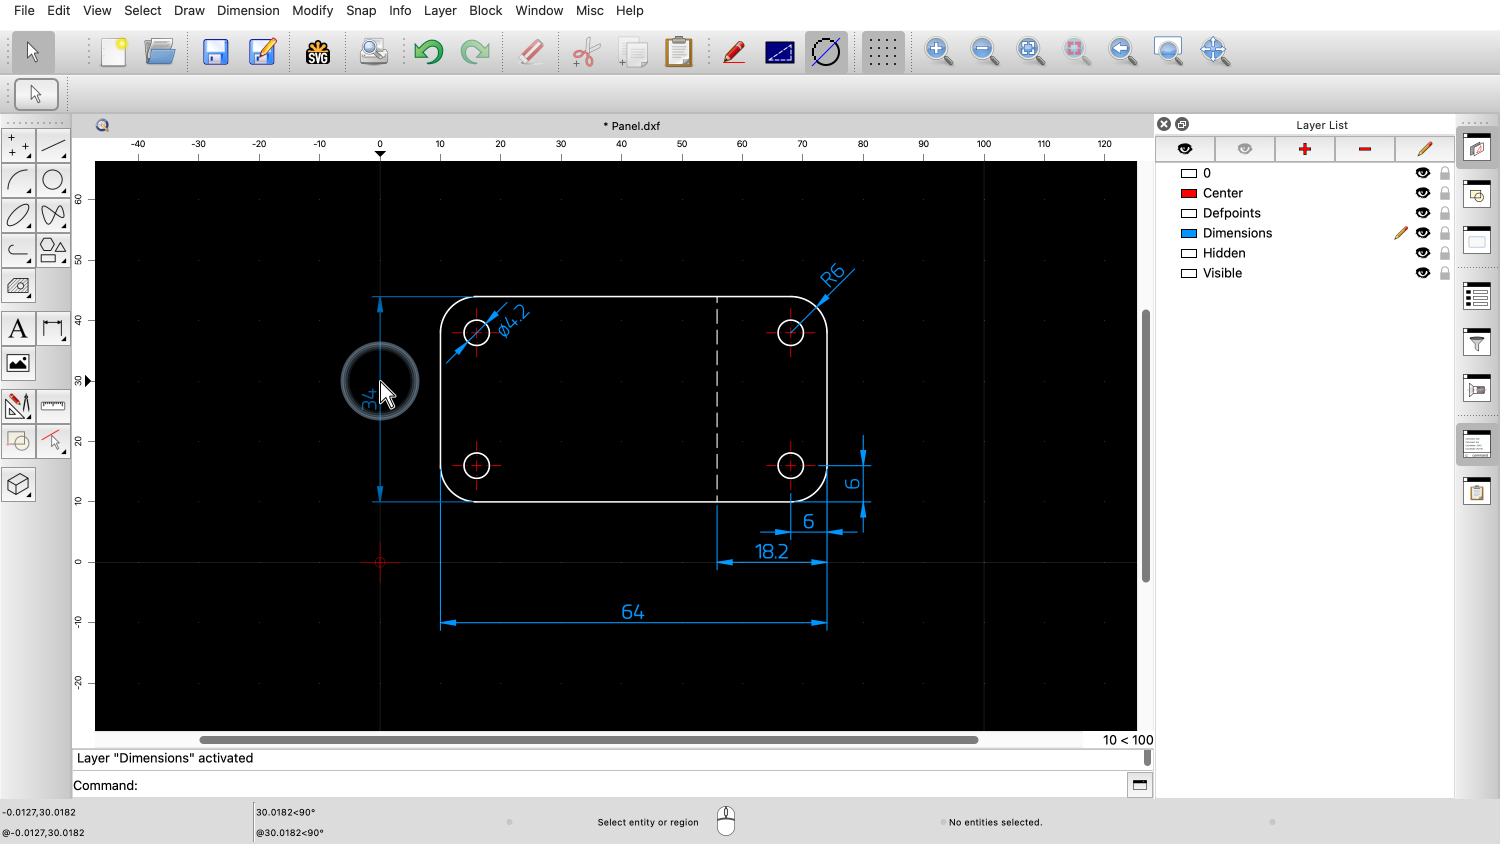
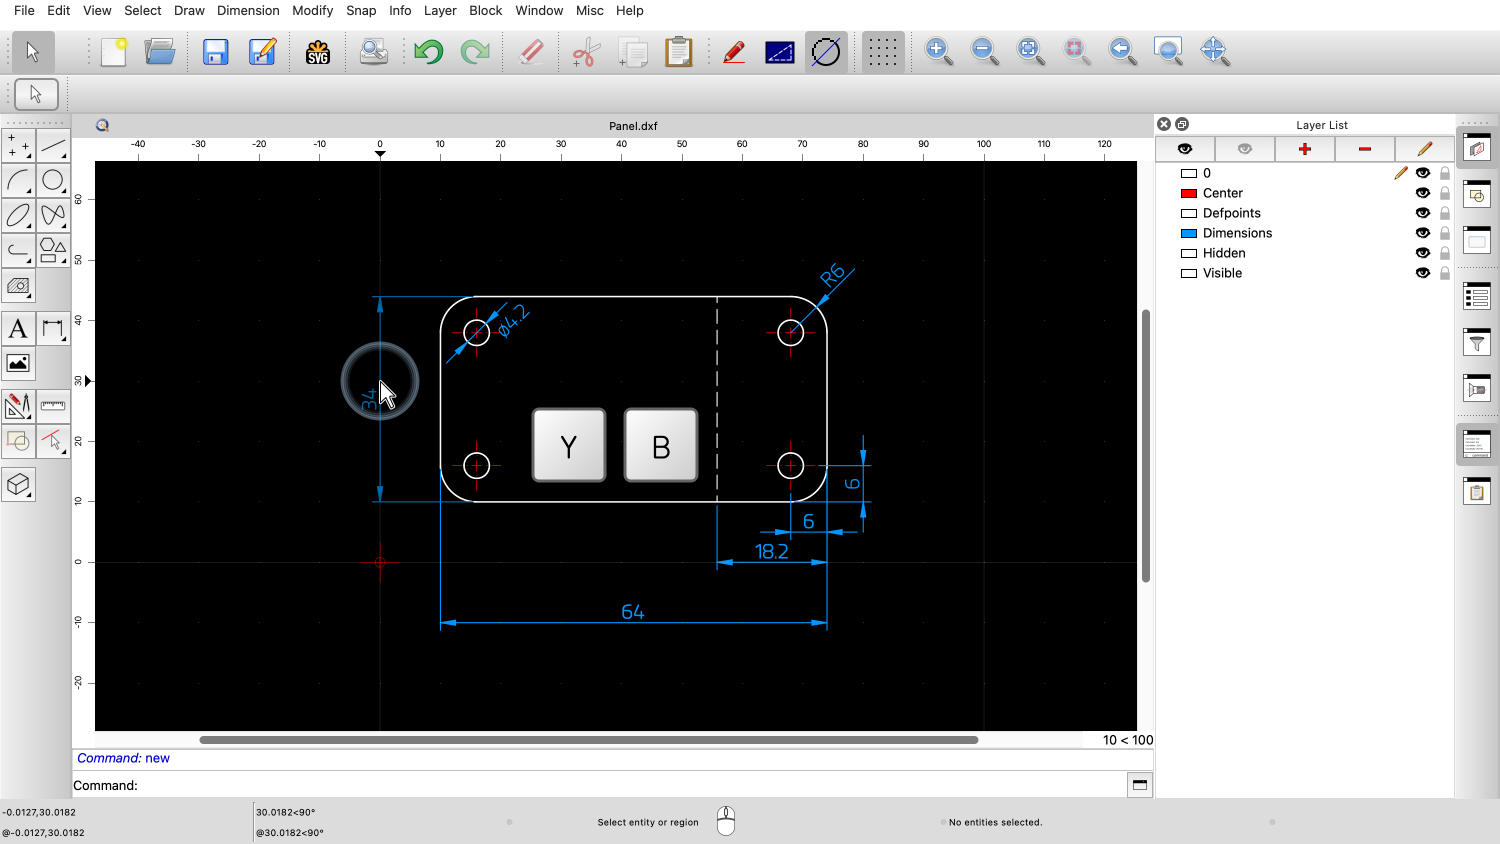
The layer of the dimension entity is now activated.

We can see that the Dimension layer is now the active layer in the layer list.
We can do this with any other entity.

We move the cursor over the dashed line.

And type Y followed by B.
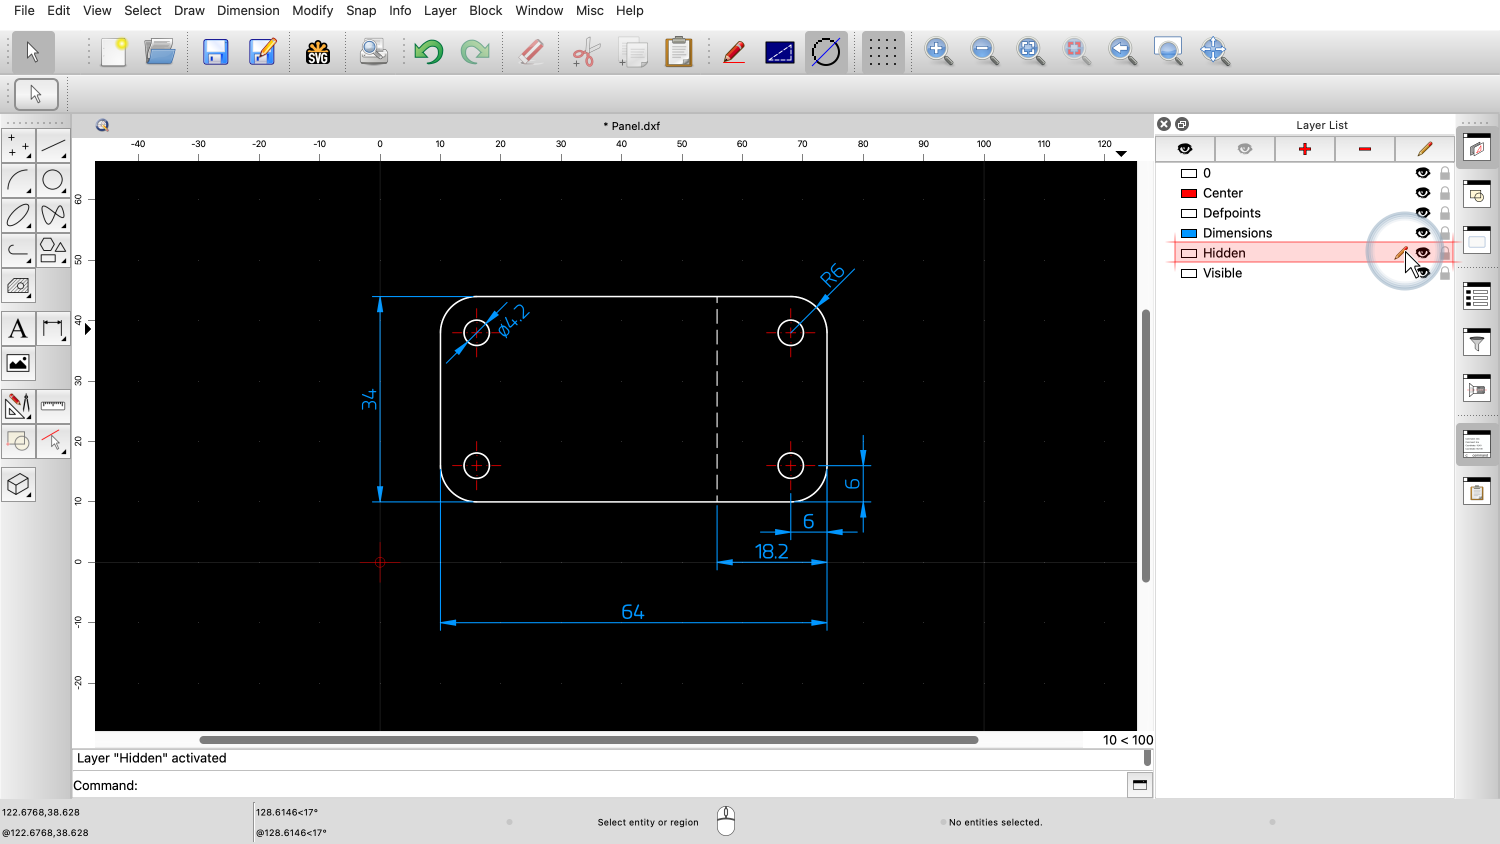
The dashed line is on layer "Hidden" and this layer is now active.
This is a very fast and convenient way to switch layers without having to locate and click the layer in the layer list.
This method of activating a layer is especially useful while drawing entities, as it allows us to switch layers without interrupting the drawing workflow.
We demonstrate this by drawing a new circle.

We start the circle tool.
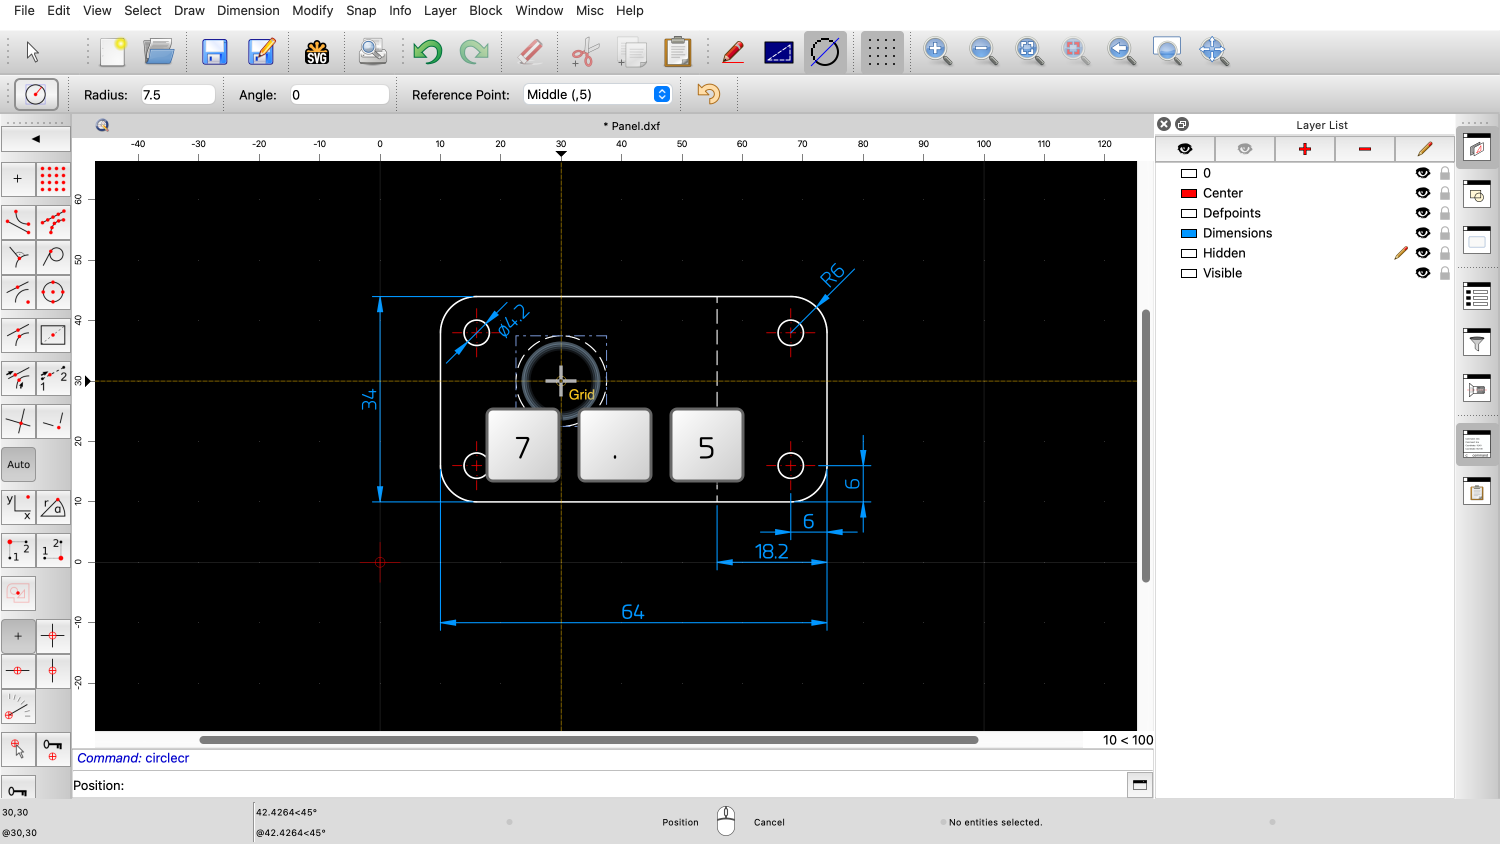
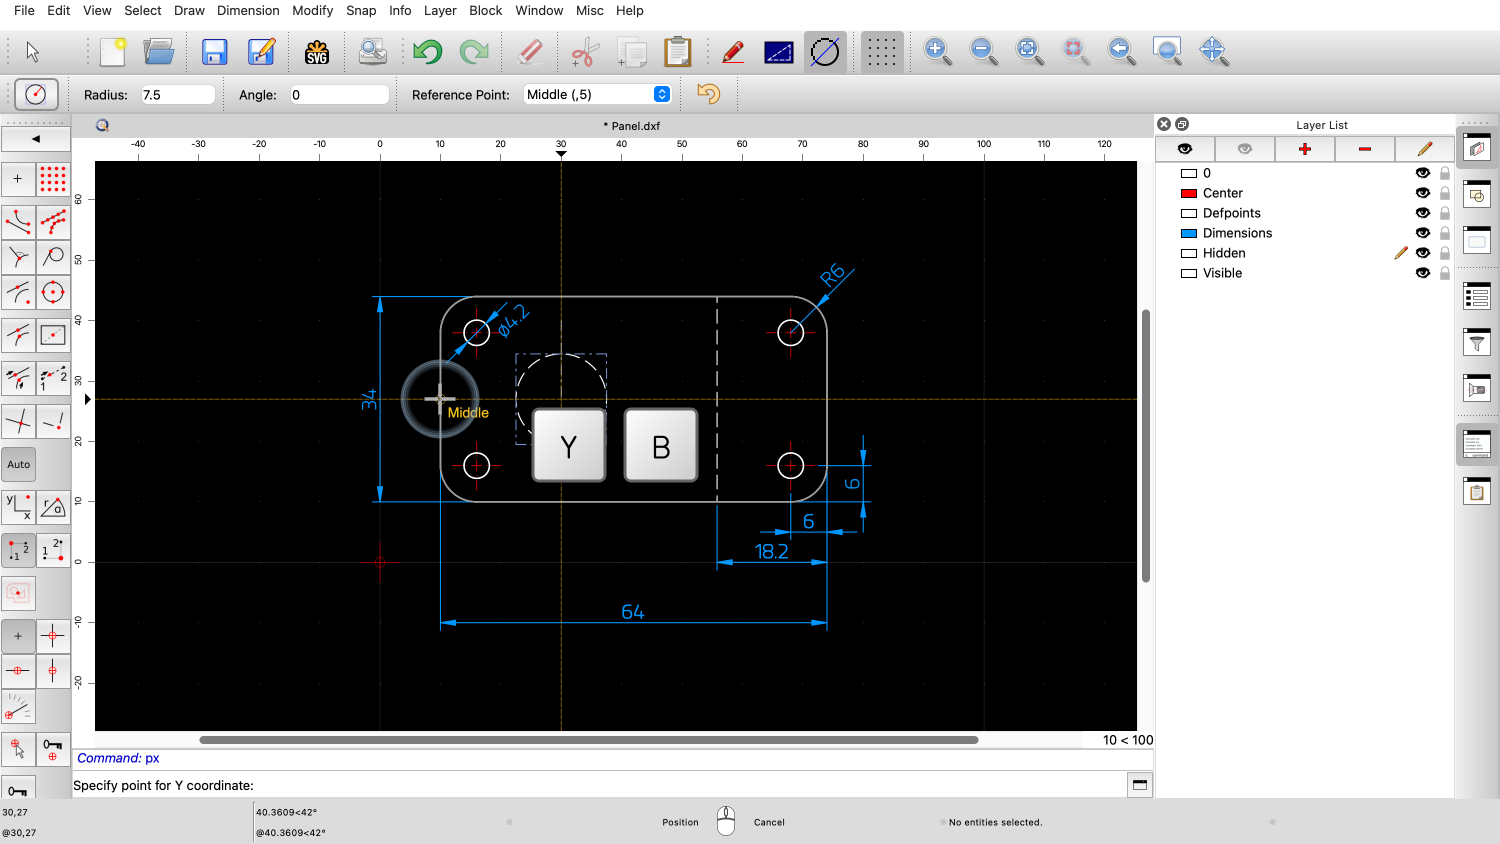
We enter the desired radius of the circle, for example 7.5.
For this example, we use the snap tool to snap to the X and to the Y position separately.
We snap to the desired X position.

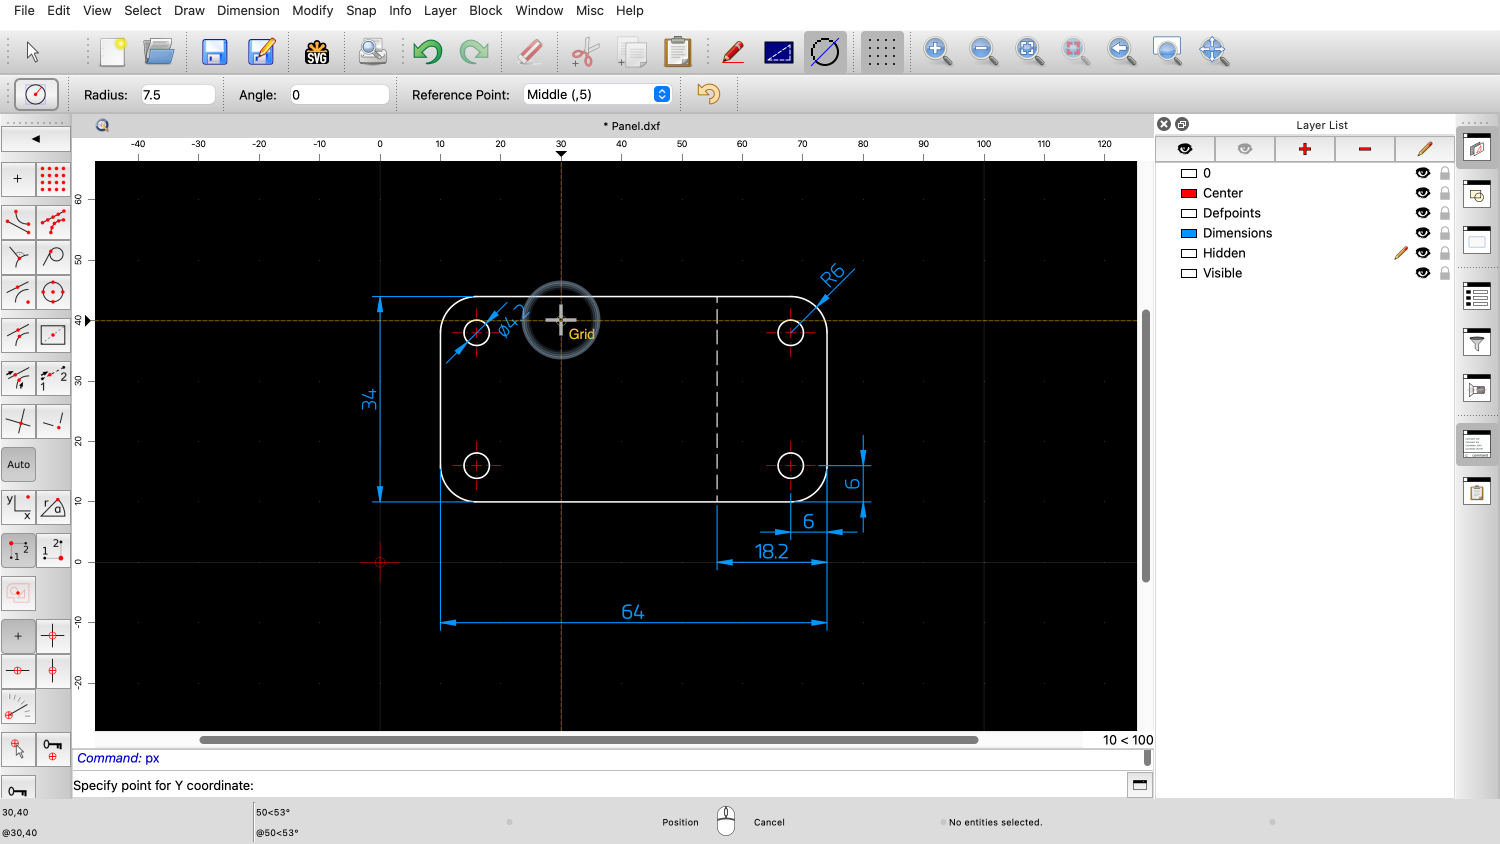
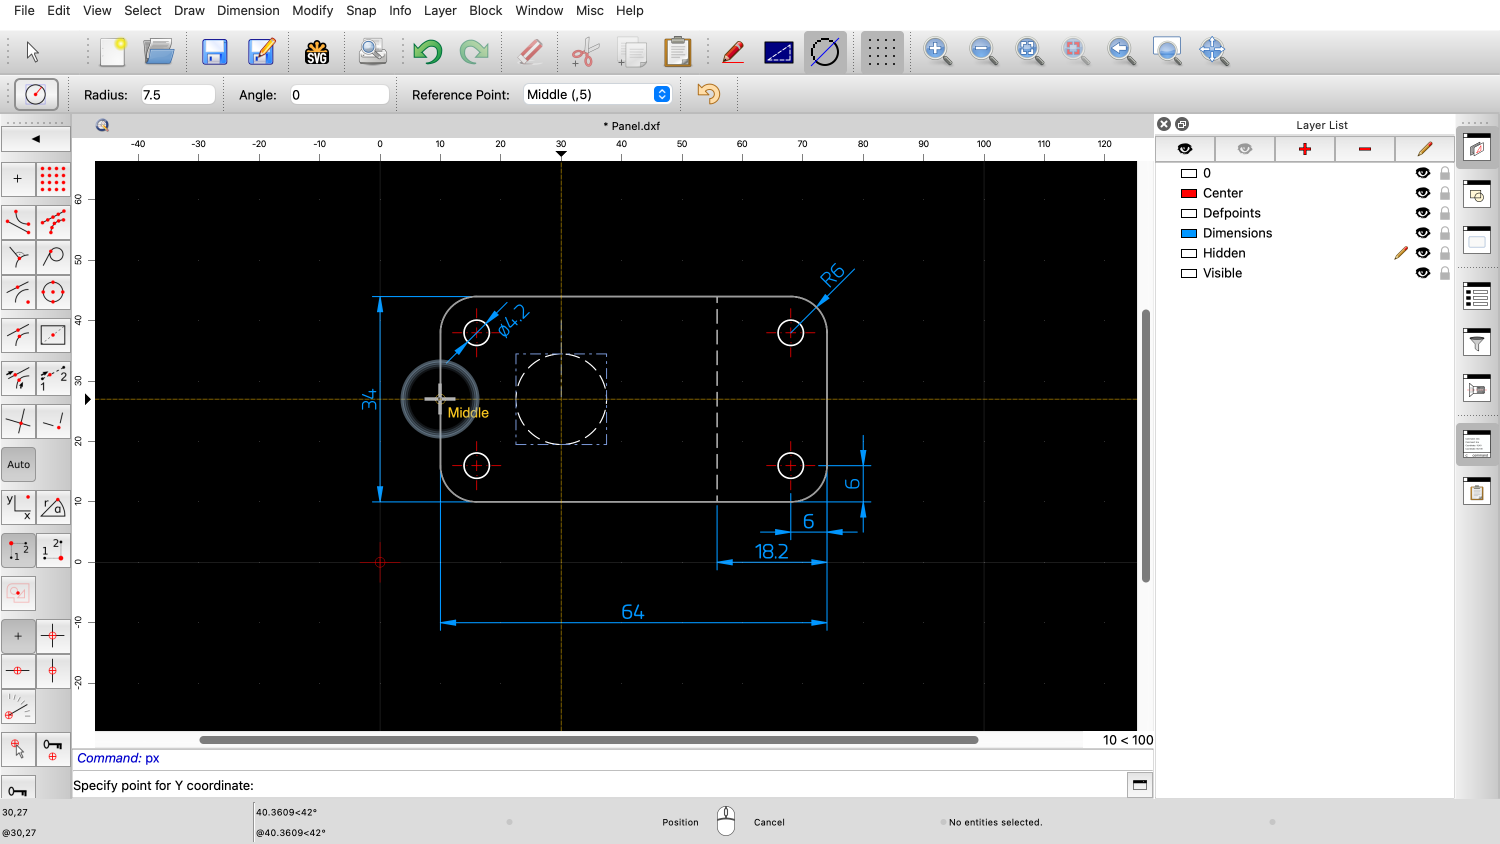
For the Y position, we want to snap the center of the left edge.
However. before we click, we notice that we are still drawing on the layer for hidden edges.
We want to switch to the layer of the part outline instead.
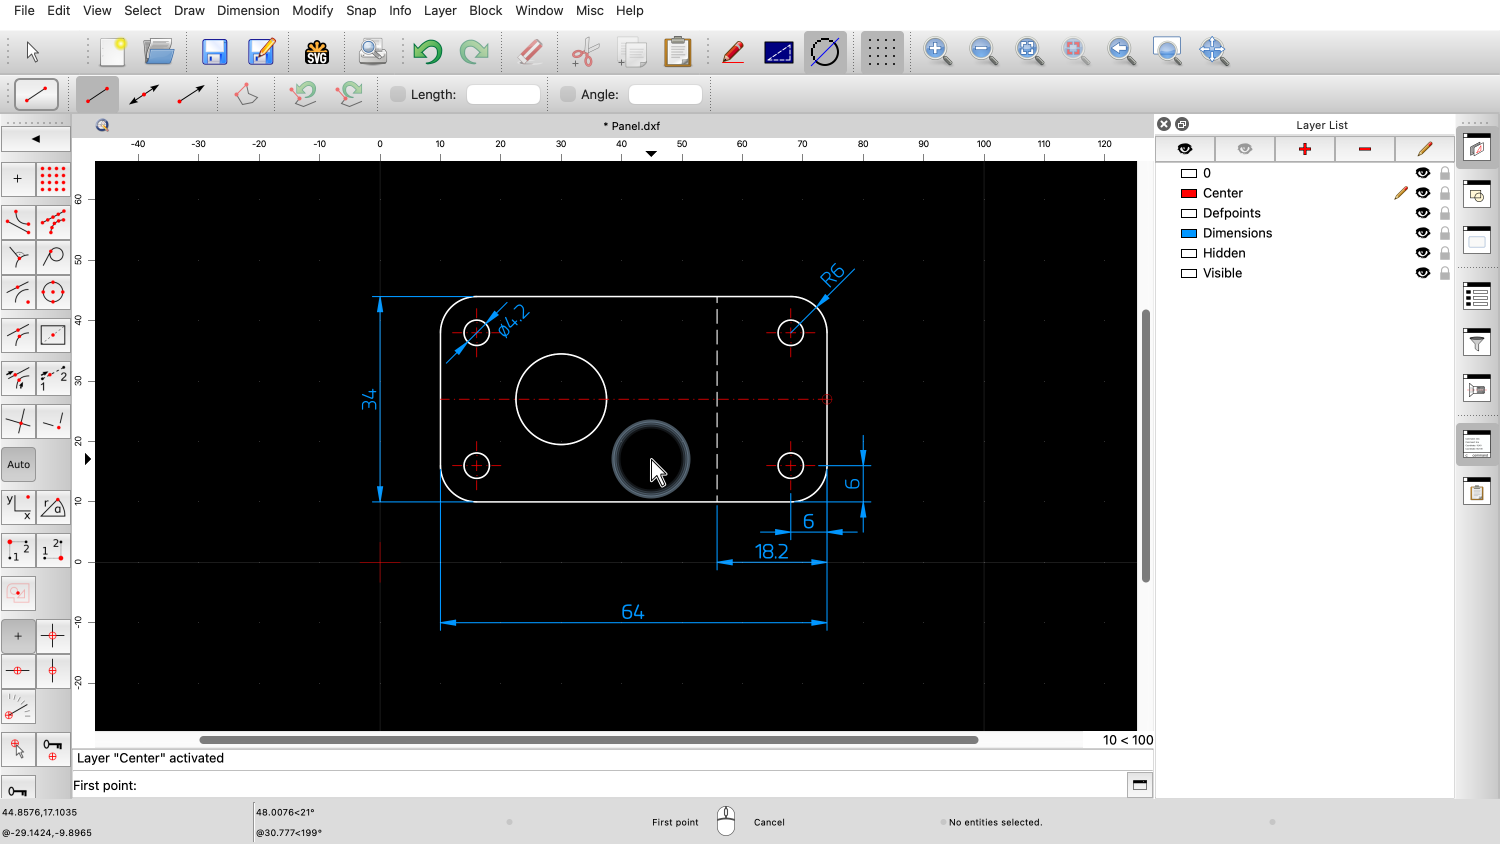
We make sure that the mouse cursor is over another entity of the desired layer.

While the circle tool is still active, we type the short cut Y followed by B again.
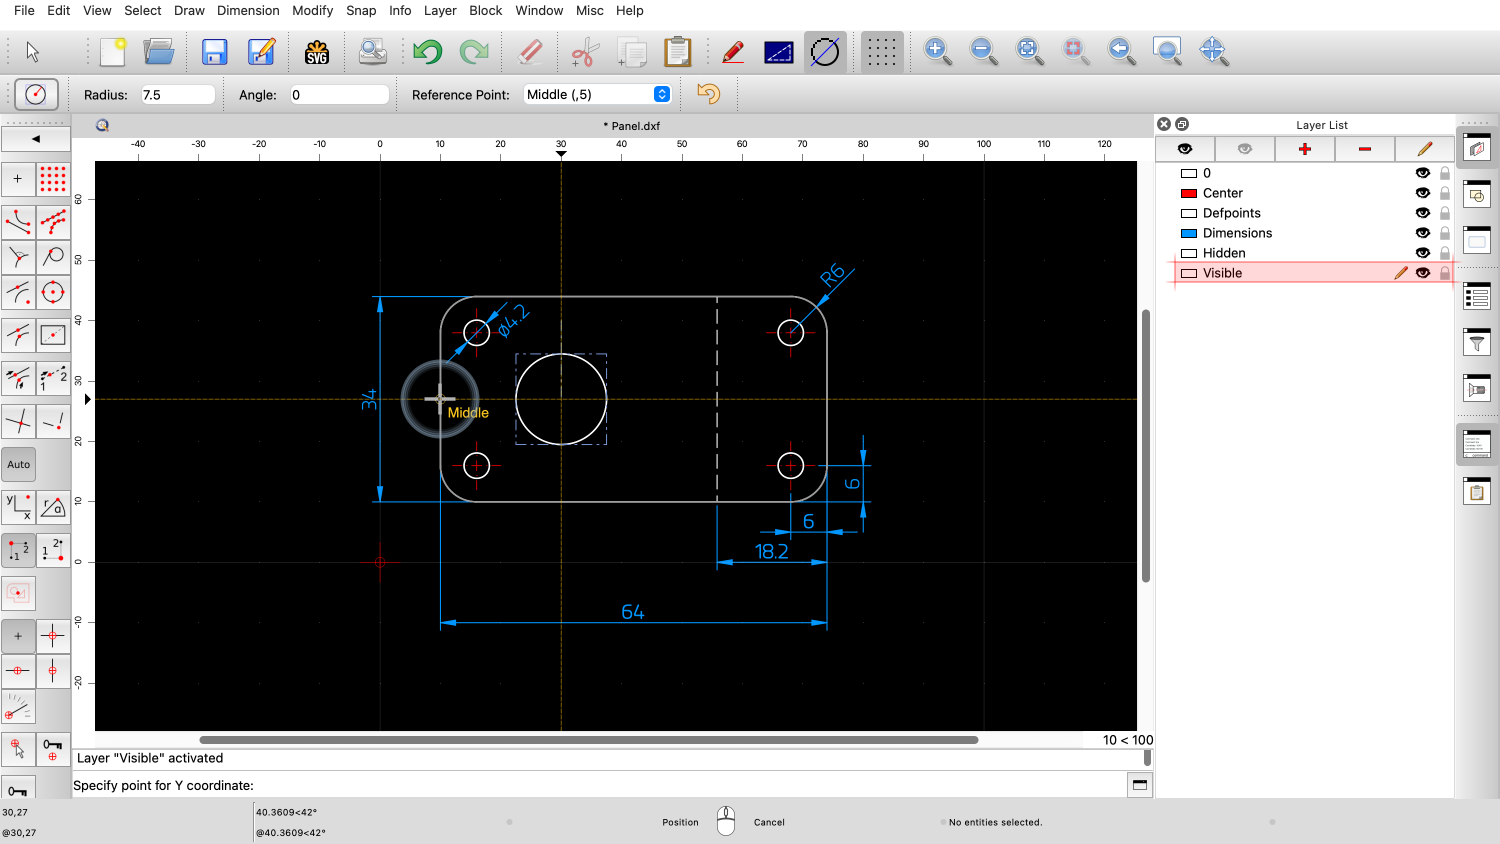
The layer for outlines is now activated. This layer is called "Visible" but we don't need to know this as we have simply activated the layer of an existing entity.

We can now click the Y position for the circle center to draw the circle.

The circle is created on the correct layer.
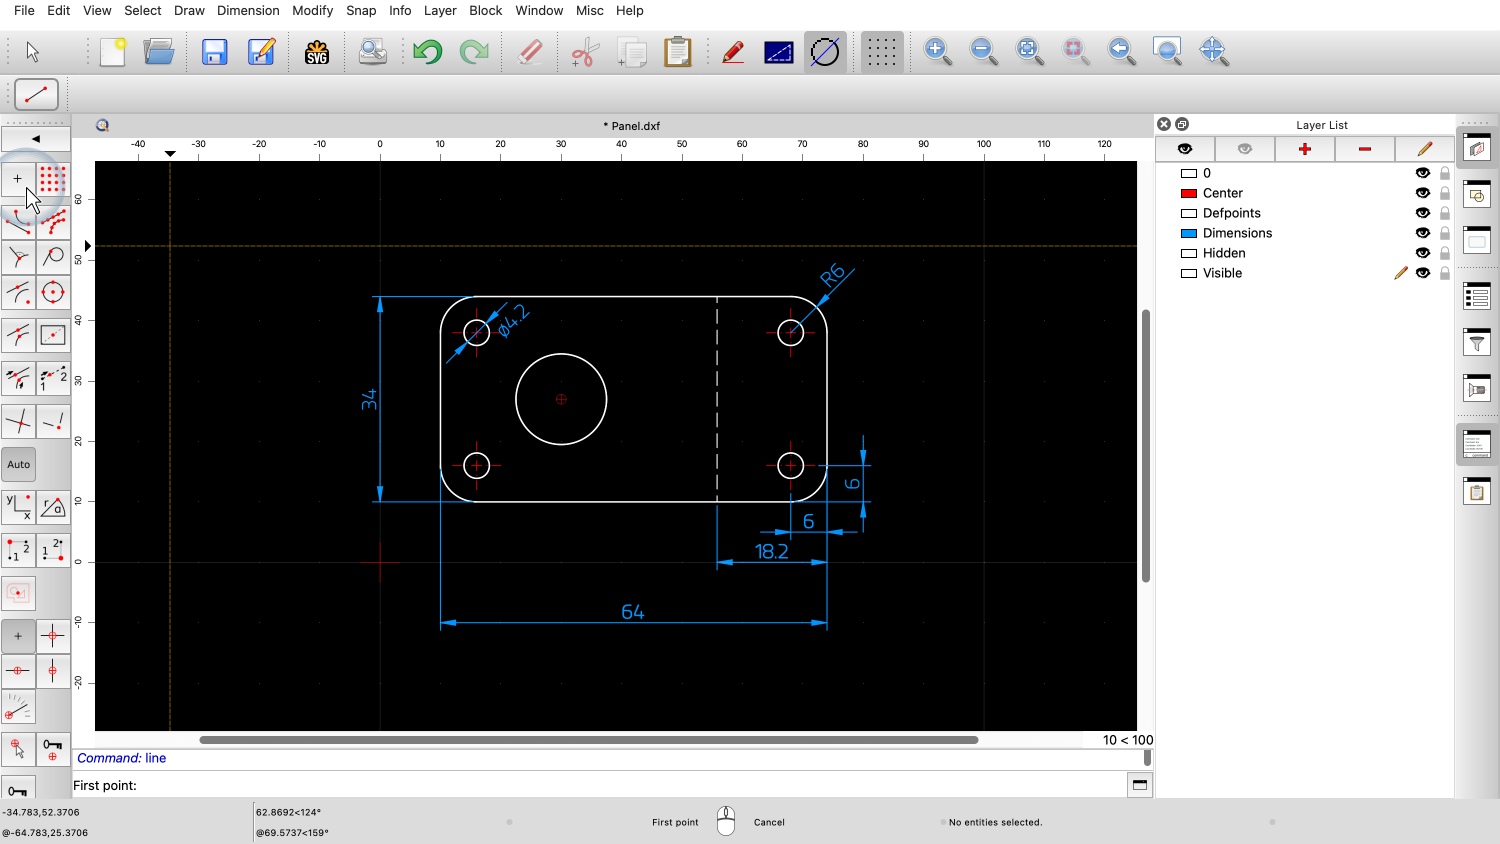
Next, we draw a symmetry line.
We click the start point.
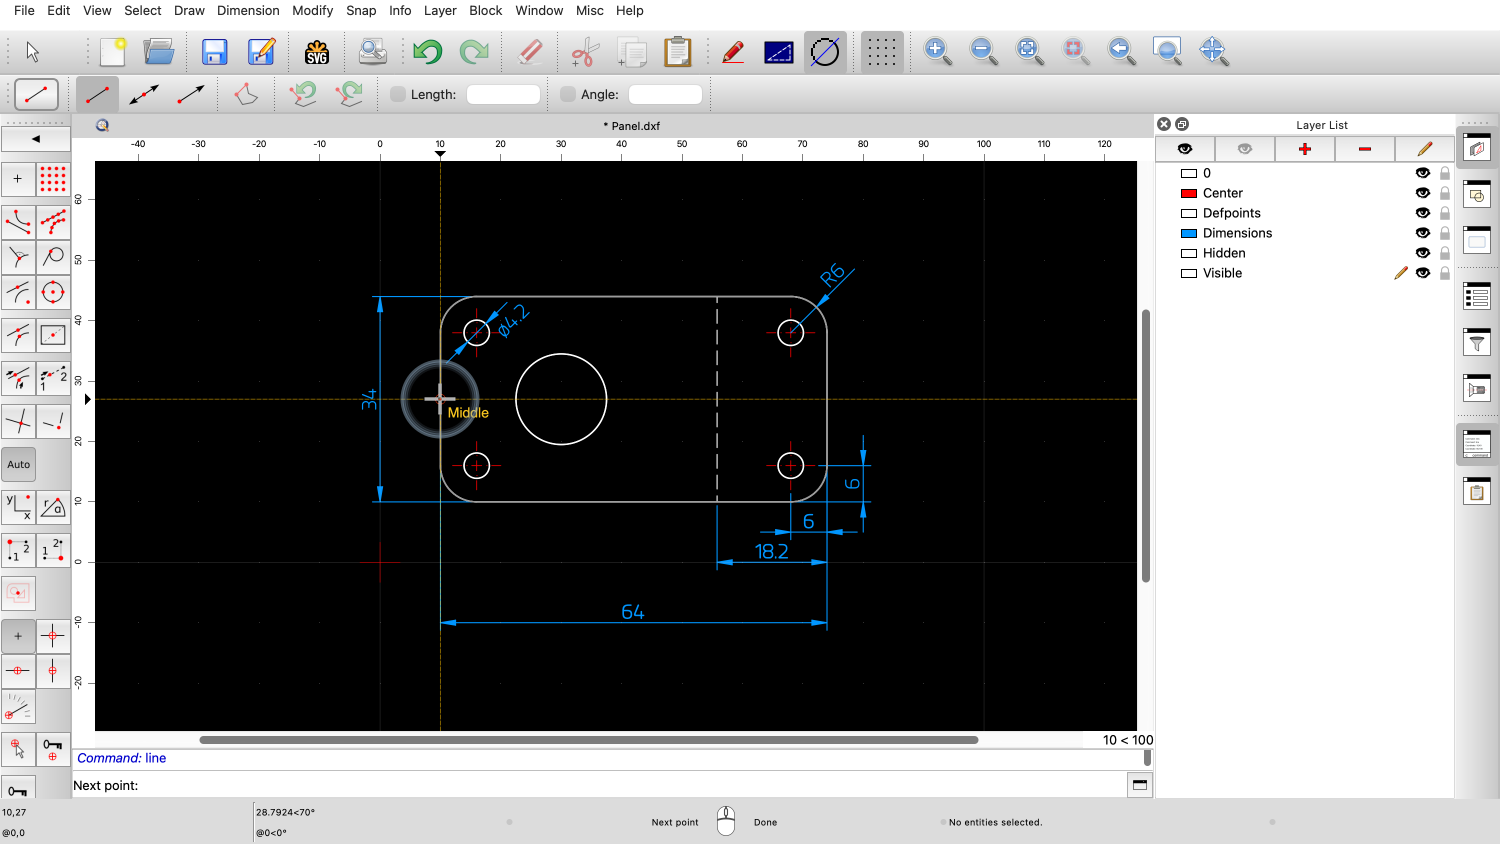
Before setting the end point, we change to the layer the cross hairs are on.

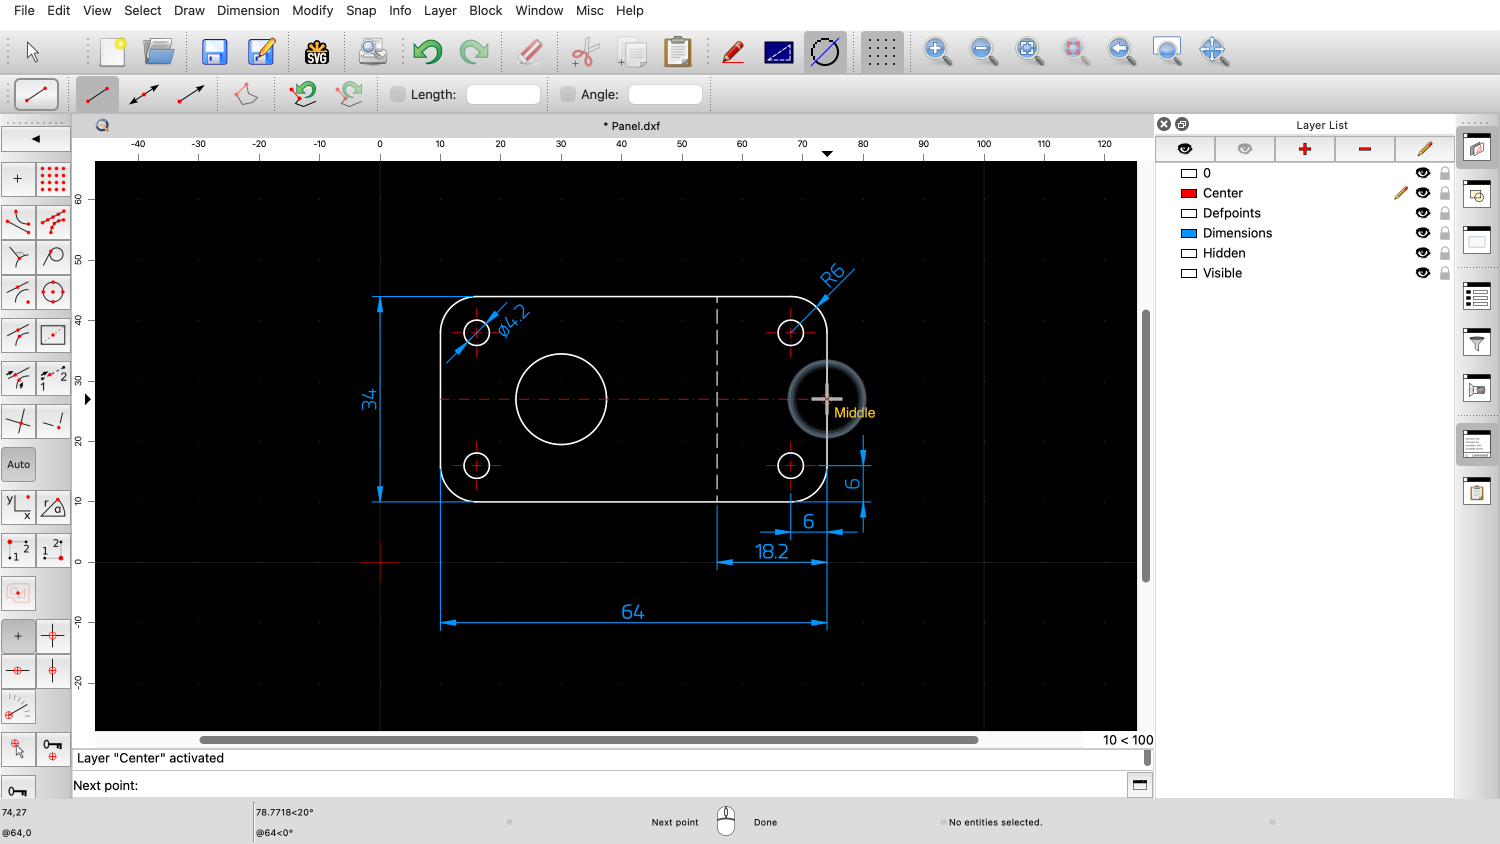
We hover over one of the existing cross hair lines.
And type Y followed by B to activate the layer for our center and symmetry lines.

The red layer called "Center" is now active.
We can now click the end point of the line.
The line is drawn on layer "Center" in red.
This ability to switch layers while drawing can help to maintain an efficient workflow.
This tool is a simple but effective way to quickly switch between layers in QCAD.
Be sure to practice this with your own QCAD installation.
Thank you for watching this QCAD tutorial.