

Installing QCAD from a Flatpak
This page guides you through the installation of QCAD from a Flatpak on Linux operating systems. If you are using a Chromebook with ChromeOS, follow the instructions under Installing QCAD on a Chromebook instead.
A Flatpak bundles all libraries QCAD needs. It therefore also runs on systems whose libraries are too old or too new for the installer and the archive packages.
We install QCAD using a terminal, as this is the preferred way to manage and maintain a Linux system. There are also graphical applications that can be used to install Flatpaks, but these are not covered here.
Version numbers are written as 3.x.x below. Replace this with the actual version number of the QCAD release you have downloaded, for example 3.32.9.
Opening a Terminal
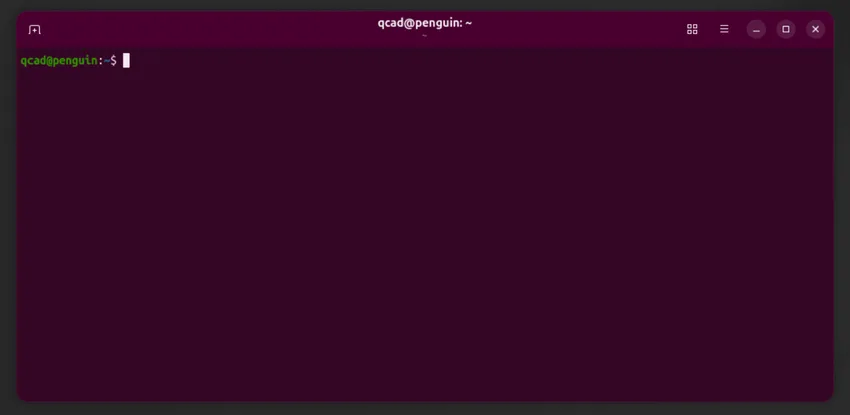
Section titled “Opening a Terminal”Open the terminal application of your desktop environment. A window opens showing a prompt such as username@host:~$, where username is your user name (here “qcad”) and host is the name of your computer (here “penguin”):
Installing Flatpak
Section titled “Installing Flatpak”Copy the following command to your clipboard and paste it into the terminal. You can paste into a terminal with a right-click:
sudo apt install flatpakHit the Enter key.
If the terminal asks you “Do you want to continue?”, hit Enter again. Wait for the installation to complete, which typically takes a few minutes. When the prompt appears again, the installation has finished.
If the terminal tells you that Flatpak is already the newest version, you already have Flatpak and you can continue with the next step.
Note: apt is the package manager of Debian and Ubuntu based distributions. On other distributions, use the corresponding command of your package manager, for example sudo dnf install flatpak on Fedora or sudo pacman -S flatpak on Arch Linux.
Checking Your Flatpak Version
Section titled “Checking Your Flatpak Version”Run:
flatpak --versionMake sure your Flatpak version is at least 1.12, otherwise the installation will likely fail.
Adding the Flathub Repository
Section titled “Adding the Flathub Repository”QCAD requires a runtime which is downloaded from Flathub, the central Flatpak repository. Add it with:
flatpak --user remote-add --if-not-exists flathub https://dl.flathub.org/repo/flathub.flatpakrepoHit Enter.
Installing the Correct Runtime
Section titled “Installing the Correct Runtime”Determine your CPU type as described under Installing QCAD under Linux, then install the matching runtime. If you are unsure, enter uname -m in the terminal.
If your CPU is x86_64:
flatpak --user install flathub org.freedesktop.Platform/x86_64/25.08If your CPU is aarch64:
flatpak --user install flathub org.freedesktop.Platform/aarch64/25.08Hit Enter.
Flatpak lists the packages it is about to install and asks for confirmation. Confirm with Enter:
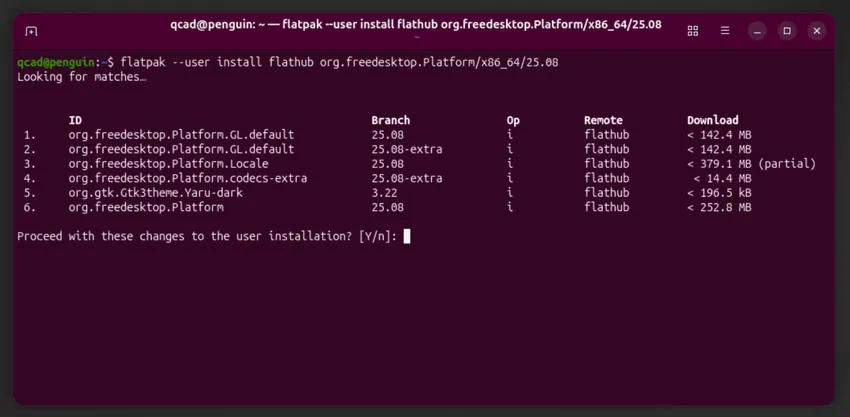
Flatpak installs these packages and reports “Installation complete” when it is done.
Note: if you get the error “Unable to load summary from remote flathub: URI … exceeded maximum size of 10485760 bytes”, your Flatpak version is outdated. In this case, run:
flatpak --user remote-delete --force flathubflatpak --user remote-add flathub https://dl.flathub.org/repo/flathub.flatpakrepoand then try the installation again.
Downloading the QCAD Package
Section titled “Downloading the QCAD Package”Open the download area using the link you have received after your purchase.
Scroll down to the section that matches your CPU: Linux > Qt 6 > 64-bit Intel for Intel and AMD CPUs, or Linux > Qt 6 > ARM (64-bit) for ARM CPUs. Below that title, click on the item with “Flatpak” in its name to download the Flatpak file to your Downloads folder.
Wait for the download to complete.
Installing QCAD
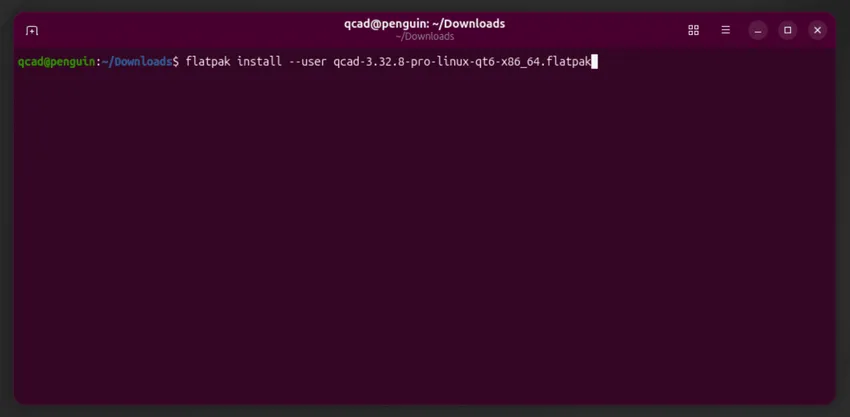
Section titled “Installing QCAD”Go back to the terminal and change into your Downloads folder:
cd ~/DownloadsIf you have an Intel or AMD CPU, enter:
flatpak install --user qcad-3.x.x-pro-linux-qt6-x86_64.flatpakIf you have an ARM64 CPU, enter:
flatpak install --user qcad-3.x.x-pro-linux-qt6-arm64.flatpakHit Enter. Remember to replace 3.x.x with the exact version number of the package you have downloaded.
Flatpak shows the permissions QCAD requests and asks you whether to proceed:
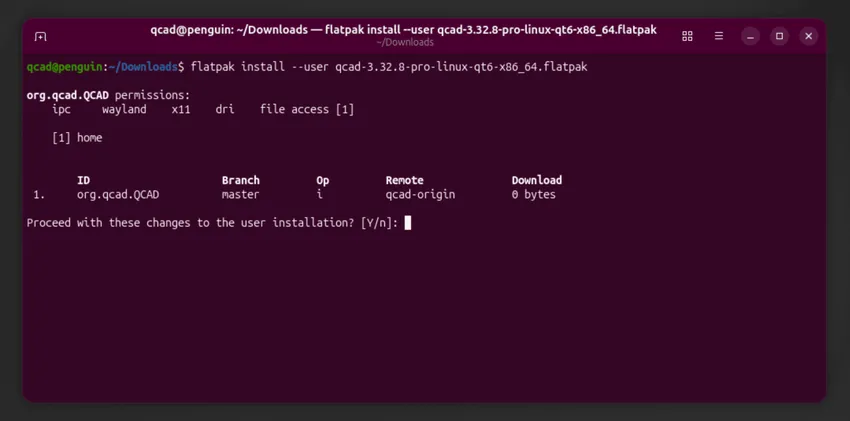
Hit Enter to confirm.
When the installation has finished, the terminal shows “Installation complete.”
Running QCAD
Section titled “Running QCAD”To start QCAD from the terminal, enter:
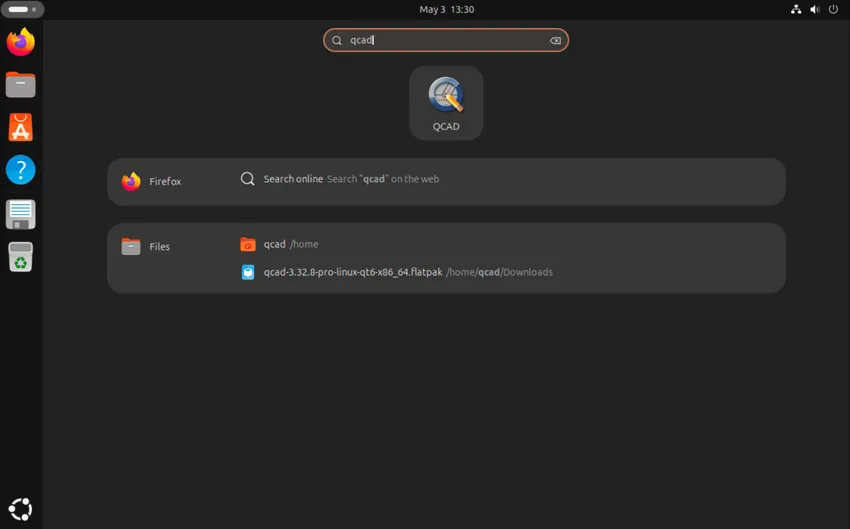
flatpak run org.qcad.QCADAlternatively, use the application launcher of your desktop environment, where QCAD now appears as a regular application:
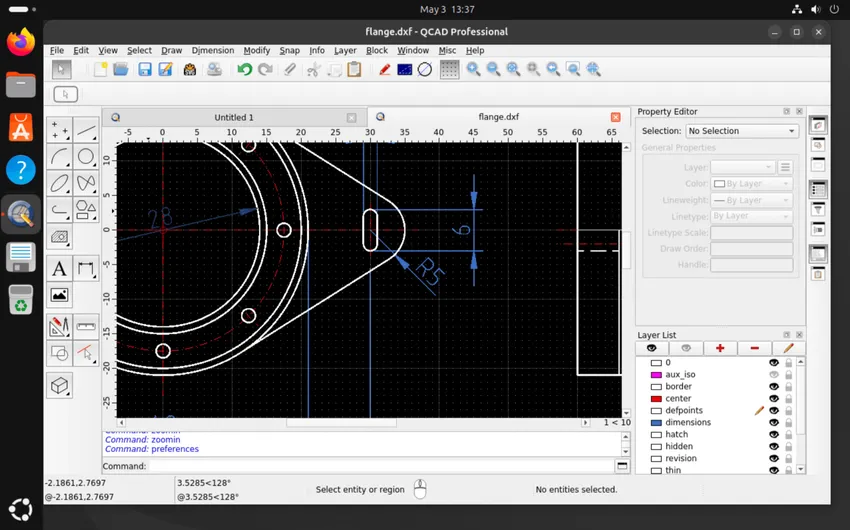
QCAD starts with its welcome screen where you can choose some initial settings. Once you confirm, the QCAD application window is shown and you can start working:
Running Command Line Tools from a Flatpak
Section titled “Running Command Line Tools from a Flatpak”A Flatpak installation does not give you access to the launcher scripts of the QCAD command line tools (dwg2pdf, dwg2bmp, …).
To still run these tools, pass the corresponding launcher script to QCAD using the -autostart argument:
flatpak run org.qcad.QCAD -autostart scripts/Pro/Tools/Dwg2Pdf/Dwg2Pdf.jsThe launcher scripts of the various QCAD command line tools are:
| Tool | Launcher script |
|---|---|
merge |
scripts/Tools/MergeDrawings/MergeDrawings.js |
bbox |
scripts/Pro/Tools/BoundingBox/BoundingBox.js |
bmp2dwg |
scripts/Pro/Tools/Bmp2Dwg/Bmp2Dwg.js |
dwg2bmp |
scripts/Pro/Tools/Dwg2Bmp/Dwg2Bmp.js |
dwg2csv |
scripts/Pro/Tools/Dwg2Csv/Dwg2Csv.js |
dwg2dwg |
scripts/Pro/Tools/Dwg2Dwg/Dwg2Dwg.js |
dwg2maptiles |
scripts/Pro/Tools/Dwg2MapTiles/Dwg2MapTiles.js |
dwg2pdf |
scripts/Pro/Tools/Dwg2Pdf/Dwg2Pdf.js |
dwg2svg |
scripts/Pro/Tools/Dwg2Svg/Dwg2Svg.js |
dwgexplode |
scripts/Pro/Tools/DwgExplode/DwgExplode.js |
dwghatch |
scripts/Pro/Tools/DwgHatch/DwgHatch.js |
dwghatcharea |
scripts/Pro/Tools/DwgHatchArea/DwgHatchArea.js |
dwginfo |
scripts/Pro/Tools/DwgInfo/DwgInfo.js |
dwgmapconvert |
scripts/Pro/Tools/DwgMapConvert/DwgMapConvert.js |
svg2dwg |
scripts/Pro/Tools/Svg2Dwg/Svg2Dwg.js |
dwgnest (QCAD/CAM) |
scripts/Nest/Tools/DwgNest/DwgNest.js |
Uninstalling a Flatpak Installation
Section titled “Uninstalling a Flatpak Installation”To remove a Flatpak installation of QCAD, run:
flatpak uninstall --user org.qcad.QCAD